
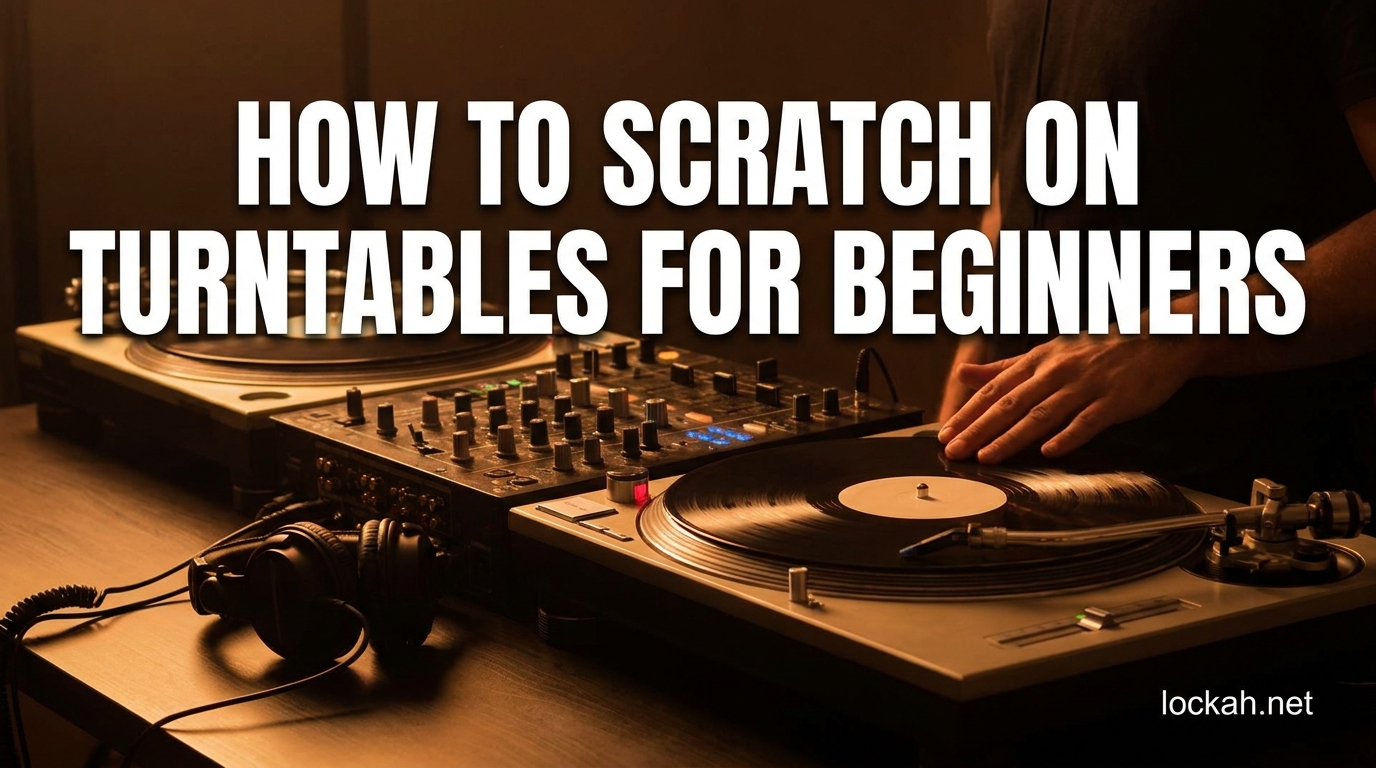
Scratching is a DJ technique where you manipulate a vinyl record on a turntable back and forth with your hand while moving the crossfader to create rhythmic sound effects. Learning how to scratch on turntables for beginners might seem intimidating at first, but with the right approach and consistent practice, anyone can develop solid scratching skills. I have spent years learning and teaching these techniques, and I can tell you that starting with the fundamentals makes all the difference between frustration and steady progress.
In this guide, you will learn everything you need to start your turntablism journey. We will cover the essential equipment, proper hand positioning, the foundational scratch techniques every beginner must master, common mistakes to avoid, and a practice routine that actually works. By the end, you will have a clear roadmap for developing your scratching abilities from absolute beginner to competent performer.
Table of Contents
What Equipment You Need to Start Scratching?
You do not need the most expensive gear to learn scratching, but you do need equipment that can handle the demands of manipulating records. The wrong setup will make learning much harder than it needs to be.
The Turntable: Direct Drive is Essential
For scratching, you need a direct drive turntable. Belt drive turntables lack the torque to spin back up to speed quickly when you release the record, making them unsuitable for scratching. Direct drive motors provide the instant start and strong torque necessary for precise record control.
Entry-level options like the Audio-Technica AT-LP120 or the Pioneer PLX-500 work well for beginners. If you can find used Technics SL-1200MK2s or similar models, they remain the industry standard for good reason. The key specification to look for is high torque and a solid, heavy platter that resists speed fluctuations when you apply pressure.
The Mixer and Crossfader
A proper DJ mixer with a quality crossfader is crucial. The crossfader is the horizontal slider that cuts between audio channels, and it is what creates the distinctive stuttering and chopping sounds in scratching. Look for a mixer with an adjustable crossfader curve so you can set it to cut sharply rather than fading gradually.
The crossfader technique you use depends on your style. Most beginners start with the standard orientation where the fader cuts in from the left or right. Some advanced DJs use hamster style, where the crossfader is reversed, but I recommend learning standard first.
Cartridge and Stylus
You will need a DJ cartridge designed for scratching and backspinning. The Shure M44-7 was the legendary choice for decades, though it is now discontinued. Alternatives like the Ortofon Concorde Mk2 DJ or the Audio-Technica AT-XP5 offer good tracking and sound quality for scratching. These cartridges are designed to stay in the groove even under the pressure of heavy manipulation.
Vinyl vs Digital Controllers
You have two main paths for learning to scratch: traditional vinyl or digital controllers with motorized platters. Vinyl provides the authentic feel and forces you to develop proper technique, but it requires buying records and maintaining equipment. Digital controllers like the Pioneer DDJ-REV series or the Hercules DJControl Inpulse T7 offer motorized platters that simulate vinyl feel while working with DJ software.
Both approaches are valid. If you have access to vinyl turntables, start there. If you prefer digital, choose a controller with motorized platters rather than static jog wheels, as the tactile feedback is essential for learning proper technique.
Scratch Records
You need records specifically made for scratching, not your regular music collection. Skip-less battle records contain repeating samples arranged in a way that you can drop the needle anywhere and find a usable sound. Popular options include the Superseal break beats, Scratch Libraries, and Dirtstyle records. These records are designed to take abuse and provide consistent sounds for practice.
How to Scratch on Turntables for Beginners: Hand Positioning
Before you attempt any scratches, you need to establish proper hand positioning. Poor technique here will limit your progress and can even cause repetitive strain injuries over time.
The Record Hand
Place your hand on the record with your fingertips resting gently on the vinyl surface. Your thumb should be on the opposite side of the record, creating a light pinching grip. Do not press down hard or grab the record edge. The goal is control, not force.
Your wrist should be relaxed and your arm positioned so you can move the record back and forth smoothly. Many beginners make the mistake of using only their fingers to move the record. While finger technique has its place, start by using your whole hand and wrist for larger, controlled movements.
The Crossfader Hand
Your crossfader hand should rest comfortably on the mixer with your fingers near the fader knob. Use a light touch. You are not trying to smash the fader back and forth. Quick, precise movements come from practice, not force.
Keep your hand positioned so you can move the fader from closed to open in one quick motion. The exact hand position varies by personal preference, but most DJs use either their thumb and index finger to pinch the fader, or they rest their hand on the mixer and flick with their fingers.
Body Positioning
Stand or sit at a comfortable height where both hands can reach their respective controls without stretching. Your shoulders should be relaxed. Many scratch DJs prefer standing because it allows more freedom of movement and keeps energy levels up during long practice sessions.
Basic Scratch Techniques Every Beginner Must Learn (2026)
Now we get to the heart of how to scratch on turntables for beginners. These four scratches form the foundation of all turntablism. Master them in order, and you will have the building blocks for any advanced technique.
1. The Baby Scratch
The baby scratch is the foundation of all scratching. Learn this first and practice it until it feels completely natural before moving on. The baby scratch involves moving the record back and forth with your record hand while the crossfader stays fully open. No fader work yet. This teaches you record control and introduces the basic sound.
Step 1: Place the needle on a break or sample with the crossfader fully open.
Step 2: Slowly push the record forward with your hand, letting the sound play.
Step 3: When you reach the end of the sample or phrase, pull the record back to the starting position.
Step 4: Repeat this forward and backward motion, creating a rhythmic back-and-forth sound.
Practice this slowly at first. Focus on smooth, controlled movements. Your goal is to move the record without hearing the speed fluctuate. When you can perform baby scratches that sound even and rhythmic, you are ready to add the crossfader.
2. The Forward Scratch
The forward scratch adds crossfader technique to your baby scratch motion. This is where you start creating the chopped, rhythmic sounds associated with scratching.
Step 1: Start with the crossfader closed (no sound).
Step 2: Push the record forward while simultaneously opening the crossfader to let the sound through.
Step 3: Close the crossfader as you reach the end of your forward motion.
Step 4: Return the record to the starting position with the fader closed (this is called the silent return).
Step 5: Repeat, creating a pattern of sound-silence-sound-silence.
The forward scratch teaches you to coordinate both hands. Your record hand and fader hand must work together. Practice this until the timing feels automatic. Start slowly and only increase speed when your technique stays clean.
3. The Chirp Scratch
The chirp scratch is one of the most versatile and commonly used scratches in DJing. It adds complexity to the forward scratch by incorporating sound on the backward motion as well.
Step 1: Start with the crossfader in the middle position.
Step 2: Push the record forward while the crossfader is open, creating the first sound.
Step 3: Just before reaching the end of the forward motion, quickly close and reopen the crossfader.
Step 4: Pull the record backward with the fader still open, creating a second sound.
Step 5: Close the fader at the end of the backward motion.
The chirp creates two distinct sounds: one on the forward motion and one on the backward motion. The quick fader click in the middle creates a sharp transition. This scratch is more advanced because it requires precise timing between both hands.
4. The Transform Scratch
The transform scratch, also called the transformer, creates a stuttering effect by rapidly cutting the sound on and off with the crossfader while the record stays in motion.
Step 1: Start pushing the record forward with the crossfader open.
Step 2: While the record continues moving, quickly tap the crossfader closed and open repeatedly.
Step 3: Each tap creates a short burst of sound, producing the characteristic stutter effect.
Step 4: Practice different rhythms: two clicks, three clicks, four clicks per record motion.
The transform is all about crossfader control. Your record hand maintains steady movement while your fader hand does the rhythmic work. This scratch appears in countless hip-hop and electronic music productions.
Common Mistakes Beginners Make
After teaching dozens of beginners how to scratch on turntables, I have seen the same mistakes repeated. Avoid these pitfalls to progress faster.
Going Too Fast Too Soon
Speed is the enemy of good technique when you are learning. Every beginner wants to scratch fast like the pros they see in videos. But those DJs spent years building their speed. When you practice too fast, you develop sloppy habits that become incredibly difficult to unlearn. Start painfully slow and only speed up when you can execute cleanly.
Neglecting Rhythm
Scratching is fundamentally a rhythmic activity. If your scratches do not groove, they will not sound good regardless of technical complexity. Always practice with a beat or metronome. Move your mouth or head to the rhythm while scratching to internalize the timing. A simple baby scratch on beat sounds better than a complex flare that misses the groove.
Poor Crossfader Technique
Many beginners grip the crossfader too tightly or use too much force. The crossfader should glide with minimal pressure. If you are white-knuckling the fader, you will not achieve the quick, precise movements needed for advanced scratches. Relax your hand and let the fader do the work.
Skipping the Baby Scratch
The baby scratch seems too simple, so beginners rush past it. This is a critical error. The baby scratch teaches record control, which is the foundation of every other technique. Advanced scratches are just combinations of basic motions. If your baby scratch is sloppy, everything built on top of it will be sloppy too.
Damaging Records and Needles
Scratching puts wear on your equipment. Using damaged needles will destroy your records quickly. Always check that your stylus is clean and undamaged before scratching. Likewise, dirty records will damage your needle. Keep your records clean and stored properly. When you feel the record dragging or hear distortion, check your equipment before continuing.
Practice Tips That Actually Work
Deliberate practice beats mindless repetition. Here is how to structure your scratching practice for real improvement.
The 15-Minute Daily Rule
Consistency beats intensity. Fifteen minutes of focused practice every day will get you further than two hours once a week. Your hands need time to develop muscle memory, and that happens through regular repetition. Set a timer and practice with complete focus for fifteen minutes. When the timer ends, stop. This prevents fatigue from creeping in and reinforcing bad habits.
Start With the Click
Before you even touch the record, internalize the rhythm you want to scratch. Beatbox the pattern, tap it on a table, or move your mouth to it. Once you can hear the rhythm in your head, try to reproduce it with the record and crossfader. This approach connects your musical intention to your physical execution.
The Slow-Down Method
When learning a new scratch, start at half speed or slower. Move as slowly as necessary to execute perfectly. Gradually increase speed in small increments only when you can perform the technique cleanly. If you start making mistakes, slow back down. This patient approach builds solid technique that holds up at any speed.
Track Your Progress
Keep a simple practice log. Note which scratches you worked on, what tempo you achieved, and any breakthroughs or difficulties. Over weeks and months, you will see tangible evidence of improvement. This is motivating and helps you identify which techniques need more attention.
Practice With Music
Once you have basic technique, always practice scratching over beats. Scratching exists to serve the music, not as an isolated skill. Find instrumentals in the tempo range you are comfortable with and practice fitting your scratches into the musical context. This develops your sense of musicality and timing.
Frequently Asked Questions
Can you scratch on a turntable?
Yes, you can scratch on a turntable designed for DJ use. You need a direct drive turntable with sufficient torque, a DJ mixer with a crossfader, and scratch records. Belt drive turntables are not suitable for scratching because they lack the torque to recover quickly when you manipulate the record.
How long does it take to learn scratching?
Learning basic scratches like the baby scratch and forward scratch typically takes a few weeks of consistent practice. Developing solid technique across multiple scratches and being able to perform them musically usually takes 6 months to 2 years of regular practice. Mastery is a lifelong journey, as professional DJs continue refining their skills for decades.
Does vinyl scratching damage the needle?
Scratching does put more wear on your stylus than regular playback, but this is normal and expected. Using a quality DJ cartridge designed for scratching, keeping your records clean, and maintaining proper technique will minimize excessive wear. Replace your stylus according to the manufacturer’s recommendations or when you notice sound quality degrading.
Can you scratch on vinyl?
Yes, scratching was originally developed on vinyl records and remains the traditional medium for turntablism. You need specialized scratch records, often called battle records, which contain samples arranged for scratching. Regular music records can be scratched but will wear out quickly and may not have the right sounds for practicing techniques.
Do I need special records for scratching?
Yes, you should use records specifically made for scratching. Skip-less battle records contain repeating samples that let you drop the needle anywhere and find a usable sound. These records are designed to withstand the physical demands of scratching. Popular options include Superseal breaks, Scratch Libraries, and Dirtstyle records.
Your Next Steps in Learning How to Scratch on Turntables for Beginners
You now have a complete roadmap for learning how to scratch on turntables for beginners. Start by ensuring you have suitable equipment, then spend your first week mastering the baby scratch until it feels completely natural. Only then should you move on to the forward scratch and the other techniques we covered.
Remember that every skilled DJ started exactly where you are now. The difference between those who develop impressive skills and those who give up comes down to consistent, deliberate practice. Fifteen minutes a day, focused on perfect technique at slow speeds, will take you further than you imagine.
Grab your turntables, put on a battle record, and start with that baby scratch. Your turntablism journey begins with a single back-and-forth motion. Stay patient, enjoy the process, and watch your skills grow week by week.