
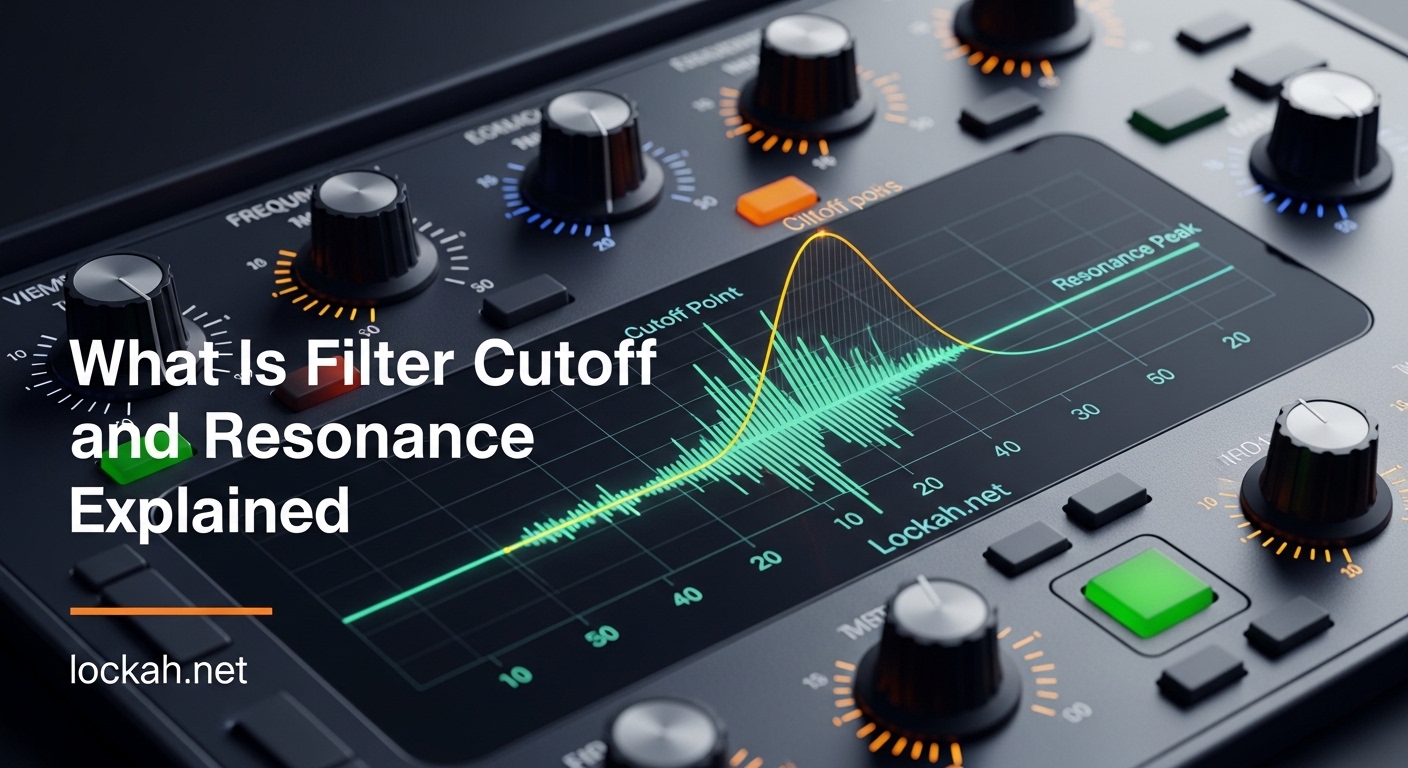
You are programming a bass patch on your synthesizer. It sounds thin and digital. You twist the cutoff knob and suddenly warmth floods into the sound. You add a touch of resonance and the bass gains that classic squelchy character that cuts through the mix. This is the power of understanding what is filter cutoff and resonance explained properly.
In this guide, I will walk you through these fundamental synthesis concepts. You will learn exactly how filters shape your sound, what the cutoff frequency controls, and how resonance adds character and emphasis. By the end, you will be able to use these controls intentionally rather than twisting knobs blindly.
I have spent over a decade programming synthesizers for electronic music production. Filter cutoff and resonance remain the two most important controls on any synth. They transform raw oscillator waveforms into the expressive sounds that define genres from acid house to modern EDM.
Table of Contents
What Is a Filter in Synthesis?
A filter in audio synthesis is a circuit or algorithm that removes certain frequencies from a sound while allowing others to pass through. It is the cornerstone of subtractive synthesis, the most common synthesis method used in electronic music.
Think of a filter like a bouncer at a club. The oscillator generates a full spectrum of frequencies trying to get in. The filter decides which frequencies make it onto the dance floor and which get turned away. The cutoff frequency is where the bouncer starts checking IDs.
Every sound you hear contains a mixture of frequencies from low bass to high treble. A sawtooth wave from your oscillator contains the fundamental pitch plus many harmonics extending far up the frequency spectrum. Without filtering, this sounds bright and buzzy. Filters let you sculpt this raw material into musical tones.
What Is Filter Cutoff Frequency?
The filter cutoff frequency is the specific point in the frequency spectrum where the filter begins attenuating frequencies. In a low-pass filter, frequencies below the cutoff pass through unchanged while frequencies above are reduced in volume.
Cutoff frequency is measured in Hertz, just like any audio frequency. You will see cutoff controls ranging from 20 Hz at the low end to 20,000 Hz at the high end. Setting the cutoff to 800 Hz on a low-pass filter means all frequencies below 800 Hz pass through normally. Frequencies above 800 Hz get quieter depending on the filter slope.
Moving the cutoff creates the classic filter sweep effect heard in countless electronic tracks. Closing the cutoff darkens the sound by removing high frequencies. Opening the cutoff brightens the sound by allowing more harmonics through. This is why the cutoff knob is often the most important real-time control on a synthesizer.
The Four Types of Filters Explained (2026)
Synthesizers offer several filter types, each affecting different frequency ranges. Understanding these four filter types gives you complete control over your sound’s tonal balance.
Low-Pass Filter (LPF)
The low-pass filter is the most common filter type in synthesizers. It allows low frequencies to pass through while attenuating high frequencies above the cutoff point.
This filter creates warmth, darkness, and mellow tones. When you close the cutoff completely, you hear mostly the fundamental frequency with few harmonics. When you open it fully, you hear the full brightness of the oscillator. The low-pass filter is essential for bass sounds, pads, and any patch where you want to control brightness.
On most synthesizers, you will find the low-pass filter as the default or primary filter type. It is represented on diagrams with a slope descending to the right, showing how high frequencies get reduced.
High-Pass Filter (HPF)
The high-pass filter does the opposite of a low-pass filter. It allows high frequencies to pass while removing low frequencies below the cutoff point.
Use a high-pass filter to remove unwanted bass frequencies, clean up muddy mixes, or create thin, tinny sounds. Setting a high-pass filter to 100 Hz removes rumble and sub-bass while keeping the body of your sound intact. Setting it to 1000 Hz creates a telephone or AM radio effect.
High-pass filters are particularly useful for lead sounds that need to sit above the bass in a mix. They also help prevent low-frequency buildup when layering multiple sounds.
Band-Pass Filter (BPF)
A band-pass filter combines low-pass and high-pass behavior. It allows only a specific band of frequencies to pass while removing both lower and higher frequencies.
This creates focused, nasal, or vocal-quality sounds. The band-pass filter has two cutoff points: one for the low end and one for the high end. The frequencies between these points form the pass band. Narrow band-pass settings create thin, resonant tones. Wide settings approach the sound of a low-pass filter.
Band-pass filters excel at creating vowel-like formant sounds and vocal simulations. They are also useful for isolating specific frequency ranges when designing effects.
Notch Filter
The notch filter, also called a band-reject or band-stop filter, removes a specific band of frequencies while allowing everything else to pass through.
This is essentially the opposite of a band-pass filter. Instead of keeping a frequency band, it cuts a narrow slice from the spectrum. Notch filters are useful for removing problematic frequencies like 50 Hz or 60 Hz hum, or for creating phaser-like sweeping effects when you modulate the notch frequency.
Notch filters appear less frequently on synthesizers but are valuable tools in sound design and mixing applications.
| Filter Type | What Passes Through | What Gets Blocked | Common Uses |
|---|---|---|---|
| Low-Pass (LPF) | Frequencies below cutoff | High frequencies above cutoff | Bass sounds, warmth, brightness control |
| High-Pass (HPF) | Frequencies above cutoff | Low frequencies below cutoff | Removing rumble, thin sounds, layering |
| Band-Pass (BPF) | Frequency band between two cutoffs | Both low and high frequencies | Vocal sounds, focused tones, formants |
| Notch | Everything except a specific band | Narrow frequency band at center | Removing hum, phaser effects |
Filter Slope and Poles Explained
Filter slope determines how aggressively the filter attenuates frequencies beyond the cutoff point. This measurement is expressed in decibels per octave, written as dB/oct.
When a filter specification says 24 dB per octave, it means that for every octave you go above the cutoff frequency, the volume drops by 24 decibels. A steeper slope means a more dramatic cutoff, creating a more pronounced filtering effect.
Understanding Filter Poles
Filter slope is determined by the number of poles in the filter design. Each pole contributes 6 dB per octave of slope.
A 1-pole filter provides 6 dB per octave attenuation. This is a gentle slope that sounds natural and subtle. You might use this for subtle tone shaping where you want a smooth transition between filtered and unfiltered frequencies.
A 2-pole filter provides 12 dB per octave. This is the classic slope found on many vintage synthesizers like the Roland TB-303. It offers a good balance between character and musicality. The 12 dB slope is often described as having a vocal or vocal-like quality.
A 4-pole filter provides 24 dB per octave. This is the steep slope associated with the legendary Moog transistor ladder filter. It creates a dramatic, aggressive filtering effect where frequencies beyond the cutoff almost completely disappear. The 24 dB slope is preferred for punchy bass sounds and dramatic filter sweeps.
Choosing the Right Slope
Lower slopes like 6 dB or 12 dB sound more open and natural. They allow some high frequencies to leak through even with the cutoff set relatively low. Higher slopes like 24 dB sound tighter and more controlled.
For vintage character, try 12 dB filters. For modern aggressive sounds, 24 dB filters deliver more impact. Some synthesizers let you switch between slopes, giving you flexibility for different sound design tasks.
What Is Resonance on a Synthesizer Filter?
Resonance, sometimes labeled as Q or emphasis, boosts the frequencies immediately around the cutoff point. While the cutoff determines where filtering begins, resonance determines how much emphasis the filter adds right at that transition point.
Imagine the filter cutoff as a wall. Without resonance, frequencies hit the wall and gradually roll off. With resonance, the wall becomes bouncy. Frequencies at the cutoff point get amplified before the roll-off occurs, creating a peak in the frequency response curve.
This peak adds character, bite, and vocal-like qualities to filtered sounds. Low resonance settings produce smooth, natural filtering. High resonance settings create sharp, whistling peaks that can sound aggressive or squelchy depending on the filter design.
The Relationship Between Cutoff and Resonance
Resonance and cutoff work together to shape your sound. The cutoff sets the frequency where the action happens. The resonance determines how dramatic that action appears.
With high resonance, you can hear the cutoff frequency almost as a distinct whistling tone within the sound. This is particularly noticeable when you sweep the cutoff up and down. The resonant peak follows the cutoff, creating a vocal wah-wah character that has defined genres from funk to acid house.
Some filters allow extreme resonance settings that produce a pronounced peak even when the cutoff is relatively high. Others have more subtle resonance that merely adds a gentle emphasis. The character of this interaction depends heavily on the specific filter design.
Why Resonance Can Remove Low End?
Many beginners notice that turning up resonance seems to remove bass from their sounds. This phenomenon confuses people who expect resonance to simply add a peak without affecting the rest of the spectrum.
The explanation lies in gain compensation. Many filter designs use a technique where increasing resonance reduces the overall gain of the filter to prevent distortion or clipping. The energy that goes into boosting the resonant peak gets subtracted from the rest of the frequency spectrum.
Since the resonance boost happens at the cutoff frequency, the compensation often affects the lower frequencies more noticeably. This creates the perception that bass disappears when you add resonance. Some modern synthesizers include resonance compensation or bass boost features to counteract this effect.
Working with Resonance and Bass
To preserve bass when using high resonance, try these approaches. Use a lower resonance setting and compensate with post-filter EQ if needed. Some synths offer a drive or saturation control that can restore perceived warmth without adding actual low frequencies.
Another technique is to use key-tracking, which adjusts the filter based on the note pitch. This can help maintain consistent tonal balance across the keyboard when using resonant filtering. Some synthesizers also offer separate high-pass or band-pass outputs that preserve different frequency ranges.
Self-Oscillation Explained
Self-oscillation occurs when a resonant filter’s feedback loop becomes strong enough to generate its own tone without any input from the oscillators. The filter essentially becomes a sine wave oscillator.
This happens when you push the resonance above a certain threshold. With high resonance and no input signal, you can hear a pure sine wave at the cutoff frequency. On many analog filters, this threshold sits around 70 to 80 percent of maximum resonance. Digital filters may behave differently depending on their algorithm.
Self-oscillating filters produce pure, flute-like tones that can be played via the cutoff frequency. Since the cutoff can track the keyboard, you can play melodies using just the resonant filter without any oscillator engaged. This technique appears in classic acid house and techno productions.
Musical Applications of Self-Oscillation
Beyond pure tones, self-oscillation adds rich harmonic content when combined with oscillator input. The filter output interacts with the input signal, creating complex saturation and overtones. This is part of the famous Moog sound and many other sought-after filter designs.
Some producers intentionally push filters into light self-oscillation for texture. Others use it as an effect, sweeping the cutoff to create rising and falling pitch effects. Understanding your filter’s self-oscillation threshold helps you control whether you want this effect or clean filtering.
Practical Tips for Using Cutoff and Resonance
Now that you understand the theory, let me share practical starting points for common sound design tasks. These settings work as baselines that you can adjust to taste.
Bass Sounds
For warm, analog-style bass, start with a low-pass filter at 24 dB slope. Set the cutoff around 400 to 600 Hz initially. Use low resonance around 10 to 20 percent to add slight bite without harshness. This preserves the fundamental while removing excessive brightness that competes with leads and cymbals.
For aggressive bass, try higher resonance around 40 to 60 percent. Set the cutoff lower, around 200 to 300 Hz, then open it with an envelope for punch. The resonance adds character that helps the bass cut through on smaller speakers.
Lead Sounds
Leads typically need more brightness than bass sounds. Start with the cutoff around 2 to 4 kHz for a balanced sound. Use moderate resonance around 25 to 35 percent for presence without harshness.
For screaming lead sounds, push resonance higher and use the filter envelope to sweep from closed to open. This creates the classic subtractive synthesis attack where the sound blooms into brightness. Try 12 dB slope for vintage character or 24 dB for modern punch.
Pad Sounds
Pads benefit from gentle filtering and subtle movement. Start with 12 dB slope for openness. Set cutoff around 800 Hz to 1.5 kHz depending on how dark you want the pad. Use minimal resonance, around 5 to 15 percent.
Modulate the cutoff slowly with an LFO or assign it to aftertouch for expressive playing. The goal with pads is often warmth and space rather than aggressive character. Low resonance prevents the sound from becoming too focused or nasal.
Common Beginner Mistakes to Avoid
One common mistake is leaving the cutoff fully open on every sound. This results in harsh, digital-sounding patches that lack character. Experiment with closing the cutoff more than you think necessary. You can always add brightness with resonance rather than opening the cutoff completely.
Another mistake is using too much resonance on every sound. High resonance works for specific effects but becomes tiring across a full mix. Reserve high resonance settings for sounds that need to stand out. Use low resonance for background elements.
Finally, many beginners ignore filter envelopes. A static filter sounds boring compared to one that moves over time. Even a simple envelope that opens the cutoff slightly adds life and dimension to your sounds.
How to Use Filter Envelope with Cutoff?
Filter envelopes modulate the cutoff frequency over time when you play a note. This creates the characteristic sound of subtractive synthesis where tones evolve from the attack through decay and sustain phases.
Most synthesizers have a dedicated filter envelope with standard ADSR controls: Attack, Decay, Sustain, and Release. The envelope amount knob determines how strongly the envelope affects the cutoff. Positive amounts open the filter; negative amounts close it.
Setting a slow attack with high envelope amount creates swelling pad sounds. Fast attack with quick decay creates punchy plucked tones. Experiment with the relationship between envelope amount and cutoff position. The cutoff knob sets the base position while the envelope moves relative to that point.
FAQ: Common Questions About Filter Cutoff and Resonance
What is the difference between cutoff and resonance?
Cutoff determines the frequency where filtering begins. Resonance boosts the frequencies right at the cutoff point. Think of cutoff as setting the location of a wall, while resonance controls how bouncy that wall is. Cutoff affects which frequencies pass through; resonance affects the character of the frequencies at the transition point.
What does resonance on a filter do?
Resonance emphasizes or boosts frequencies immediately around the cutoff frequency. This creates a peak in the frequency response that adds bite, vocal qualities, or whistling character to the sound. Higher resonance produces a more pronounced peak and can lead to self-oscillation where the filter generates its own tone.
What is a cut-off filter?
A cut-off filter is another term for a filter where the cutoff frequency determines the boundary between frequencies that pass through and frequencies that are attenuated. The term commonly refers to low-pass filters in synthesizers, though technically any filter type has a cutoff frequency that defines its behavior.
What are the 4 types of filters?
The four main filter types are: 1) Low-Pass Filter (LPF) – allows low frequencies through, 2) High-Pass Filter (HPF) – allows high frequencies through, 3) Band-Pass Filter (BPF) – allows only a specific frequency band through, and 4) Notch Filter – removes a specific frequency band while allowing everything else through.
Why does resonance remove bass?
Resonance can appear to remove bass due to gain compensation in the filter circuit. When the filter boosts frequencies at the cutoff point through resonance, it often reduces overall gain to prevent distortion. This compensation subtracts energy from the lower frequencies, making the bass seem quieter even though the resonance peak is louder.
What is self-oscillation in filters?
Self-oscillation occurs when a resonant filter generates its own tone without input from oscillators. This happens when resonance exceeds a threshold where the filter’s feedback loop becomes strong enough to sustain oscillation. The filter outputs a pure sine wave at the cutoff frequency, essentially becoming a standalone oscillator.
How do I use filter envelope with cutoff?
Connect the filter envelope to control the cutoff frequency using the envelope amount knob. Set positive amounts to open the filter from the note start, creating brighter attacks. Adjust attack time for swelling sounds or fast attacks for punch. The cutoff knob sets the base position while the envelope adds movement relative to that point.
Conclusion: Mastering Filter Cutoff and Resonance Explained
Filter cutoff and resonance are the essential tools that transform raw oscillator waveforms into musical sounds. The cutoff frequency determines which harmonics make it through to your ears. The resonance adds character, bite, and emphasis at the transition point.
Understanding what is filter cutoff and resonance explained gives you control over the most fundamental aspect of subtractive synthesis. You now know the difference between filter types, how slope affects sound character, and why resonance behaves the way it does. You understand self-oscillation and can avoid common beginner mistakes.
The best way to internalize these concepts is through experimentation. Load up your favorite synthesizer and try the starting points I shared for bass, lead, and pad sounds. Sweep the cutoff while adjusting resonance and listen to how they interact. Pay attention to how different slopes change the character of the filtering.
With practice, adjusting cutoff and resonance becomes second nature. You will hear a raw oscillator sound and immediately know what filter settings will transform it into the tone you want. That is when synthesis becomes truly creative.