
I still remember the first time I truly understood ADSR envelopes. I had been programming synthesizers for months, randomly twisting knobs hoping to stumble upon decent sounds. Everything came out flat, lifeless, or completely wrong for the track. Then a mentor showed me how a single envelope setting transforms a harsh buzz into a smooth pad, or a limp thud into a punchy kick drum. That moment changed everything about how I approach sound design.
ADSR envelope is the key control that shapes how a sound evolves from the moment you press a key until it fades into silence. Understanding this four-stage system gives you the power to create any sound texture you can imagine, from sharp percussive hits to lush evolving atmospheres. In this guide, I will walk you through exactly how ADSR envelope works and how you can use it to transform your music production.
Whether you are working with hardware synthesizers, soft synths in your DAW, or even samplers, the principles of envelope control remain the same. By the end of this article, you will understand not just the theory, but how to apply ADSR settings to create professional-sounding instruments in any genre.
Table of Contents
What Is an ADSR Envelope?
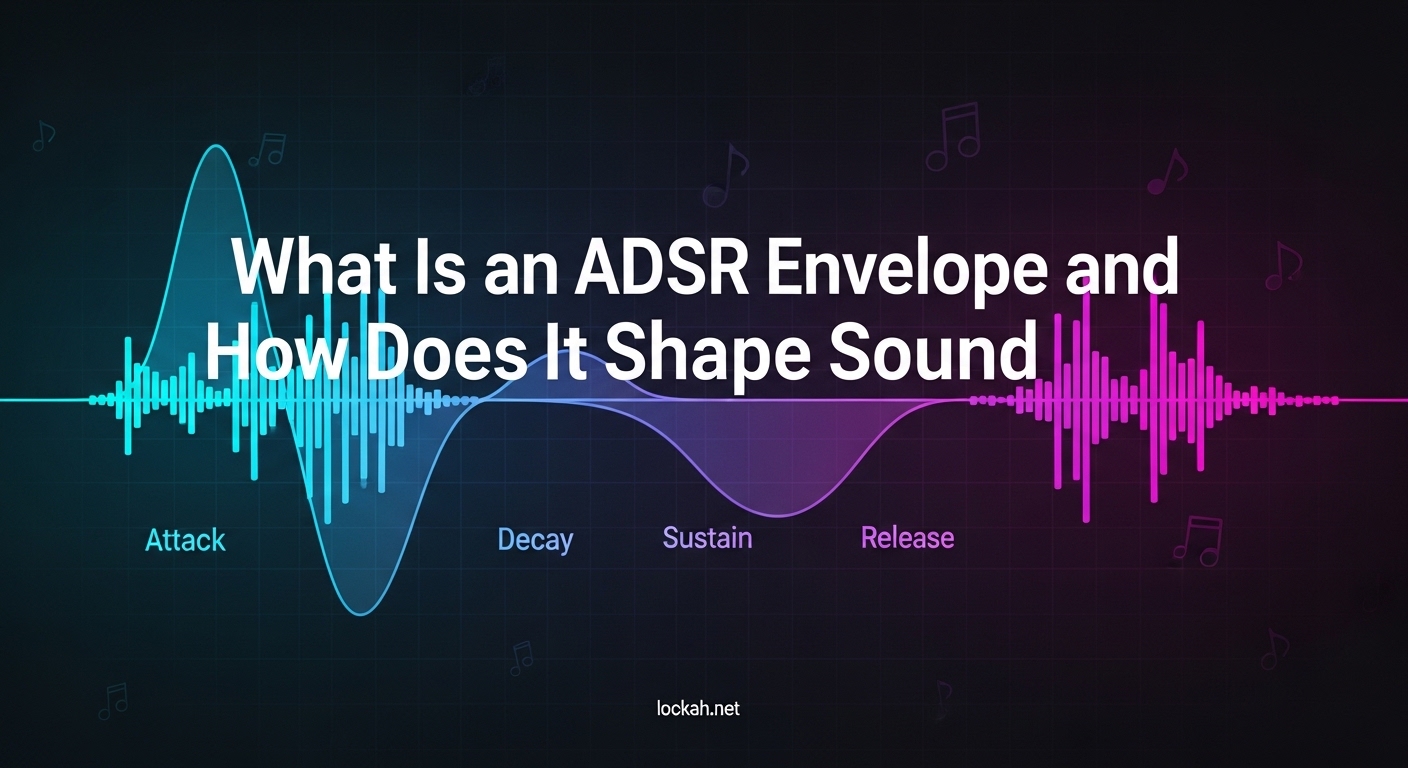
ADSR stands for Attack, Decay, Sustain, and Release. These four parameters form an envelope generator, a modulation source that controls how a sound parameter changes over time. Most commonly, ADSR envelope controls the amplitude envelope, meaning it shapes the volume of a sound from start to finish.
Think of an envelope like the contour of a sound. Just as a hand-drawn curve can show the rise and fall of a shape, an ADSR envelope traces the journey of a parameter through time. When you press a key on your MIDI controller, the envelope generator receives a note-on message and begins its journey through the attack and decay stages. When you release the key, the note-off message triggers the release stage.
What makes ADSR envelope so powerful is its versatility. While amplitude is the most common target, envelope generator outputs can modulate nearly any parameter in a synthesizer. Filter envelope changes the brightness of a sound over time. Pitch envelope can create percussive effects or special effects like laser sounds. Some synthesizers even allow envelope control over wavetable position, effects parameters, or oscillator sync.
In subtractive synthesis, the envelope generator works alongside oscillators and filters to define the character of a sound. The oscillator provides the raw timbre, the filter shapes the frequency content, and the envelope gives that sound its life, motion, and expression. Without proper envelope settings, even the most interesting waveform sounds static and boring.
What Is an ADSR Envelope? Breaking Down the Four Stages
To truly understand ADSR envelope, you need to grasp each stage individually and how they connect. I will explain each stage with practical examples from real instruments, helping you hear in your mind what these settings do before you even touch a knob.
Attack Stage – How Sound Begins
Attack time controls how quickly a sound reaches its maximum level after you press a key. With a short attack time near zero milliseconds, the sound hits immediately at full volume. With a longer attack time stretching hundreds of milliseconds or even seconds, the sound fades in gradually like a train approaching from a distance.
Real instruments provide the best reference for understanding attack. A piano has a sharp, immediate attack because the hammer strikes the string instantly. A violin has a much slower attack as the bow gradually sets the string in motion. A flute falls somewhere in between. When programming synthesizers to emulate these instruments, matching the attack time to the real instrument is essential for realism.
Attack time shapes the perceived character of a sound dramatically. Fast attacks create percussive, aggressive, upfront sounds that grab attention immediately. Slow attacks create mysterious, ethereal, or gentle sounds that sneak into the mix. In electronic music production, attack time often determines whether a sound sits on top of the mix or blends underneath.
I use fast attack times around 1-10 milliseconds for drums, plucks, and any sound that needs to cut through a dense mix. For pads, ambient textures, and background elements, I often set attack times from 200 milliseconds to 2 seconds, letting the sound bloom slowly. In cinematic sound design, extremely long attacks of 5-10 seconds can create tension and anticipation.
Decay Stage – The Drop to Sustain
Decay time determines how long it takes for the sound to fall from its peak level down to the sustain level. This is where many beginners get confused, and I want to make this crystal clear. The decay stage only happens if the sustain level is set lower than the maximum level. If sustain is at maximum, there is effectively no decay because the sound never drops.
The relationship between decay and sustain confuses many producers. Think of it this way: after the attack hits the peak, the envelope immediately wants to go to the sustain level. The decay time is simply how fast that transition happens. With a short decay, you hear the peak briefly then drop quickly. With a long decay, the sound gradually settles into its sustain level over time.
Decay time is crucial for percussive sounds. When creating drum sounds in a synthesizer, the decay stage shapes the body of the sound after the initial transient hit. A short decay creates tight, dry sounds. A long decay gives sounds more presence and tail. For bass sounds, I often use medium decay times to give the note some initial punch before settling into a steady sustain level.
In plucked string sounds, the decay time helps simulate the natural damping of a guitar or harp string. The initial pluck provides the attack, then the string vibration naturally decays toward a lower sustain level. Getting this decay time right makes the difference between a synthetic ping and a believable string emulation.
Sustain Stage – The Holding Level
Sustain level determines the volume at which a sound holds while you keep a key pressed. Unlike attack, decay, and release which are time values, sustain is a level value, usually expressed as a percentage of maximum volume. This is the steady state of your sound while the note rings out.
The key thing to understand about sustain is that it only matters for held notes. If you play staccato, tapping keys quickly, the sound might release before ever reaching the sustain phase. But when you hold a chord or a long bass note, the sustain level determines how loud that held portion sounds.
Real instruments behave differently with sustain. A pipe organ maintains full volume as long as you hold a key, so it has maximum sustain level. A piano actually has zero sustain level because the note naturally dies away even while holding the key, though the pedal can modify this behavior. String instruments can sustain at various levels depending on bow pressure.
In practice, I set high sustain levels for pads, organs, and brass sounds that need to hold steady under a chord. For plucked sounds and drums, I often set sustain to zero so the sound naturally dies out after the decay phase. Bass sounds usually want medium to high sustain so they maintain presence throughout the note duration.
Release Stage – How Sound Ends
Release time controls how long a sound takes to fade to silence after you let go of a key. This is triggered by the note-off message when you release your MIDI controller. Release time shapes the tail of your sound and is essential for creating space and preventing muddy mixes.
Here is a critical point many beginners miss: release time matters even when sustain is set to zero. Imagine a drum sound with no sustain. After the attack and decay, the sound is already at silence. But when you release the key, the release stage still triggers. If release time is long, the envelope stays open, potentially creating a noise floor or allowing reverb and delay to continue building unnaturally.
Release time creates the sense of space and environment in your sounds. Very short release times create dry, immediate, tight sounds that work well in fast, busy arrangements. Long release times create lingering, atmospheric tails that blend sounds together smoothly. For synth pads, I often use release times of 500 milliseconds to 2 seconds, letting chords overlap and create a lush texture.
In a mix context, release time affects how much space each instrument occupies. Sounds with long releases can accumulate and create a muddy mix if too many play simultaneously. I adjust release times based on the tempo and density of the track. Fast, busy tracks want tighter releases. Slower, atmospheric tracks can accommodate longer, more spacious releases.
How Does an ADSR Envelope Shape Sound?
Now that you understand the individual stages, let me explain how ADSR envelope works as a complete system to shape your sound. The envelope is the fingerprint of your sound, the factor that makes a snare sound crisp versus flabby, or a pad sound smooth versus choppy.
The amplitude envelope directly controls what we perceive as the volume shape of a sound. Human hearing is very sensitive to these volume contours. We recognize instruments partly by their envelope characteristics. A sound with fast attack, zero sustain, and fast release reads as percussive. A sound with slow attack, high sustain, and long release reads as smooth and continuous.
Filter envelope adds another dimension of sound shaping. By routing an envelope to control the filter cutoff frequency, you can make sounds brighter at the attack and darker as they sustain, mimicking the natural behavior of plucked strings or brass instruments. This is how you create the characteristic “wah” effect or make synth brass sounds that bite on the initial attack then mellow out.
Pitch envelope opens up creative possibilities for sound effects and percussion. A rapid pitch envelope that drops from high to low frequency creates the classic kick drum sound or laser zap effect. A rising pitch envelope can create suction sounds or reverse cymbal effects. Combining pitch envelope with noise oscillators creates an enormous range of percussive and special effect sounds.
The interplay between different envelopes creates complex, evolving sounds. I often use a fast amplitude envelope on a pad to keep it controlled, but a slow filter envelope to let the timbre evolve gradually. This creates sounds that are mix-friendly but still interesting and dynamic. Multiple envelope modulation is where advanced sound design truly begins.
Practical ADSR Applications for Sound Design (2026)
Let me walk you through specific applications for different types of sounds. These are starting points I use in my own productions, tested across many genres from ambient to techno to orchestral mockups.
Creating Pads and Ambient Textures
For smooth synth pads, I typically set attack around 500-1000 milliseconds, allowing the sound to fade in gently. Decay time around 300-500 milliseconds lets the sound settle into sustain. Sustain level at 80-100% keeps the pad present under chords. Release time of 800-1500 milliseconds creates that lush, overlapping tail that defines pad sounds.
The magic in pad sounds often comes from filter envelope. I route a separate envelope to the filter cutoff with a slow attack, so the pad opens up gradually over several seconds. This creates evolving, breathing textures that keep the listener engaged. Adding some velocity sensitivity to the filter envelope makes the pad respond expressively to how hard you play.
Designing Plucks and Staccato Sounds
Pluck sounds want immediate attack, zero sustain, and fast release. I set attack to near zero, decay around 100-300 milliseconds depending on how long I want the pluck to ring, sustain to zero, and release around 100-200 milliseconds. This creates a tight, controlled sound that works great for arpeggios and rhythmic patterns.
For realistic plucked string emulations like harp or guitar, the decay time is the most critical parameter. Real strings have a natural decay time based on their tension and material. I listen to recordings of the target instrument and match my decay time to that natural envelope. Adding a little filter decay, where the filter closes slightly during the decay phase, adds realism.
Drum and Percussive Sound Design
Drum synthesis relies heavily on envelope shaping. For kick drums, I use an extremely fast attack, short decay around 100-200 milliseconds, zero sustain, and medium release around 200-400 milliseconds. The decay stage shapes the body of the kick while the pitch envelope dropping rapidly creates the low frequency thump.
Snare drums need fast attack, decay around 150-250 milliseconds for the body, but I often layer multiple envelopes. One envelope controls the main oscillator tone while another shapes the noise component that provides the snare snap. The noise envelope typically has similar timing but might have slightly longer decay to let the snap ring out.
Hi-hats and cymbals use very fast attack, short decay of 50-150 milliseconds, and fast release. These sounds are all about the transient, the initial burst of energy. Getting the attack and decay just right makes the difference between a crisp hi-hat and a mushy one.
Lead Sounds and Expressive Playing
Lead synth sounds benefit from variable attack times depending on the articulation you want. Fast attack around 5-20 milliseconds creates immediate, aggressive leads suitable for EDM or pop. Slightly slower attack around 50-100 milliseconds creates a softer, more vocal-like quality that works for melodic leads.
For expressive leads that respond to playing dynamics, I set sustain around 80% and use velocity to control both the amplitude and filter cutoff. This makes the sound brighter and louder when played hard, softer and darker when played gently. The release time should match your tempo so phrases flow naturally without stepping on each other.
Beyond Amplitude: Filter and Pitch Envelopes
Once you master amplitude ADSR envelope, the next step is exploring other modulation targets. Filter envelope is the most common next application and opens up enormous sound design possibilities.
A filter envelope modulates the cutoff frequency of your low-pass, high-pass, or band-pass filter. Set the envelope with fast attack and you get an immediate bright opening that quickly closes down. Set it with slow attack and the sound gradually opens up over time. This is the key to classic analog synth sounds and wah-wah effects.
Pitch envelope creates dramatic effects by temporarily detuning an oscillator then returning it to pitch. Set a pitch envelope with fast decay dropping several semitones and you get the classic 808 kick drum punch. Set a rising pitch envelope and you get suction sounds or reverse effects. Combining pitch envelope with ring modulation or frequency modulation creates metallic, bell-like percussion.
Advanced synthesizers allow you to route envelopes to nearly any parameter. Envelope-controlled wavetable position creates morphing sounds that evolve dramatically over a single note. Envelope-controlled LFO speed creates vibrato that ramps up or down. Envelope-controlled drive or distortion adds grit only at the attack of notes.
Common ADSR Mistakes Beginners Make
After teaching synthesis to many producers, I have seen the same confusion points come up repeatedly. Let me address these common mistakes so you can avoid the frustration I and others experienced.
The biggest confusion is between decay and release. Beginners often turn up release time when they want a longer sound, but this just creates a muddy tail after each note. Remember: decay controls how long the sound lasts while holding the key. Release only matters after you let go. For longer sustained sounds, focus on the sustain level and decay time, not release.
Another frequent mistake is ignoring the sustain level impact on the decay stage. If you set sustain to maximum, your decay time becomes irrelevant because the envelope never drops below peak. If you are tweaking decay and hearing no change, check that your sustain level is set below maximum.
Setting release too long is another common problem. Long releases sound lush in solo but create a wash of overlapping noise in a busy mix. I recommend starting with tight releases around 100-300 milliseconds and only lengthening when you specifically need that lingering effect.
The final mistake is relying on your eyes instead of your ears. The numbers on the screen are just guides. Different synthesizers have different envelope curves, meaning 100 milliseconds on one synth might sound different from 100 milliseconds on another. Trust your ears and adjust by listening, not by matching numbers.
Frequently Asked Questions About ADSR
What is envelope ADSR?
ADSR envelope is a four-stage control system used in synthesizers and audio software that shapes how a sound changes over time. ADSR stands for Attack, Decay, Sustain, and Release. Attack controls how quickly a sound starts, Decay controls how it drops to the sustain level, Sustain sets the held volume while a key is pressed, and Release controls how the sound fades after you release the key.
What does an envelope do in audio?
In audio, an envelope shapes the contour of a sound parameter over time. Envelopes most commonly control amplitude, creating the volume shape from when a note starts until it ends. They can also control filter cutoff, pitch, and other parameters, allowing sounds to evolve dynamically rather than staying static.
What is the ADSR description?
ADSR describes a four-stage envelope generator where Attack is the time to reach peak level, Decay is the time to drop to sustain level, Sustain is the held level while a note is active, and Release is the time to fade to silence after key release. These four parameters completely define the shape of a sound over its duration.
What stage of an envelope generator shapes drum sounds?
The Decay stage primarily shapes drum sounds, working with the Attack stage. Fast Attack creates the initial hit or transient, while short Decay creates the tight, controlled body typical of drums. Sustain is usually set to zero for drums since they do not ring at a steady level.
What is the difference between filter envelope and amplitude envelope?
Amplitude envelope controls volume over time, determining how loud a sound is at each stage. Filter envelope controls the filter cutoff frequency over time, determining how bright or dark a sound becomes. While amplitude affects overall loudness, filter envelope affects timbre and character without changing the overall volume.
Can you use ADSR on audio samples?
Yes, ADSR envelopes can be used on audio samples through sampler instruments and DAW envelope followers. Samplers like Kontakt, Ableton Simpler, or Logic EXS24 allow you to apply amplitude envelopes to shape the start and end of samples. Some DAWs also offer envelope follower plugins that can apply envelope shapes to any audio signal.
Mastering ADSR for Better Sound Design
Understanding ADSR envelope transforms your ability to create sounds that fit your music. Whether you are programming a massive bass sound for a dance floor, crafting an evolving pad for ambient textures, or designing punchy drums, the envelope is your primary tool for shaping character and expression.
I encourage you to experiment with extreme settings. Try sounds with 5-second attacks or 10-second releases. Create percussion with zero sustain and fast decay. Build pads with slow filter envelopes that open over several bars. These experiments build your intuition for what each parameter does.
Remember that envelope is only one part of sound design. It works together with oscillators, filters, effects, and modulation to create the final result. But envelope is often the difference between a sound that works and one that falls flat. Master your ADSR envelope, and you will have mastered one of the most important tools in music production.
Start with the practical settings I have shared, then adjust by ear. Every synthesizer implements envelopes slightly differently, and every track demands different envelope characteristics. Trust your ears, experiment freely, and enjoy the creative possibilities that proper envelope control unlocks.