
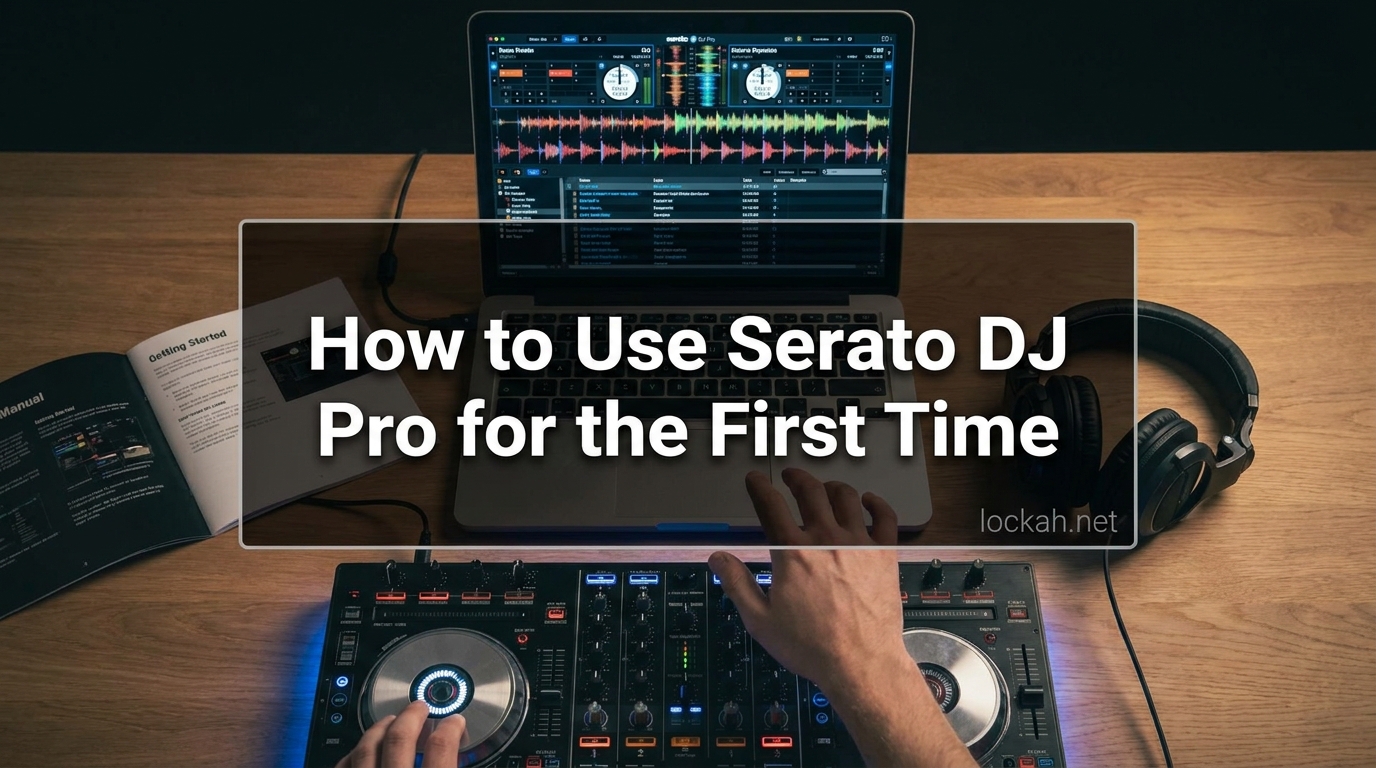
Learning how to use Serato DJ Pro for the first time can feel overwhelming when you are staring at a screen full of waveforms, buttons, and unfamiliar controls. I remember my first time opening the software. I had just unboxed my first DJ controller, plugged everything in, and then froze. Where do I start? What do all these sliders do? Is my music going to sound terrible?
Serato DJ Pro is the industry-standard software used by professionals in clubs and festivals around the world. It is also one of the most beginner-friendly options available in 2026. The software combines powerful features with an intuitive interface that grows with you as your skills develop.
This guide will walk you through everything you need to know to go from complete beginner to playing your first mix. We will cover installation, hardware setup, music library organization, and the essential techniques that form the foundation of DJing. By the end, you will understand the interface, know how to load and mix tracks, and have a complete keyboard shortcuts reference that most guides skip entirely.
Table of Contents
What You Need to Get Started?
Before downloading Serato DJ Pro, confirm your computer can run it smoothly. Nothing kills the excitement of learning faster than software that lags or crashes during your first session.
System Requirements for 2026
Serato DJ Pro runs on both Windows and macOS, but the specific requirements change as the software updates. As of 2026, here are the minimum and recommended specifications.
Windows Requirements: Windows 10 or 11 with the latest service pack, a 64-bit processor with at least 4GB of RAM (8GB recommended for larger libraries), and 5GB of free hard drive space for installation. You will also need a USB 2.0 port for controller connection and a stable internet connection for activation and library features.
macOS Requirements: macOS 10.15 (Catalina) or later, an Intel Core i3 or Apple Silicon processor, 4GB RAM minimum with 8GB recommended, and 5GB available storage space.
Audio Hardware: A built-in sound card works for Practice Mode, but for actual DJing you will need either a Serato-compatible DJ controller with a built-in audio interface, or a separate external USB audio interface connected to studio monitors or headphones.
How to Use Serato DJ Pro for the First Time: Step-by-Step Setup
Getting Serato DJ Pro running involves four main stages. Download the software, create your account, activate your license, and connect your hardware. Each step is straightforward, but skipping one will prevent you from moving forward.
Step 1: Download and Installation
Visit serato.com and navigate to the DJ Pro download page. The website automatically detects your operating system and offers the correct installer. Download the file, which is approximately 1GB, and run the installer when complete.
The installation wizard guides you through the process. Accept the license agreement, choose your installation location (the default works fine), and wait for the progress bar to complete. On Windows, you may need to approve driver installations for audio devices. On Mac, you might need to grant permissions in System Preferences.
Once installed, launch Serato DJ Pro from your desktop or applications folder. The first launch may take longer than usual as the software initializes its database and checks for updates.
Step 2: Account Creation and Activation
Serato requires a free account to use the software. Click “Create Account” on the login screen and enter your email address, a password, and your country. Verify your email by clicking the link sent to your inbox.
For new users, Serato offers a 14-day free trial of DJ Pro. This trial unlocks all features and gives you full access to test the software before committing to a subscription. After the trial, you can choose between several plans based on your needs.
Subscription Options: Serato DJ Pro starts at $9.99 per month or $99 per year. The Suite plan, at $14.99 monthly, includes additional expansion packs like video mixing and advanced FX. There is also Serato DJ Lite, which is free but limited to basic features and hardware compatibility.
Step 3: Connecting Your DJ Controller
Most beginners start with a DJ controller. These all-in-one devices combine decks and a mixer into a single unit that controls the software. Popular beginner controllers include the Pioneer DJ DDJ-SB3, Numark Mixtrack Pro FX, and Hercules DJControl Inpulse series.
Connection Process: Connect your controller to your computer using the included USB cable before opening Serato DJ Pro. Most controllers are plug-and-play, meaning Serato recognizes them automatically. Once connected and powered on, launch Serato. You should see your controller name appear in the top center of the screen.
If your controller does not appear, try a different USB port (USB 2.0 ports are more reliable than USB 3.0 for some controllers). Ensure your controller firmware is updated by checking the manufacturer’s website. On Windows, you may need to install specific drivers for certain controllers.
Audio Setup: Go to Settings (gear icon) > Audio. Select your controller as the audio device. Set your sample rate to 44100 Hz and buffer size to 512 samples as a starting point. Lower buffer sizes reduce latency but increase CPU load.
Step 4: Setting Up Without a Controller (Practice Mode)
Serato DJ Pro includes a feature called Practice Mode that lets you use the software without any hardware connected. This is perfect for learning the basics, preparing sets, or practicing when your controller is unavailable.
In Practice Mode, you control everything using your mouse and keyboard. The virtual decks on screen respond to clicks, and keyboard shortcuts handle playback functions. While you will eventually want hardware for the tactile control real DJing requires, Practice Mode is an excellent way to start learning immediately.
Understanding the Serato DJ Pro Interface (2026)
When Serato DJ Pro opens, you see a dark interface divided into distinct sections. Understanding what each area does makes navigation intuitive.
The Virtual Decks
The left and right sides of the screen represent your two virtual turntables, labeled Deck 1 and Deck 2. Each deck displays the currently loaded track information including title, artist, BPM, key, and time remaining. The large waveform shows the audio visually, with peaks representing beats and transients.
Beneath the waveform, you see the beat grid. These are the vertical lines marking where each beat falls. Accurate beat grids are essential for sync features and visual mixing. The circular virtual platter simulates the spinning record, showing rotation speed and position.
The Mixer Section
Center screen contains your virtual mixer. This mirrors a traditional DJ mixer with controls for each channel. You see gain knobs (input level), high/mid/low EQ knobs for shaping the sound, and VU meters showing audio levels. The horizontal crossfader at the bottom blends between the two decks, while the vertical channel faders control individual deck volumes.
The mixer also houses effect controls, filter knobs, and the master output level. Spend time familiarizing yourself with these controls. The EQ section is particularly important for creating smooth transitions between tracks.
The Library Browser
The bottom or left panel displays your music library. This is where you access tracks, organize crates (playlists), and view track information. Columns display BPM, key, artist, album, and more. You can sort by any column by clicking the header.
The search bar at the top of the browser lets you quickly find tracks. As your library grows, this search function becomes invaluable. You can also create and manage crates here, which we will cover in the next section.
Importing and Organizing Your Music Library
A well-organized music library separates good DJs from struggling ones. When you are performing, you need to find the right track in seconds, not minutes.
Importing Music Files
Serato DJ Pro supports MP3, AAC, AIFF, WAV, and FLAC formats. To import music, click the Files button in the library panel and navigate to your music folders. Drag and drop folders onto the library panel, or right-click in the browser and select “Import Folder.”
Serato does not move your files. It creates a database referencing their current locations. If you move files after importing, Serato will show them as missing until you relocate them. Keep your music organized in a consistent folder structure to avoid this headache.
Creating and Using Crates
Crates are Serato’s version of playlists. Think of them as virtual record crates where you organize tracks by genre, energy level, or event type. To create a crate, click the plus icon next to the Crates header and name your new crate.
Drag tracks from your main library into crates to add them. A single track can exist in multiple crates without duplicating the file. Many DJs create crates like “Peak Time Bangers,” “Warm-Up Tracks,” “90s Hip Hop,” or “Client Requested.”
Subcrates: Right-click a crate to create subcrates for deeper organization. You might have a main “House Music” crate with subcrates for “Deep House,” “Tech House,” and “Progressive.”
Streaming Service Integration
Serato DJ Pro integrates with TIDAL, SoundCloud Go+, Beatport LINK, and Beatsource LINK. This gives you access to millions of tracks without downloading files. Connect your streaming account in the Settings > Library + Display section.
Be aware that streaming tracks require an active internet connection. For professional gigs, downloaded files are more reliable. Streaming works best for practice, discovery, and preparing sets.
Track Analysis: The Foundation of Mixing
Before you can mix effectively, Serato needs to analyze your tracks. This process detects the BPM (tempo), musical key, and beat grid position. Proper analysis enables sync features and visual beat matching.
How Track Analysis Works
When you import tracks, Serato automatically begins analyzing them. You see a progress indicator in the status bar. Analysis happens in the background, so you can start using tracks before it completes. However, for the most accurate results, wait for analysis to finish before mixing.
The software detects BPM by identifying the regular beat pattern. It determines key using harmonic detection algorithms. The beat grid places markers on each detected beat, creating the visual reference you see on the waveforms.
Verifying and Correcting Analysis
Serato’s analysis is accurate for most electronic music with clear beats. However, it sometimes struggles with live drums, complex rhythms, or tracks with tempo changes. Always verify the BPM and beat grid on important tracks.
To check the beat grid, load a track and play it. Watch whether the grid lines align with the audio peaks in the waveform. If they drift off, right-click the track and select “Edit Grid.” You can adjust the first beat marker and the BPM value manually. This takes practice but becomes faster with experience.
Key Detection and Harmonic Mixing
The key display shows the musical key of each track. Serato uses the Camelot wheel system (numbers 1A-12B) alongside traditional notation (C Major, A Minor). Tracks in compatible keys blend harmonically, creating pleasing transitions.
For beginners, do not worry too much about harmonic mixing initially. Focus on matching BPMs and energy levels first. As you advance, harmonic mixing becomes a powerful tool for creating seamless sets.
Your First Mix: From Loading to Blending
Now comes the exciting part. Playing your first mix. This section walks you through loading tracks, setting cue points, and executing a basic blend between two songs.
Step 1: Loading Your First Track
Navigate to your library and find a track you want to start with. Look for something with a clear, steady beat and an intro without vocals. Drag the track to Deck 1, or click on it and press the load button for Deck 1 on your controller.
The track appears in the deck with the waveform displayed. You will see the playhead (position marker) at the beginning. Do not hit play yet. First, set a cue point at the first beat.
Step 2: Setting Cue Points
A cue point is a marker you can instantly jump to. Think of it as a bookmark in the track. To set your first cue point, find the first solid beat of the track (usually after any ambient intro), position the playhead on that beat using your jog wheel or mouse, then press a cue pad on your controller or click the cue button on screen.
The cue point appears as a colored marker on the waveform. You can set up to 8 cue points per track, numbered by the pads. I recommend setting one at the first beat of the main section and another at an ideal mix-out point near the end.
Step 3: Loading the Second Track
Find a second track with a similar BPM. A good beginner exercise is mixing two tracks within 3 BPM of each other. Drag this track to Deck 2. Check that the BPM display shows a close number to Deck 1.
Use the pitch fader on Deck 2 to adjust the speed until both BPMs match exactly. If you have a controller with sync functionality, you can press the sync button to automatically match tempos. However, learning to do this manually builds fundamental skills.
Step 4: Executing the Transition
Start Deck 1 playing by pressing the play button. Let it play through the intro and into the main section. Listen for a natural break or instrumental section. This is your cue to start bringing in Deck 2.
Press play on Deck 2 at the right moment. You now have both tracks playing. Use the channel fader or crossfader to gradually introduce Deck 2. Start with Deck 2’s fader fully down, then slowly bring it up while Deck 1 is playing. Meanwhile, gradually reduce Deck 1’s volume.
Practice this basic fade transition until it feels natural. Then experiment with using the EQ knobs. Try cutting the bass on Deck 2 when you first bring it in, then swap the bass lines by cutting Deck 1’s low EQ and bringing up Deck 2’s. This technique creates cleaner, more professional-sounding transitions.
Essential Features Every Beginner Should Master
Once you can load and mix tracks, explore these core features that expand your creative possibilities.
Working with Loops
Loops repeat a section of audio continuously. They are invaluable for extending mixes, creating buildups, or giving yourself more time to find the next track. To create a loop, press the Loop In button where you want it to start, then Loop Out where it should end.
Serato offers auto-loop functions with preset lengths (1 beat, 2 beats, 4 beats, up to 32 beats). These are mapped to pads on most controllers. Experiment with 4-beat or 8-beat loops during instrumental sections to create tension and energy.
Basic Effects Usage
Effects modify the sound in real-time. Serato DJ Pro includes essential effects like echo, reverb, flanger, and filter. Each effect has parameters you adjust using knobs on your controller or the on-screen controls.
Start with the filter effect. This gradually removes high or low frequencies, creating that classic “underwater” sound or building anticipation before a drop. Apply effects sparingly at first. One well-timed echo adds impact. Constant effects become tiresome quickly.
The Sampler
The sampler lets you trigger one-shot sounds like air horns, vocal snippets, or drum hits alongside your tracks. Load samples into the sampler slots and trigger them with pads. This adds personality to your sets but requires preparation. Curate a small collection of quality samples rather than using everything available.
Complete Keyboard Shortcuts Reference
Learning keyboard shortcuts dramatically speeds up your workflow. Most beginners rely entirely on mouse clicks and controller buttons, but knowing these shortcuts makes you faster and more efficient.
Playback Controls
Space Bar: Play or pause the selected deck.
C: Set or jump to the first cue point on the selected deck.
Shift + C: Delete the first cue point on the selected deck.
Left Arrow / Right Arrow: Nudge the selected deck backward or forward (pitch bend).
Shift + Left/Right Arrow: Seek quickly through the track.
Deck Selection and Loading
Shift + Left Ctrl / Shift + Right Ctrl: Load the selected track to Deck 1 or Deck 2 (Windows).
Shift + Left Command / Shift + Right Command: Load the selected track to Deck 1 or Deck 2 (Mac).
Tab: Switch focus between the library and the decks.
F1-F8: Trigger cue points 1-8 on the left deck (when keyboard shortcuts are enabled in Practice Mode).
Loop Controls
Alt + 1 through Alt + 5: Activate auto-loops of 1, 2, 4, 8, or 16 beats on the selected deck.
Alt + ` (tilde): Exit the current loop.
Alt + Left/Right Arrow: Adjust the loop in or out point by one beat.
Library Navigation
Ctrl + F (Windows) / Command + F (Mac): Jump to the search box.
Ctrl + L (Windows) / Command + L (Mac): Focus the library panel.
Up/Down Arrows: Navigate through tracks in the library.
Enter: Load the selected track to the focused deck.
View and Interface
Ctrl + + (Windows) / Command + + (Mac): Zoom in on the waveform.
Ctrl + – (Windows) / Command + – (Mac): Zoom out on the waveform.
Ctrl + 1 (Windows) / Command + 1 (Mac): Toggle between 2-deck and 4-deck view.
F: Toggle full-screen mode.
Understanding Practice Mode
Practice Mode deserves special attention because it is the best way to learn when you cannot access your controller.
When you open Serato without a controller connected, it automatically enters Practice Mode. The interface looks nearly identical, but you interact using your mouse and keyboard. You can load tracks, set cue points, create loops, and mix just like with hardware.
The main limitation is audio output. Practice Mode only supports stereo output through your computer’s built-in sound card. You cannot use multiple outputs for headphone cueing (listening to one deck in headphones while the other plays to speakers). This makes it unsuitable for live performance but perfect for practice and preparation.
Use Practice Mode to organize your library, analyze tracks, prepare cue points, and practice transitions using the keyboard shortcuts. Many professional DJs spend hours in Practice Mode preparing their sets before gigs.
Troubleshooting Common Issues
Even with straightforward software, problems arise. Here are solutions to the most common issues beginners face.
Controller Not Connecting
If Serato does not recognize your controller, start with the USB cable. Try a different cable first, then different ports. Avoid USB hubs, especially unpowered ones. Connect directly to your computer.
Check that your controller is powered on. Some controllers draw power from USB alone, while others need an external power supply. Consult your controller manual to confirm.
Update your controller firmware and Serato DJ Pro to the latest versions. Manufacturers regularly release updates fixing compatibility issues. On Windows, ensure you have installed any required drivers from the controller manufacturer’s website.
Audio Lag and Stuttering
Audio dropouts ruin mixes and confidence. If you hear stuttering or delays, first check your audio buffer size. In Settings > Audio, increase the buffer size to 1024 or 2048 samples. Higher buffers increase latency but improve stability.
Close unnecessary applications. Serato needs CPU and memory resources. Web browsers with many tabs, especially streaming video, compete for these resources. Disconnect from Wi-Fi during performances if you do not need streaming services.
Check your USB power settings on Windows. Open Device Manager, find your USB controllers, and disable “Allow the computer to turn off this device to save power” on all USB Root Hubs.
Track Analysis Errors
If tracks show incorrect BPMs or misaligned beat grids, you can reanalyze them. Right-click the track, select “Reanalyze,” and wait for completion. For stubborn tracks, use “Edit Grid” to manually place the first beat and adjust the BPM value.
Tracks with live drums, tempo changes, or complex rhythms often require manual correction. Electronic music with steady 4/4 beats usually analyzes perfectly.
Missing Files
If tracks appear with an exclamation mark in your library, Serato cannot find the original file. This happens when you move or rename files outside of Serato. Right-click the track and select “Relocate” to point Serato to the new file location.
Prevent this by organizing your music in a dedicated folder structure and using Serato’s “Protect Library” feature in the settings. Regular backups of your music folder and Serato database files prevent disaster.
Frequently Asked Questions
Is Serato DJ Pro good for beginners?
Yes, Serato DJ Pro is excellent for beginners despite being industry-standard professional software. The interface is intuitive, the learning curve is manageable, and features like Practice Mode let you start without hardware. The software includes helpful tutorials and integrates seamlessly with beginner-friendly controllers. Many professional DJs started their journey with Serato.
How to activate Serato DJ Pro?
Create a free Serato account at serato.com, download and install the software, then sign in within the application. New users get a 14-day free trial automatically. After the trial, subscribe through your Serato account dashboard. Enter your payment details and the license activates immediately across all your devices.
What is the best Serato DJ controller for beginners?
The Pioneer DJ DDJ-SB3 offers the best balance of features, build quality, and price for Serato beginners. The Numark Mixtrack Pro FX is a more affordable option with excellent performance pads. The Hercules DJControl Inpulse series provides unique learning features like beatmatch guides. Choose based on your budget, but any Serato-compatible controller works with this guide.
Can I use Serato DJ Pro without a subscription?
Serato DJ Pro requires a paid subscription for full access. However, Serato DJ Lite is completely free and includes essential mixing features. Lite works with limited hardware and lacks advanced features like recording and certain effects. You can use Lite indefinitely to learn the basics, then upgrade to Pro when ready for professional features.
Can I use Serato DJ Pro without a controller?
Yes, using Practice Mode. This feature works entirely with your mouse and keyboard, letting you mix, set cue points, and organize your library without hardware. Practice Mode only supports stereo output, so you cannot use separate headphone cueing. It is perfect for learning, preparation, and practice but not suitable for live performance.
Why is Serato DJ Pro lagging or stuttering?
Audio lag typically stems from buffer size settings, CPU overload, or USB power management. Increase your audio buffer size in Settings > Audio. Close unnecessary applications to free CPU resources. On Windows, disable USB power saving in Device Manager. Ensure your computer meets minimum system requirements and that no background processes are consuming resources.
Conclusion: Your Journey Starts Now
You now understand how to use Serato DJ Pro for the first time, from installation through your first mix. The foundation is set. You know how to install and activate the software, connect your hardware, organize your library, analyze tracks, and execute basic transitions. You have a complete keyboard shortcuts reference that will speed up your workflow.
Learning to DJ is a journey, not a destination. The concepts in this guide take time to master. Spend hours in Practice Mode experimenting with cue points and loops. Record your practice sessions and listen critically. Each mix teaches you something new.
Start simple. Master the basic fade transition before attempting complex EQ mixing. Focus on track selection and timing before diving deep into effects. The best DJs are not the ones who use every feature. They are the ones who use basic features at the right moments.
Download Serato DJ Pro today, connect your controller or open Practice Mode, and load your first track. Your DJ journey begins with that single step. The dance floor is waiting.