
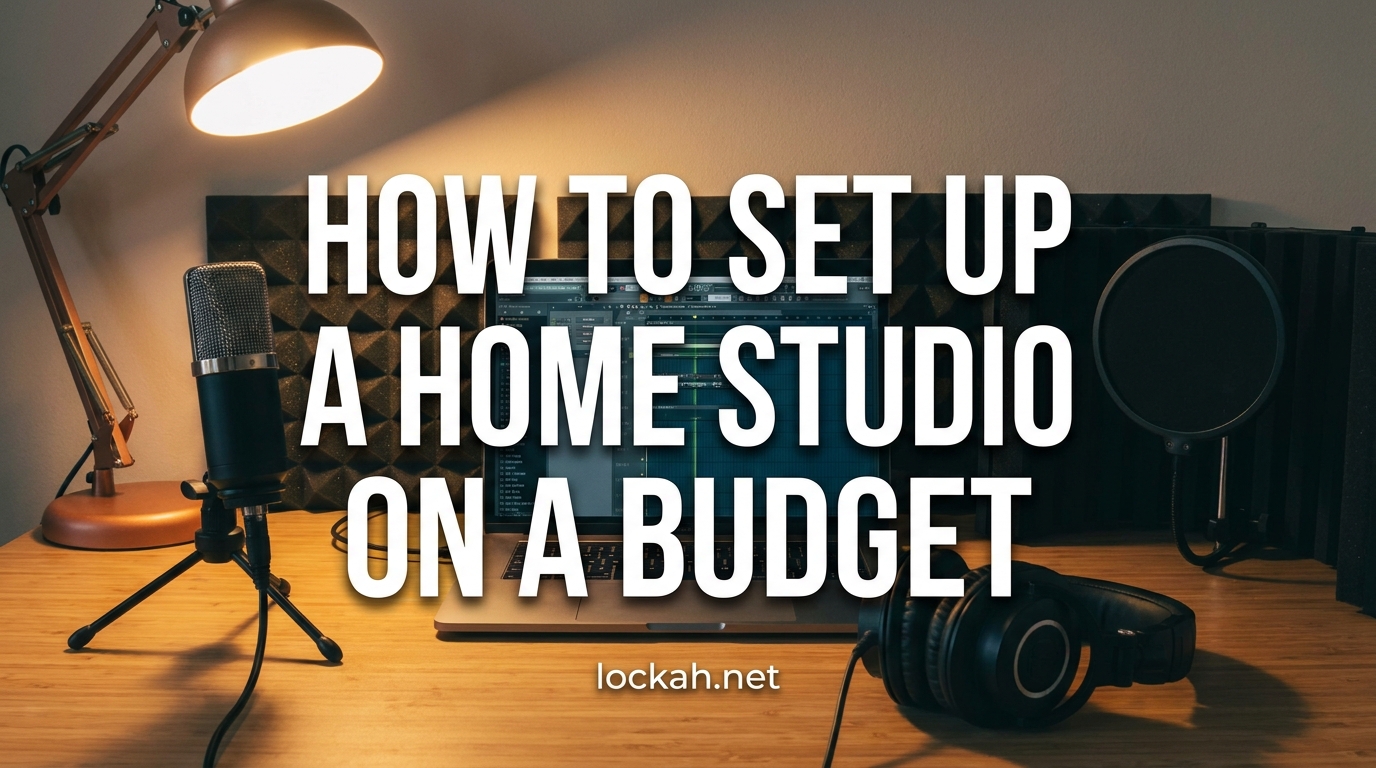
Setting up a home studio on a budget is more achievable now than ever before. When Billie Eilish recorded her Grammy-winning album in her brother’s bedroom using affordable equipment, it proved that talent and creativity matter more than expensive gear. I have helped dozens of beginners build functional recording spaces for under $500, and I am here to show you exactly how to set up a home studio on a budget without sacrificing quality.
Many newcomers fall into the trap of buying the cheapest gear available. This is a mistake. Budget-friendly does not mean bottom-of-the-barrel. Smart spending means investing in equipment that gives you professional results while keeping costs reasonable. We will cover everything from choosing the right space to selecting each piece of equipment in the order that makes the most sense for your wallet.
Whether you want to record vocals, produce beats, start a podcast, or write songs, this guide will walk you through building a home recording studio setup that delivers results. Let us dive into the practical steps that will get you recording professional-sounding audio without emptying your bank account.
Home Studio Budget Tiers: What to Expect in 2026?
Before you start buying gear, you need realistic expectations about costs. I have broken this down into three clear tiers based on what I have seen work for hundreds of beginners.
The $300 Starter Setup: This gets you recording immediately. You will get a basic audio interface, one decent microphone, headphones, and free DAW software. Reddit users from r/makinghiphop consistently report success starting in this range. You will not get studio monitors or fancy room treatment, but you can produce professional-sounding tracks.
The $500 Complete Setup: This is the sweet spot for most beginners. You add studio monitors, a MIDI keyboard, basic acoustic treatment, and better cables. This setup covers all the home studio essentials and gives you room to grow.
The $1000 Pro-Am Setup: This includes higher-quality gear across the board. You get a better audio interface with more inputs, a premium condenser microphone, proper acoustic panels, and a more powerful computer if needed. This is for serious creators who plan to make money from their studio.
How to Set Up a Home Studio on a Budget – Step by Step Guide
Follow these steps in order. Each builds on the previous one, and skipping ahead often leads to buying gear you cannot use yet.
Step 1: Choose the Right Space
Start with the room you already have. The best space for a bedroom recording studio is rectangular, not square. Square rooms create standing waves that muddy your recordings. If possible, choose a room with carpet, curtains, and soft furnishings. These absorb sound naturally and reduce echo.
Avoid bathrooms, kitchens, and empty garages. Hard surfaces create reflections that ruin vocal recordings. If you only have a tiled or hardwood room, do not worry. We will address acoustic treatment in Step 8. For now, pick the smallest rectangular room with the most soft surfaces available.
Position your desk against the short wall, not centered in the room. This gives you the best bass response and reduces unwanted reflections. Keep your recording area away from windows and noisy appliances like air conditioners or refrigerators.
Step 2: Get a Capable Computer
You do not need the latest MacBook Pro to record music. Most computers made in the last five years can handle home recording. Here are the minimum specs I recommend: 8GB RAM, a dual-core processor from Intel i5 or AMD Ryzen 5 series, and at least 256GB of storage with 100GB free.
SSD storage is worth the upgrade if you are buying new. It speeds up project loading and sample streaming. If your budget is tight, prioritize RAM over CPU. You can always freeze tracks to save processing power, but you cannot mix if you run out of memory.
Windows and Mac both work great for music production. Windows machines often give you more power per dollar, while Macs are known for stability. Linux is possible but requires technical knowledge most beginners do not have. Use what you already own if it meets the specs above.
Step 3: Select Your DAW Software
Your Digital Audio Workstation is the heart of your studio. It is where you record, edit, mix, and master your music. The good news is you have excellent free options.
GarageBand (Mac only) is completely free and surprisingly powerful. Many professional producers started here. It lacks advanced mixing features but handles recording and basic production perfectly.
Cakewalk by BandLab (Windows only) is a full professional DAW that costs nothing. It includes unlimited tracks, pro-level effects, and support for third-party plugins. This is my top recommendation for Windows users on a budget.
Audacity (Windows, Mac, Linux) is free and open source. It is best for simple recording and editing but lacks MIDI support and advanced production features. Use it if you only need to record vocals or podcasts.
If you want paid options, Reaper costs $60 for a personal license and rivals $600 software in features. It has a 60-day free trial with no limitations. FL Studio Producer Edition at $199 is popular for beat makers. Ableton Live Intro at $99 works well for electronic music producers.
Step 4: Choose an Audio Interface
The audio interface converts your analog microphone signal into digital data your computer can process. It also handles the reverse, sending audio back to your headphones or speakers. This is one piece where spending a little more pays off.
For beginners, I recommend a 2-input interface. This lets you record vocals and guitar simultaneously, or stereo keyboards. Look for these features: 24-bit/48kHz minimum recording quality, phantom power for condenser microphones, direct monitoring to hear yourself without latency, and USB bus power so you do not need a separate power supply.
The Focusrite Scarlett Solo (3rd Gen) costs around $120 and is the industry standard for entry-level interfaces. It sounds clean, works reliably, and comes with useful bundled software. The PreSonus AudioBox USB 96 at $100 is another solid choice with similar features.
If you need more inputs for recording full bands, the Behringer U-Phoria UMC204HD at $80 offers surprising quality for the price. Just know that Behringer drivers can be less stable than Focusrite or PreSonus.
Buy your interface before your microphone. You cannot use an XLR microphone without one, and knowing your interface helps you choose compatible mics.
Step 5: Pick Your Microphone
Your microphone choice depends on what you are recording. For vocals and acoustic instruments, a large-diaphragm condenser microphone is ideal. For loud sources like drums and guitar amps, a dynamic microphone works better.
Condenser Microphones: These capture detail and high frequencies beautifully. They require phantom power from your audio interface. The Audio-Technica AT2020 at $99 is the classic budget choice for vocals. The Maono PM500 at $70 offers similar quality for less money. If you can stretch to $150, the Rode NT1-A comes with a shock mount and pop filter included.
Dynamic Microphones: The Shure SM58 at $99 is the workhorse of the industry. It handles loud sources, rejects background noise, and lasts forever. For $20 less, the Behringer XM8500 gives you 80% of the SM58 performance. The Shure SM57 at $99 is the standard for recording guitar amps and snare drums.
Start with one microphone that matches your primary recording need. If you mainly sing, get a condenser. If you mainly record loud instruments or podcasts, get a dynamic mic. You can always add another later.
Step 6: Get Studio Monitors or Headphones
You need to hear your recordings accurately to mix them well. Consumer speakers and earbuds color the sound with boosted bass and treble. Studio monitors and headphones aim for a flat frequency response so you hear exactly what you recorded.
Headphones are the budget choice. Closed-back headphones isolate sound, preventing bleed into microphones during recording. The Audio-Technica ATH-M20x at $49 are the entry point for decent mixing headphones. The Sony MDR-7506 at $99 are industry-standard tracking headphones found in professional studios worldwide. The Beyerdynamic DT 990 Pro at $130 are open-back headphones excellent for mixing but not recording due to sound leakage.
Studio Monitors: If you have $200-300 and a treated room, monitors let you feel the bass and hear stereo imaging more accurately. The PreSonus Eris E3.5 at $100 are the cheapest usable monitors. The JBL 305P MkII at $150 each are the first monitors I would call truly professional.
For a $500 total budget, get headphones first. Add monitors later when you can afford both the speakers and proper room treatment. Mixing on good headphones beats mixing on cheap monitors every time.
Step 7: Add a MIDI Keyboard
A MIDI keyboard lets you play virtual instruments in your DAW. You do not need piano skills to benefit from one. Even one-finger melody input beats clicking notes with a mouse.
For beginners, a 49-key controller strikes the right balance between functionality and desk space. The Akai MPK Mini Mk3 at $99 is compact, includes drum pads for beat making, and works with every major DAW. The Novation Launchkey Mini Mk3 at $109 integrates especially well with Ableton Live.
If you have piano experience, the M-Audio Keystation 49 Mk3 at $80 gives you full-sized keys with velocity sensitivity. The Arturia MiniLab 3 at $109 includes excellent bundled software and build quality that punches above its price.
Skip MIDI keyboards with built-in speakers and sounds. They cost more and the sounds are usually worse than free VST plugins. A USB controller keyboard gives you better value.
Step 8: Apply Acoustic Treatment
Here is a distinction most guides get wrong. Soundproofing blocks sound from entering or leaving a room. Acoustic treatment controls sound reflections inside a room. You want the second one.
For a budget home studio, you do not need expensive foam panels. Start with what you have. Heavy curtains, bookshelves full of books, wardrobes, and even couches against walls all absorb sound. The goal is to reduce hard reflections while keeping some life in the room.
If you want to buy treatment, start with bass traps for the corners behind your monitors. Low frequencies build up in corners and muddy your mixes. Four corner bass traps cost around $80-120. Then add absorption panels at your first reflection points – the spots on the side walls where sound bounces directly from your monitors to your ears.
DIY options work well too. Moving blankets hung on walls absorb high frequencies effectively. Owens Corning 703 fiberglass panels wrapped in fabric perform as well as expensive acoustic foam for a fraction of the cost.
Remember, a treated room with cheap monitors sounds better than an untreated room with expensive monitors. Treat your space before upgrading your speakers.
Step 9: Get Essential Cables and Accessories
Do not let cheap cables ruin expensive recordings. You need a few specific items to connect everything properly.
XLR cables connect microphones to audio interfaces. Get cables with Neutrik or Switchcraft connectors if possible. They last longer and provide better connection quality. Two 10-foot XLR cables cost about $20-30.
1/4 inch TRS cables connect studio monitors to your interface. Balanced cables reduce interference and noise. You will need two, one for each speaker. A pair costs $15-25.
A mic stand is essential for consistent recordings. The boom arm style lets you position the mic precisely. The On-Stage MS7701B at $25 is sturdy and reliable. If you want to free up desk space, the InnoGear Microphone Suspension Boom Scissor Arm at $13 works surprisingly well for lightweight condenser mics.
A pop filter stops plosive sounds from overwhelming your recordings when singing or speaking. The standard nylon mesh style costs $10-15. Some microphones include one.
A shock mount isolates your microphone from vibrations. If your mic includes one, use it. If not, placing your mic stand on a folded towel or mousepad provides basic isolation.
Do not buy cable adapters to make wrong cables fit. They add noise points and often fail. Buy the right cable for each connection.
Step 10: Optimize Your Workflow
Now that everything is connected, take time to optimize your setup. Small adjustments make big differences in your daily experience.
Set your audio interface buffer size as low as possible without hearing crackles. Lower buffer size means lower latency – the delay between playing a note and hearing it back. Start at 256 samples and adjust from there.
Organize your DAW projects with a consistent folder structure. Create templates for different recording scenarios – vocals, instruments, full sessions. This saves hours of setup time.
Calibrate your monitor levels. Play a track you know well at a comfortable volume, then mark that position on your volume knob. Mix at this level consistently. Your ears fatigue slower at moderate volumes.
Finally, back up your work. External hard drives cost $50 for 1TB. Cloud storage like Google Drive or Dropbox gives you offsite protection. Losing weeks of work to a hard drive failure is a painful lesson you can avoid.
7 Beginner Mistakes to Avoid When Building Your Home Studio
After years of helping beginners, I see the same mistakes repeated. Learn from others and skip these pitfalls.
1. Gear Acquisition Syndrome (GAS): Buying gear feels productive, but practicing with what you have improves your music more than new equipment. I have seen producers with $10,000 studios who cannot finish a song. Start with the essentials and upgrade only when your current gear limits you.
2. Buying Before Learning: Watch tutorials on your current DAW before buying plugins. Learn your microphone’s sweet spots before buying another mic. Master your existing tools. The internet is full of free educational content. Use it.
3. Skipping Room Treatment: You cannot fix bad room acoustics with EQ. No plugin corrects flutter echo or standing waves. Treat your room before buying expensive monitors. Even basic treatment transforms how your mixes translate to other systems.
4. Using the Wrong Cables: Unbalanced cables pick up interference. Cheap adapters add noise. Buy proper balanced XLR and TRS cables from the start. This $30 investment prevents hours of troubleshooting hum and buzz.
5. Recording Too Hot: Digital recording does not work like analog. You do not need to peg the meters. Leave headroom. Aim for peaks around -12dB to -6dB. You can always turn tracks up. Clipped audio is permanently damaged.
6. Neglecting Ergonomics: Back pain ends more music careers than bad mixes. Get a chair that supports your lower back. Position your monitor at eye level. Take breaks every 45 minutes. Your body is part of your studio setup.
7. Comparing Your Beginnings to Someone Else’s Middle: Your first mixes will not sound like professional releases. That is normal. The producer you admire spent years developing their skills. Focus on improvement, not perfection. Every session teaches you something.
Frequently Asked Questions
How to build a cheap home studio?
Start with a $300 budget focused on essentials: a basic audio interface like the Focusrite Scarlett Solo, one versatile microphone such as the Audio-Technica AT2020, closed-back headphones for monitoring, and free DAW software like Cakewalk or GarageBand. Choose a small rectangular room, position your desk against the short wall, and use household items like curtains and bookshelves for basic acoustic treatment. Buy cables and a mic stand, then start recording. Upgrade individual pieces as your skills and needs grow.
How much can a home studio cost?
A functional home studio costs between $300 and $1000 depending on your needs. A $300 starter setup includes basic recording essentials. A $500 complete setup adds studio monitors, MIDI keyboard, and proper acoustic treatment. A $1000 pro-am setup includes higher-quality interfaces, premium microphones, and comprehensive room treatment. Professional home studios can reach $5000 or more, but excellent results are achievable at every budget tier.
What do I need to start my own home studio?
You need seven essential items: a computer with 8GB RAM minimum, a DAW (Digital Audio Workstation) software, an audio interface with phantom power, one microphone suited to your primary recording needs, headphones or studio monitors for mixing, the appropriate cables to connect everything, and a microphone stand with pop filter. Optional but recommended are a MIDI keyboard for virtual instruments and basic acoustic treatment for your room.
How much is 2 hours of studio time?
Professional studio time costs $50 to $250 per hour depending on location and facilities. Two hours typically runs $100 to $500. Major city studios with experienced engineers charge premium rates, while home studios or rural locations cost less. Building your own home studio pays for itself after just a few avoided rental sessions, making it cost-effective for regular recording needs.
Can you build a home studio for under $500?
Yes, a complete home studio is absolutely achievable for under $500. Budget approximately $120 for an audio interface, $100 for a microphone, $50-100 for quality headphones, $100 for a MIDI keyboard, $30 for cables, $25 for a mic stand and pop filter, and use free DAW software. The remaining budget covers acoustic treatment DIY materials or entry-level studio monitors if you prefer speakers over headphones.
What is the best DAW for beginners on a budget?
Cakewalk by BandLab is the best free DAW for Windows users, offering professional features at no cost. GarageBand is the top choice for Mac users, providing an intuitive interface with surprisingly powerful tools. Reaper at $60 is the best value paid option, with a 60-day full trial and capabilities rivaling software costing ten times more. Choose based on your operating system and whether you prioritize recording, electronic production, or beat making.
Your Home Studio Journey Starts Now
You now know exactly how to set up a home studio on a budget. The path from complete beginner to recording your first professional-sounding track is clearer than ever. Remember, equipment is just a tool. Your creativity and dedication matter more than the price tag on your gear.
Start with the $300 essentials if money is tight. Add pieces one at a time as your budget allows. Focus on learning your equipment deeply rather than constantly chasing the next upgrade. The producers you admire started exactly where you are now.
Your home recording studio setup does not need to be perfect tomorrow. It needs to be functional today. Pick your space, gather your gear in the order outlined above, and start making music. Every hit song started as a rough idea recorded somewhere by someone who decided to begin. Your studio is waiting.