
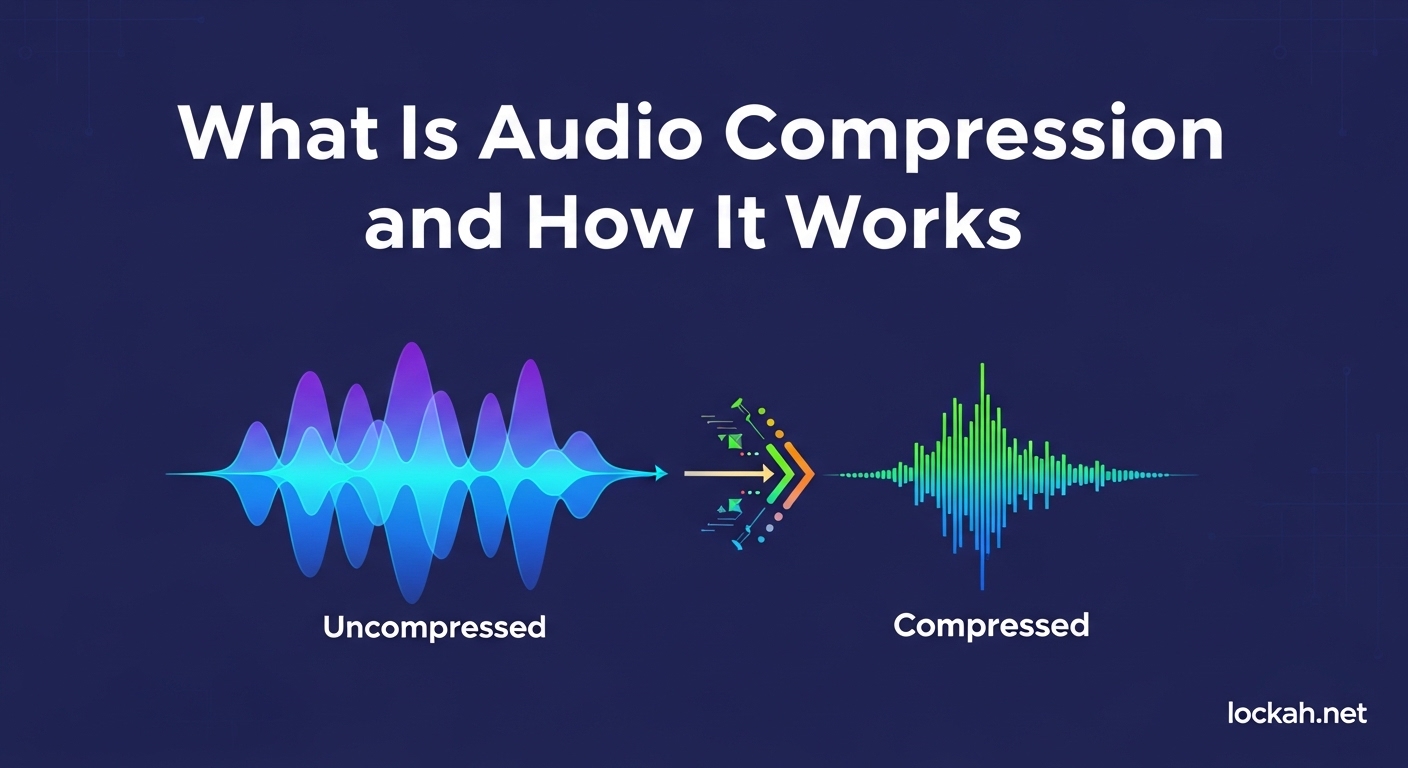
Audio compression is a dynamics processing technique that reduces the volume of sounds that exceed a specified threshold, effectively narrowing the dynamic range between the loudest and quietest parts of a signal. It is one of the most essential tools in music production, mixing, and mastering, yet many beginners struggle to understand exactly what it does and how to use it effectively.
I remember when I first started learning about compression. I would load up a compressor plugin, turn some knobs, and hope for the best. Sometimes things sounded better. Sometimes they sounded worse. But I had no idea why. After years of trial and error, reading forum discussions from engineers on Gearspace and Reddit, and testing countless settings, I finally developed a clear understanding of how compression actually works.
In this guide, I will walk you through everything you need to know about audio compression. You will learn what compression is, why we use it, how each parameter works, the different types of compressors available, and practical techniques you can apply immediately to your own mixes.
Table of Contents
What Is Audio Compression and How Does It Work?
Audio compression works by automatically reducing the gain of an audio signal when it exceeds a certain level called the threshold. Imagine you are recording a vocal performance where the singer moves closer and farther from the microphone. Some phrases are loud and powerful. Others are quiet and intimate. Without compression, you would need to constantly adjust the fader to keep everything audible and balanced.
A compressor does this automatically. When the signal gets too loud, the compressor turns it down according to the ratio you have set. When the signal falls below the threshold, the compressor stops affecting it. The result is a more consistent, controlled sound where the quiet parts are easier to hear and the loud parts do not jump out unexpectedly.
The key concept here is dynamic range. Dynamic range is the difference in volume between the loudest and quietest parts of your audio. A recording with high dynamic range has very loud peaks and very quiet sections. A recording with low dynamic range stays at a fairly consistent volume throughout. Compression reduces dynamic range, bringing the loudest and quietest parts closer together.
This is different from the audio file compression you might use when saving MP3s or sending audio over the internet. That type of compression reduces file size. Audio compression, the subject of this guide, controls dynamics and volume levels. Both are important in audio production, but they serve completely different purposes.
Why Use Audio Compression?
Compression serves several important purposes in audio production. Understanding why we use compression helps you make better decisions about when and how to apply it.
The primary reason we use compression is to control dynamic range and create consistency. In a mix, you want every element to be audible without one instrument suddenly overpowering everything else. Compression helps even out performances where the musician played some parts louder than others.
Compression also prevents distortion and clipping. When a signal exceeds 0 dBFS in digital audio, it clips and creates harsh digital distortion. A compressor can catch these peaks before they clip, keeping your audio clean and distortion-free.
Another benefit is that compression allows you to increase the overall perceived loudness of a track. By bringing down the peaks, you create headroom. You can then use makeup gain to bring the entire signal up. The result sounds louder and fuller without the peaks hitting the ceiling.
Compression can also shape the character and tone of a sound. Different compressors impart different sonic colors. Some add warmth and thickness. Others add aggression and punch. The attack and release settings can emphasize or de-emphasize transients, changing how percussive or smooth an instrument sounds.
The Core Compression Parameters (September 2026)
Every compressor has several controls that determine how it behaves. Understanding these parameters is essential for using compression effectively. Let us break down each one.
Threshold
The threshold is the level at which compression begins. It is measured in decibels, usually shown as negative dBFS values like -18 dB or -12 dB. When the audio signal exceeds this level, the compressor activates and starts reducing gain.
Setting the threshold correctly is crucial. If you set it too high, the compressor never activates and nothing happens. If you set it too low, the compressor affects almost everything, resulting in over-compression and a lifeless sound.
A good starting point is to set the threshold so that the compressor engages on the loudest parts of the performance but leaves the quieter passages untouched. Watch the gain reduction meter and aim for 3 to 6 dB of gain reduction on peaks. This is usually enough to control dynamics without destroying the natural character of the performance.
Ratio
The ratio determines how much the compressor reduces the gain once the threshold is exceeded. It is expressed as a ratio like 2:1, 4:1, or 8:1. The first number represents how many decibels the input must exceed the threshold to result in one decibel of output increase.
For example, with a 4:1 ratio, if the input exceeds the threshold by 4 dB, the output will only increase by 1 dB. If the input exceeds by 8 dB, the output increases by 2 dB. The higher the ratio, the more aggressive the compression.
A ratio of 2:1 is considered gentle compression, suitable for subtle dynamic control. A ratio of 4:1 is moderate compression, good for most general purposes. Ratios of 8:1 and above are heavy compression, often used for limiting or aggressive shaping. A ratio of infinity to one means the signal never exceeds the threshold, creating a hard limiter.
Attack Time
Attack time determines how quickly the compressor responds once the signal exceeds the threshold. It is measured in milliseconds or microseconds. A fast attack time like 1 millisecond catches transients immediately. A slow attack time like 30 milliseconds lets transients pass through before compression kicks in.
The attack setting dramatically affects the character of the compressed sound. Fast attack times clamp down on transients, making drums less punchy and vocals less articulate. This can be desirable for smoothing out harsh sounds or controlling peaks aggressively.
Slow attack times allow transients to pass through uncompressed before the gain reduction begins. This preserves the punch and impact of drums, the snap of bass strings, and the articulation of vocals. Many engineers prefer slower attack times for a more natural, musical compression sound.
Common attack time ranges are 0.1 milliseconds for very fast, 1 to 10 milliseconds for fast, 10 to 30 milliseconds for medium, and 30+ milliseconds for slow. I often start with medium attack times around 10 to 20 milliseconds and adjust from there based on what I hear.
Release Time
Release time controls how long the compressor takes to stop compressing after the signal falls below the threshold. It is also measured in milliseconds, though it can range from a few milliseconds to several seconds depending on the compressor.
Fast release times return the gain to normal quickly, which can create a more aggressive, pumping sound. This is sometimes desirable for effect compression or adding energy to drums. However, very fast release times can cause distortion on low-frequency content.
Slow release times create smoother, more transparent compression. The gain reduction fades away gradually, often making the compression less noticeable. This works well for vocals, bass, and other instruments where you want control without obvious pumping.
The interaction between attack and release is important. A fast attack with fast release creates a tight, controlled sound. A slow attack with slow release preserves transients and creates smooth gain riding. Many compressors also have an auto-release setting that adjusts dynamically based on the program material.
Knee
The knee setting controls how gradually or abruptly the compressor transitions from no compression to full compression. A hard knee means compression kicks in fully as soon as the threshold is crossed. A soft knee means compression starts gradually below the threshold and reaches full ratio above it.
Hard knee compression sounds more aggressive and obvious. It is useful for peak limiting or when you want tight control over dynamics. Soft knee compression sounds more subtle and natural. It is often preferred for gentle leveling and transparent compression.
Some compressors let you adjust the knee shape with a continuous control. Others offer simple soft or hard settings. I typically start with soft knee for most applications and switch to hard knee when I need more aggressive limiting.
Makeup Gain
Makeup gain compensates for the volume lost during compression. When you compress a signal, the peaks get quieter. Makeup gain brings the overall level back up so the compressed signal matches the uncompressed signal in perceived loudness.
This is essential for fair comparison. If you simply turn down the peaks without makeup gain, the compressed version will sound quieter. Our ears naturally prefer louder sounds, so you might think the compressed version sounds worse when really it just needs more gain.
A good practice is to set your makeup gain so the compressed and uncompressed signals sound roughly the same loudness when you bypass the compressor. This lets you hear what the compression is actually doing to the sound rather than just hearing a volume change.
Types of Audio Compressors
Different compressor types use different technologies to achieve gain reduction. Each type has its own character, strengths, and ideal use cases. Understanding these differences helps you choose the right tool for the job.
Tube Compressors use vacuum tubes in the gain reduction circuit. They tend to have slower attack and release times, creating a smooth, musical compression that adds warmth and character. Tube compressors are prized for vocals, bass, and program material where you want a vintage, analog sound. The Teletronix LA-2A is the classic example, known for its gentle, transparent leveling.
Optical Compressors use a light source and light-dependent resistor to control gain. As the signal gets louder, the light gets brighter, causing the resistor to reduce gain. This creates a very natural, smooth attack and release curve that follows the program material. Optical compressors are excellent for vocals and bass where you want transparent control without obvious artifacts.
FET Compressors use field-effect transistors to achieve fast, aggressive gain reduction. They can react much faster than tube or optical designs, making them ideal for drums, percussion, and situations where you need to catch transients quickly. The UREI 1176 is the most famous FET compressor, known for its punchy, aggressive sound that adds energy and excitement.
VCA Compressors use voltage-controlled amplifiers for precise, linear gain reduction. They offer the most control and predictability, with very fast attack and release times possible. VCA compressors are workhorses that work well on almost anything. The dbx 160 and SSL buss compressor are classic VCA designs known for their tight, punchy sound.
| Type | Speed | Character | Best For |
|---|---|---|---|
| Tube | Slow | Warm, smooth | Vocals, bass, glue |
| Optical | Slow to medium | Transparent, natural | Vocals, bass, gentle control |
| FET | Fast | Aggressive, punchy | Drums, percussion, energy |
| VCA | Very fast | Clean, precise | Everything, buss compression |
Practical Compression Applications (2026)
Now that you understand the theory, let us look at practical applications for different instruments. These are starting points based on common practices from professional engineers.
Compressing Vocals
Vocals almost always need compression. The human voice has a huge dynamic range, and performances naturally vary in level as the singer moves and expresses emotion. Compression helps keep the vocal audible and present throughout the mix.
For lead vocals, try a ratio of 3:1 to 4:1 with a medium attack around 10 to 20 milliseconds and a medium release around 50 to 100 milliseconds. Set the threshold so you get 3 to 6 dB of gain reduction on the loudest phrases. Use makeup gain to match the level, then fine-tune until the vocal sits consistently in the mix.
For more aggressive vocals or rap, you might use faster attack times and higher ratios. For gentle ballads, slower attack times and lower ratios preserve the natural dynamics. Serial compression using two gentle compressors instead of one aggressive one often sounds more natural on vocals.
Compressing Drums
Drums are highly dynamic instruments with sharp transients. Compression can either preserve or crush these transients depending on your settings. This makes attack time especially critical on drums.
For punchy drums with preserved transients, use slower attack times around 10 to 30 milliseconds. This lets the initial crack of the snare or kick through before compression kicks in. Combine with fast release times to create an energetic, pumping sound. Ratios of 4:1 to 8:1 work well for drum compression.
For room mics or parallel compression, try aggressive settings with fast attack, fast release, and high ratios. This crushes the drums and adds energy and excitement when blended back in with the dry signal. The famous New York compression technique uses this approach.
Compressing Bass
Bass guitar and bass synthesizer benefit from compression to even out the performance and add sustain. Uneven bass playing can make the low end feel unstable in a mix.
Try medium attack times around 10 to 20 milliseconds to preserve the initial pluck or pick attack while controlling the sustained notes. Medium to slow release times around 100 to 300 milliseconds let the compressor breathe naturally with the rhythm. Ratios of 3:1 to 6:1 usually work well.
Optical compressors are particularly popular for bass because their natural attack and release curves follow the instrument well. A multiband compressor can also help if you want to control the low end differently from the higher harmonics.
Advanced Compression Techniques
Once you understand the basics, these advanced techniques can take your mixes to the next level.
Sidechain Compression
Sidechain compression uses the signal from one track to trigger compression on another. The classic example is ducking the bass every time the kick drum hits. This creates space for the kick without permanently turning down the bass.
To set up sidechain compression, route your kick drum to the sidechain input of a compressor on your bass track. Set fast attack and release times so the bass ducks quickly and returns immediately after the kick. Adjust the threshold and ratio to control how much the bass drops.
Sidechain compression is also used creatively in electronic music to create that pumping effect where the entire mix breathes with the kick drum. It can help vocals sit better over dense mixes by ducking instruments that compete for the same frequency range.
Parallel Compression
Parallel compression, also called New York compression, involves blending a heavily compressed signal with the uncompressed original. This gives you the best of both worlds: the punch and impact of the dry signal plus the body and sustain of the compressed signal.
To do this, duplicate your track or use a compressor with a wet/dry mix control. Crush the duplicated track with fast attack, fast release, and high ratio settings. Then blend it back in with the original until you get the desired balance. This works great on drums, vocals, and even full mixes.
Serial Compression
Serial compression uses multiple gentle compressors in sequence instead of one aggressive compressor. Each compressor does a little bit of work, resulting in more transparent, musical compression overall.
For example, instead of hitting a vocal with 10 dB of gain reduction from one compressor, you might use two compressors each doing 3 to 5 dB. The first catches the big peaks. The second evens out the smaller variations. This approach is popular for vocals and can produce very natural-sounding results.
Common Compression Mistakes and How to Avoid Them
Even experienced engineers make mistakes with compression. Here are the most common pitfalls and how to avoid them.
Over-compression is the most common problem. Too much compression sucks the life out of a performance, making it sound flat and dull. If you notice the transients are gone, the dynamics are squashed, or everything sounds the same volume, you have over-compressed. Use less gain reduction, increase the threshold, or lower the ratio.
Not hearing what compression does is another frequent issue. Many beginners cannot tell when compression is working. The solution is to use extreme settings at first so you clearly hear the effect, then back off until it becomes subtle. Also make sure you are matching levels with makeup gain so volume differences do not fool your ears.
Wrong attack times can ruin a sound. Too fast an attack kills transients and makes drums sound flat. Too slow an attack lets peaks through and fails to control dynamics. There is no perfect setting; it depends on the source material and what you are trying to achieve. Trust your ears and adjust accordingly.
Pumping and breathing happen when the release time is too fast or the compressor is working too hard. You hear the volume pump up and down unnaturally. This can be an artistic effect in electronic music, but it is usually undesirable. Slow down the release time or use lower ratios to fix this.
Compression on every track is not always necessary. While compression is a powerful tool, not every track needs it. Some recordings already have consistent dynamics. Adding compression just because you think you should often does more harm than good. Evaluate each track individually.
Frequently Asked Questions
What does audio compression actually do?
What does 4:1 compression mean?
Should you EQ or compress first?
Should I put compression on every track?
How to tell if a song is over compressed?
What are the disadvantages of audio compression?
Conclusion
Audio compression is a fundamental skill for anyone working with audio. When you understand what compression in audio is and how it works, you gain precise control over your mixes. You can tame unruly dynamics, add punch and energy, and create professional-sounding productions.
Remember that compression is a tool, not a magic fix. Start with the basics: set your threshold to catch the peaks, choose an appropriate ratio for the job, dial in attack and release times that match the material, and use makeup gain for fair comparison. From there, experiment with different compressor types and advanced techniques like sidechaining and parallel compression.
The most important advice I can give you is to trust your ears. Technical knowledge helps, but ultimately your ears tell you what sounds good. Practice listening critically to compression. Bypass it often to hear the difference. Over time, you will develop an intuition for when and how to use compression to enhance your music.