
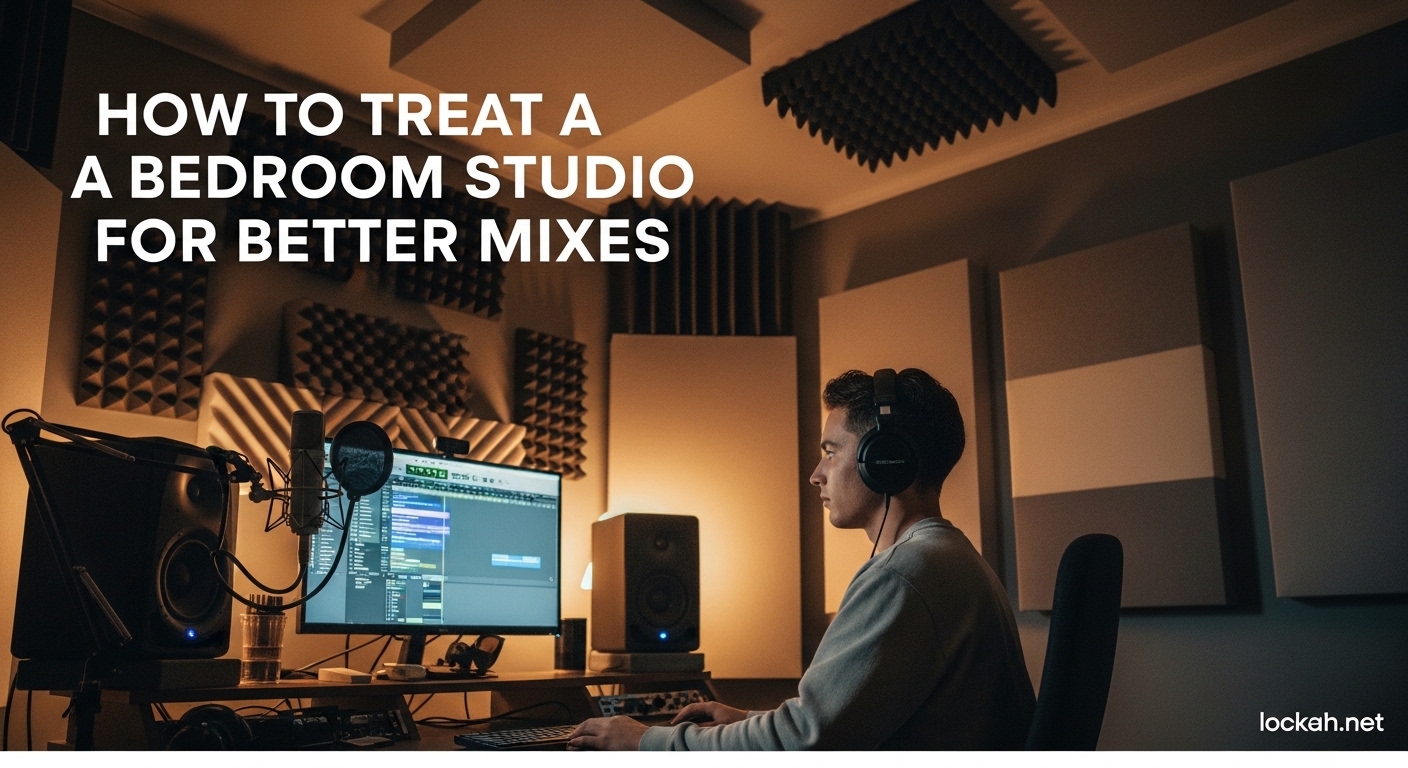
After spending three years mixing in an untreated 12-by-10 foot bedroom, I finally understood why my tracks sounded amazing on my monitors but fell apart in my car. The room was lying to me. Every decision I made was based on what the room added, not what was actually in the mix.
Learning how to treat a bedroom studio for better mixes changed everything. My mixes started translating to every system I tested them on. The muddy low end that haunted me for months finally made sense once I understood room modes and bass buildup.
This guide walks you through exactly what I learned from trial, error, and studying acoustic treatment extensively. You will understand why your room affects your sound, where to start with treatment, and how to do it even on a tight budget.
Table of Contents
Why Untreated Rooms Ruin Your Mixes?
Your bedroom studio has a sound signature of its own. Sound waves bounce off walls, ceilings, and floors, creating reflections that arrive at your ears milliseconds after the direct sound from your monitors. These reflections combine with the original sound, causing comb filtering that makes some frequencies louder and others quieter.
Room modes are the biggest culprit in small bedrooms. These are resonant frequencies that build up between parallel walls, creating peaks and nulls at specific locations in your room. You might hear booming bass in one corner and almost nothing in another spot just three feet away.
Standing waves between parallel surfaces create the most problems in the low end. Small rooms under 150 square feet typically have room modes clustered below 200 Hz, right where kick drums, bass guitars, and synth sub-bass live. Without treatment, you are mixing blind to what is actually happening in that critical frequency range.
First reflections are another major issue. These are the earliest echoes that bounce once off your side walls, ceiling, or desk before reaching your ears. They smear transients, destroy stereo imaging, and make it impossible to judge reverb tails accurately. Your brain cannot separate these reflections from the direct sound, so you hear a blurry, inaccurate version of your mix.
SBIR, or Speaker Boundary Interference Response, happens when sound from the back of your monitors reflects off the wall behind them. This reflection combines with the direct sound, creating cancellations at specific frequencies. The result is a frequency response that looks like a comb, with deep notches where energy cancels out completely.
How to Treat a Bedroom Studio for Better Mixes?
The order in which you treat your room matters significantly. Start with the biggest problems first, then work your way to fine-tuning. Here is the proven sequence that acoustic engineers recommend for bedroom studios.
Step 1: Optimize Your Room Layout and Listening Position
Before you hang a single panel, get your room layout right. Place your desk so you are firing down the longest dimension of the room. This gives sound waves the longest path to travel before hitting a wall, which reduces the intensity of reflections and helps with low frequency response.
The 38% rule is a proven starting point for your listening position. Measure the length of your room, multiply by 0.38, and place your listening position that distance from the front wall. For example, in a 12-foot deep room, your ears should be roughly 4.5 feet from the front wall.
Set up your monitors in an equilateral triangle with your listening position. The distance between your left and right speakers should equal the distance from each speaker to your head. Angle the speakers toward your ears so the tweeters point directly at you. Your ears should be at the same height as the tweeters.
Keep your monitors at least 8 to 12 inches from the front wall to minimize SBIR effects. The exact distance depends on your room, but starting around 10 inches is safe for most bedroom studios. You can fine-tune this later by moving the speakers slightly and listening for the smoothest low end.
Step 2: Install Bass Traps in All Corners
Corners are where bass energy accumulates most intensely. Where two walls meet, low frequencies build up and create the strongest room modes. Where three surfaces meet (wall-wall-ceiling corners), the buildup is even worse. Bass traps in corners are your highest priority treatment.
Start with the vertical corners behind your monitors. These are the tri-corners where the side walls meet the front wall and ceiling. Bass buildup here creates the muddiest low end and most problematic room modes. Place floor-to-ceiling bass traps in these corners if possible.
Next, treat the rear corners of your room. Sound reflects off the back wall and accumulates in these corners, creating standing waves that muddy your low end perception. Even basic corner traps here will clean up your bass response significantly.
Super chunks are an excellent corner treatment option. These are triangular wedges of rigid fiberglass or mineral wool that fill the entire corner from floor to ceiling. They absorb bass frequencies effectively and take up minimal floor space.
Membrane traps are another option for corners. These tuned absorbers target specific low frequencies and are thinner than porous traps. They work well in rooms where space is limited but you need serious low frequency control.
Step 3: Treat First Reflection Points
First reflections cause the most noticeable coloration of your sound. The mirror method is the simplest way to find these reflection points. Sit in your listening position and have a friend move a mirror along the side wall. When you can see your speaker in the mirror, that is a first reflection point. Mark it with tape.
Do this for both side walls, the ceiling above your head, and the desk or console surface if it is hard and reflective. You will typically find reflection points on the side walls roughly midway between you and the speakers, and on the ceiling slightly forward of your listening position.
Place acoustic panels at these reflection points. The panels should be at least 2 inches thick for meaningful absorption. Four inches is better for controlling lower midrange frequencies. Mount them so the center of the panel is at ear height for side wall treatment.
Ceiling clouds are panels hung horizontally above your listening position. They treat ceiling reflections without taking up wall space. Hang them 4 to 8 inches below the ceiling for best absorption. If you cannot install ceiling treatment, a thick rug on the floor below your listening position helps reduce floor reflections.
Treating first reflections makes an immediate, audible difference. Stereo imaging becomes precise and defined. You can hear reverb tails clearly instead of them being smeared by early reflections. Transients sound sharper and more detailed.
Step 4: Address the Rear Wall
Your rear wall creates some of the most problematic reflections. Sound from your monitors hits the back wall, reflects, and arrives at your ears after a significant delay. This causes comb filtering and makes it difficult to judge the depth and space in your mixes.
The SBIR formula helps you understand the cancellation frequencies created by your speaker-to-wall distance. The formula is c divided by 4d, where c is the speed of sound (1130 feet per second) and d is the distance from your speaker to the wall behind it. A speaker 10 inches from the wall creates a cancellation around 339 Hz.
Treat your rear wall with absorption or diffusion depending on your room size. In small bedrooms, absorption is usually better. Place thick panels or a combination of panels and bass traps across the rear wall. Aim for at least 4 inches of absorption material.
If your room is larger than 200 square feet, consider diffusion on the rear wall. Diffusers scatter sound waves in many directions instead of absorbing them. This keeps some life in the room while preventing strong reflections from reaching your ears directly.
Step 5: Add Diffusion and Fine-Tuning
Once you have addressed the major reflection points and bass buildup, consider adding diffusion. Diffusion scatters sound energy instead of absorbing it, which keeps your room from sounding too dead while still controlling problematic reflections.
Bookshelves filled with books of different sizes make excellent diffusers. The uneven surfaces scatter high frequencies effectively. Place a bookshelf on your rear wall or side walls to add natural diffusion without buying specialized equipment.
Test your treatment by listening to reference tracks you know well. Pay attention to low end clarity, stereo imaging, and how transients sound. If your room now sounds too dead or dry, you may have over-treated. Remove some absorption and add diffusion.
Mix at low volumes to reduce the influence of room acoustics. When you mix quietly, direct sound from your monitors dominates over reflected sound. This gives you a more accurate picture of your mix, especially in an imperfectly treated room.
DIY Acoustic Treatment on a Budget (2026)
You do not need thousands of dollars to treat your bedroom studio effectively. I treated my first studio for under $150 using creative solutions and household items. Here are proven budget alternatives that actually work.
Thick blankets and comforters hung on walls provide basic absorption. Layer several blankets for better low frequency control. Position them at first reflection points and in corners. While not as effective as rigid fiberglass panels, they can tame harsh reflections significantly.
Bookshelves with books create excellent diffusion. The irregular surfaces scatter high frequencies, reducing flutter echo and adding life to your room. Fill shelves unevenly for best results. Place them on rear walls or side walls away from your listening position.
Couches, beds with thick bedding, and upholstered furniture add absorption. If your studio is in your bedroom, you already have some treatment built in. Position your listening area so the bed or couch is behind you, acting as a bass trap and rear wall treatment.
Rigid fiberglass insulation from hardware stores makes professional-quality panels for a fraction of the cost. Buy Owens Corning 703 or Roxul Rockboard 60. Wrap the panels in breathable fabric and mount them in wooden frames. A 4-inch thick panel made this way performs as well as commercial options costing five times more.
Corner bass traps can be DIYed using the same rigid fiberglass. Cut triangular pieces to fit your corners and stack them floor to ceiling. Cover with fabric and secure with construction adhesive or mechanical fasteners. Super chunks made from insulation work as well as commercial traps.
Pegboard with fabric behind it creates micro-perforated panels that absorb high frequencies while reflecting some midrange. This is a budget-friendly way to add some diffusion to your room. Space the pegboard an inch or two from the wall for better performance.
Thick rugs on hard floors reduce floor reflections significantly. Place a thick rug under your listening position and extending forward toward your monitors. This treats floor bounce and helps with clarity in the midrange and high frequencies.
Porous vs Pressure Absorbers: What You Need to Know?
Understanding the two main types of acoustic absorbers helps you choose the right treatment for each problem area. Both types absorb sound energy, but they work through different physical mechanisms and target different frequency ranges.
Porous absorbers include acoustic foam, fiberglass panels, and mineral wool. Sound enters the porous material and viscous forces convert the acoustic energy into heat. These are velocity absorbers, meaning they work best where air particle velocity is highest, which is a quarter wavelength from the boundary.
Place porous absorbers slightly away from walls for maximum effectiveness. An air gap equal to the panel thickness doubles the low frequency absorption. A 4-inch panel with a 4-inch air gap absorbs like an 8-inch panel mounted directly on the wall.
Pressure absorbers, also called resonant or membrane absorbers, work differently. They use a sealed cavity with a membrane that vibrates at specific resonant frequencies. These are most effective where sound pressure is highest, which is directly at the wall surface.
Membrane traps and tuned absorbers are pressure absorbers. They target specific low frequencies, making them ideal for controlling room modes. A membrane trap tuned to 100 Hz can absorb problematic buildup at that frequency while leaving higher frequencies relatively unaffected.
For most bedroom studios, start with porous absorbers. They are more affordable, easier to install, and provide broadband absorption that tackles most problems. Add pressure absorbers later if you have specific low frequency issues that porous traps cannot address.
Avoid These Common Acoustic Treatment Mistakes
After helping dozens of bedroom producers treat their rooms, I have seen the same mistakes repeated constantly. Avoid these pitfalls to save money and get better results faster.
Treating the room before fixing the layout is the most common error. You cannot overcome bad speaker placement with treatment. Get your listening position and monitor setup right first, then treat the acoustic problems that remain.
Buying expensive monitors before treating your room wastes money. A $500 monitor in a treated room sounds better than a $2000 monitor in an untreated room. Your room is the weakest link in most bedroom studios. Fix it before upgrading gear.
Over-treating makes your room sound dead and unnatural. If you absorb too much sound, your mixes will sound overly bright when played in normal rooms. You need some controlled reflections for a natural listening environment. Aim for a reverb time between 0.3 and 0.5 seconds for a bedroom studio.
Confusing soundproofing with acoustic treatment frustrates many beginners. Treatment controls sound inside your room. Soundproofing keeps sound from entering or leaving your room. Foam panels and bass traps do almost nothing for soundproofing. If you need isolation, you need mass and air gaps, not absorption.
Ignoring the ceiling and floor limits your results. Many bedroom producers treat walls extensively but forget that sound reflects off every surface. Even basic treatment for ceiling and floor completes your acoustic control and improves imaging.
Not testing your mixes in other environments leaves you vulnerable to room problems. Even a well-treated room has some coloration. Check your mixes on headphones, in your car, on phone speakers, and on Bluetooth speakers. Learn how your room translates so you can compensate mentally when mixing.
Frequently Asked Questions
What is the 38% rule in room acoustics?
The 38% rule suggests placing your listening position at 38% of the room length from the front wall. This position typically avoids the worst nulls and peaks caused by axial room modes. Measure your room length, multiply by 0.38, and position your chair that distance from the front wall. For a 12-foot deep room, sit approximately 4.5 feet from the front wall.
How do I know if my room has too much treatment?
Signs of over-treatment include mixes that sound overly bright when played elsewhere, difficulty judging reverb tails, and a room that feels unnaturally dead or quiet when you speak. Clap your hands in the listening position. You should hear a slight, short decay. If it sounds completely dry like an anechoic chamber, you have likely added too much absorption.
Can I mix in an untreated room?
You can mix in an untreated room, but your results will be inconsistent. Many successful producers started in untreated spaces, but they learned to compensate by checking mixes on multiple systems and using headphones for critical decisions. Treatment makes the process faster and more accurate, but it is not impossible to create good mixes without it. You will just work harder and second-guess yourself more.
How much does acoustic treatment cost?
A basic bedroom studio treatment costs between $200 and $800 for DIY solutions using rigid fiberglass insulation and fabric. Commercial pre-made panels range from $500 to $2000 for equivalent coverage. Professional treatment with high-end materials can cost $2000 to $5000. Start with $200 worth of DIY bass traps and first reflection panels, then add more treatment as budget allows.
How long does it take to treat a bedroom studio?
Planning and measuring take a few hours. Building DIY panels takes one to two days including drying time for glue and fabric. Installation takes an afternoon. You can complete a basic treatment in a weekend. Start with the highest impact areas like corner bass traps and first reflection points, then add more treatment over time as you identify remaining problems.
Conclusion
Learning how to treat a bedroom studio for better mixes transforms your music production experience. Your mixes start translating to other systems. You make decisions faster with confidence. The frustration of great-sounding tracks that fall apart in your car disappears.
Start with the fundamentals. Position your listening spot using the 38% rule. Set up your monitors in an equilateral triangle. Install bass traps in every corner you can manage. Treat your first reflection points using the mirror method. Address your rear wall with absorption or diffusion.
Do not let budget stop you. DIY solutions using rigid fiberglass, bookshelves, and thick blankets provide real acoustic benefits. You can always upgrade to commercial panels later. The important thing is starting somewhere rather than waiting until you can afford the perfect setup.
Your room is the most important piece of gear in your studio. Treat it well and every other purchase becomes more valuable. Start this weekend and hear the difference immediately.