
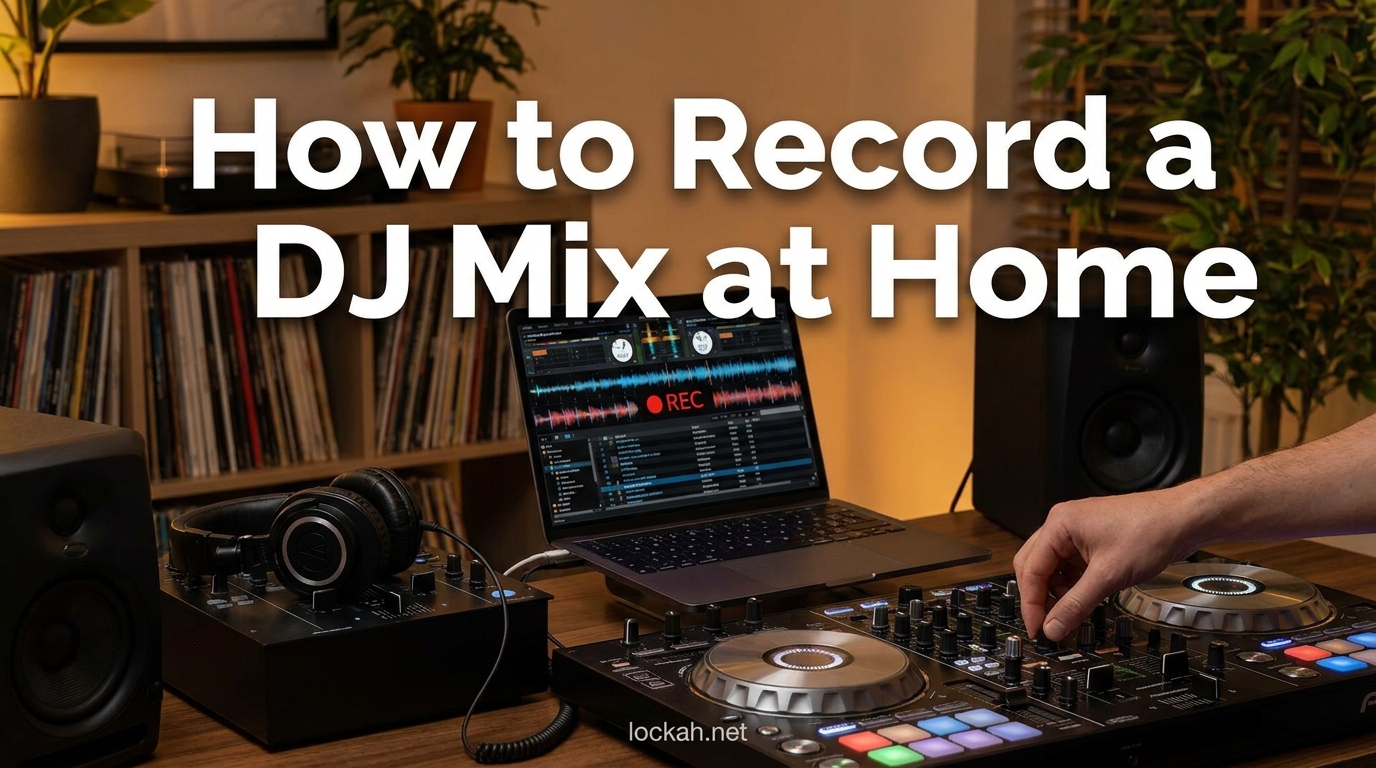
I still remember the first time I hit record on my DJ controller and realized nothing was happening. The button was greyed out. After 45 minutes of mixing, I had nothing to show for it. That was three years ago, and since then I have tested every method for recording DJ mixes at home, from free software tricks to professional audio interfaces.
Recording your DJ sets is essential for improving your skills, building a portfolio, and sharing your music with the world. This guide covers how to record a DJ mix at home and share it online using five different methods, from free software solutions to hardware recorders. Whether you are a beginner with just a laptop or ready to invest in professional gear, you will find a method that works for your setup.
By the end of this article, you will know exactly how to capture clean audio, avoid the common pitfalls that make recordings sound muddy, and share your mixes legally without copyright takedowns.
Table of Contents
How to Record a DJ Mix at Home and Share It Online?
Learning how to record a DJ mix at home and share it online opens up opportunities to build your audience and track your progress. The method you choose depends on your equipment, budget, and whether you use streaming services in your sets. Each approach has tradeoffs between convenience, audio quality, and cost.
Before diving into specific methods, understand that recording captures your master output, the final mix coming from your DJ controller or mixer. You want this signal clean, at proper levels, and free from clipping or distortion.
Method 1: Built-in Software Recording (The Easiest Way)
The simplest way to record your DJ mix is using the built-in recorder in your DJ software. Rekordbox, Serato DJ Pro, Traktor Pro, and VirtualDJ all include recording features that capture your mix automatically.
To record in Rekordbox, click the record button in the top toolbar, select your destination folder, and start mixing. The software captures everything at the quality settings you choose. Serato DJ Pro works similarly, look for the REC button in the top right corner. Traktor users can enable recording in the preferences and set their file format and bit depth.
This method works perfectly if you play music from your local library. However, there is one major limitation that trips up beginners. If you use streaming services like Beatport, Beatsource, or SoundCloud Go+, the record button will be greyed out or disabled. This is a licensing restriction, not a technical problem with your setup.
When the record button is unavailable, you need an alternative method. The next sections cover solutions for this exact scenario.
Method 2: Virtual Audio Cable Recording (Free Solution)
When your DJ software blocks recording due to streaming service restrictions, virtual audio cable routing is the workaround that costs nothing. This method captures your computer’s audio output and routes it into a recording application like Audacity.
For Mac users, download BlackHole from Existential Audio. It is a free, open-source virtual audio driver that creates a virtual output device. Install it, then open Audio MIDI Setup and create a Multi-Output Device that includes both BlackHole and your headphones or speakers. Set your DJ software to output to this Multi-Output Device.
Windows users should download VB-CABLE from VB-Audio, also free. Install the driver, then set your DJ software output to CABLE Input. Open Audacity and set the recording device to CABLE Output.
Now open Audacity, set the project rate to 44100 Hz, and hit the red record button before starting your mix. Audacity captures everything you play, regardless of streaming restrictions. After your set, export as a WAV file for the highest quality.
The audio quality through this method is excellent, virtually indistinguishable from direct recording. The only downside is the extra setup time and needing to remember to start Audacity before your mix.
Method 3: Audio Interface + DAW (Best Quality)
For the absolute best recording quality, route your DJ controller or mixer through a dedicated audio interface into a Digital Audio Workstation (DAW). This method gives you full control over gain staging, sample rates, and post-production.
You will need an audio interface with at least two line inputs. Popular options include the Focusrite Scarlett 2i2, Native Instruments Komplete Audio 2, or Behringer U-Phoria UMC202HD. These range from $99 to $149 and provide professional-grade conversion.
Connect your mixer or controller’s master output to the interface’s line inputs using TRS cables (1/4 inch) or RCA to 1/4 inch adapters if needed. Set the input level on your interface so that your loudest parts peak around -6 dB. This leaves headroom and prevents digital clipping.
Open your DAW, Reaper, Ableton Live, Logic Pro, or even the free Cakewalk by BandLab. Create a stereo audio track, arm it for recording, and set your levels. Record at 24-bit depth and 44.1 kHz or 48 kHz sample rate for professional results.
This method captures your mix before it hits your computer’s internal audio path, bypassing any potential quality loss. The result is a clean, professional recording that holds up when played on club sound systems.
Method 4: Hardware Handheld Recorders (Most Portable)
Sometimes you need to record without a computer. Handheld digital recorders are compact, battery-powered devices that capture high-quality audio directly from your mixer outputs. They are perfect for club gigs, outdoor events, or recording practice sessions without booting up your laptop.
The Zoom H4n Pro is a popular choice among DJs. It records up to 24-bit/96 kHz quality onto SD cards, has built-in XLR/TRS combo inputs, and runs for hours on AA batteries. The simpler Zoom H1n offers similar quality in a more compact form factor for around $119.
Tascam’s DR-05X and DR-07X models are solid alternatives, often priced lower than Zoom while maintaining excellent audio quality. Look for recorders that support at least 24-bit/48 kHz recording and have line-level inputs or adjustable input levels.
To record, connect your mixer’s Record Out or Booth Out to the recorder’s line input using the appropriate cables (usually 1/8 inch to RCA adapters). Set your levels so peaks hit around -12 dB to -6 dB, then hit record. The device captures everything to an SD card for later transfer to your computer.
This method shines when you need portability and reliability. No software crashes, no routing headaches, just press record and mix.
Method 5: Recording with Your Phone (Last Resort)
Your smartphone can record DJ mixes in a pinch, though the quality varies significantly depending on your method. This is best for capturing practice sessions or quick ideas, not for releasing professional mixes.
For iPhone users, the built-in Voice Memos app works but captures audio through the internal microphone, resulting in room sound and lower quality. Better options include recording apps like Music Memos or Ferrite Recording Studio that offer more control over settings.
Android users have options like Easy Voice Recorder or Hi-Q MP3 Voice Recorder. Look for apps that support at least 44.1 kHz sample rate and 320 kbps MP3 or WAV export.
The key to better phone recording is getting the audio directly into the phone rather than through the microphone. Use a cable like the iRig Stream or a USB audio interface that works with your phone. Connect your mixer output to the interface, then the interface to your phone. This bypasses the phone’s microphone and captures clean line-level audio.
Without an interface, phone recordings will capture room acoustics, crowd noise, and speaker coloration. This can actually add atmosphere for live party recordings, but it is not suitable for studio-quality mixes.
Recording Methods Compared
| Method | Cost | Quality | Setup Difficulty | Best For |
|---|---|---|---|---|
| Built-in Software | Free | Excellent | Easy | Local music libraries |
| Virtual Audio Cable | Free | Excellent | Moderate | Streaming service workarounds |
| Audio Interface + DAW | $99-149 | Professional | Moderate | Serious home recording |
| Handheld Recorder | $100-200 | Professional | Easy | Club gigs and portability |
| Phone Recording | Free-$50 | Fair to Good | Easy | Practice sessions |
Choose your method based on your current setup and goals. Beginners should start with built-in software or virtual audio cables. Working DJs who play clubs need a handheld recorder. Home studio enthusiasts benefit most from an audio interface setup.
Setting Up Your Audio Levels for Clean Recording
Nothing ruins a good DJ mix faster than distorted audio or levels so low you can barely hear the bass. Proper gain staging ensures your recording sounds as good as your live mix.
Start with your DJ software or mixer output. Keep your master output around 75-80% of maximum volume. This gives you headroom for loud tracks without clipping. If your mixer has a VU meter, aim for peaks in the yellow zone, not hitting the red.
When recording, set your input levels so the loudest parts of your mix peak at around -6 dB on your recording meter. This is the sweet spot that prevents digital clipping while maintaining a strong signal above the noise floor.
Avoid the common beginner mistake of setting levels too low thinking you are being safe. Recordings made at -20 dB or lower need to be boosted later, which also boosts background noise and hiss. Digital audio sounds best when recorded at healthy levels without clipping.
Watch for clipping indicators. Most recording software shows red when you exceed 0 dB. If you see red, lower your input gain until the peaks stay below -3 dB maximum, ideally around -6 dB.
WAV vs MP3: Which Format Should You Use?
The format you choose affects audio quality, file size, and compatibility with sharing platforms. Understanding the tradeoffs helps you make the right choice for each stage of your workflow.
WAV files are uncompressed, lossless audio that preserves every detail of your mix. Record in WAV or AIFF format when capturing your original recording. These files are large (about 10 MB per minute for CD quality) but offer the highest fidelity.
MP3 is a compressed format that reduces file size by discarding audio data deemed less important. At 320 kbps, MP3s are virtually indistinguishable from WAV files to most listeners. At lower bitrates like 128 kbps, you will hear artifacts, especially in high frequencies like cymbals and hi-hats.
For your workflow, follow this rule. Record in WAV or AIFF at 24-bit depth and 44.1 kHz or 48 kHz sample rate. Archive your masters in this format. When sharing online, export a 320 kbps MP3 for platforms like Mixcloud and SoundCloud. This gives you a high-quality master and a shareable file that uploads quickly.
Some platforms accept WAV uploads directly. Mixcloud and SoundCloud both handle WAV files, but they transcode them for streaming anyway. A well-encoded 320 kbps MP3 sounds identical to most listeners and uploads much faster.
Post-Production: Making Your Mix Sound Professional
Raw recordings rarely sound polished straight out of the recorder. A few simple post-production steps can transform your mix from bedroom practice to club-ready release.
Start by trimming silence from the beginning and end. Listeners do not need to hear 30 seconds of you adjusting levels before the first track drops. A clean start with the first beat or a short intro creates a professional impression.
Check your overall loudness. Commercial releases typically hit around -14 LUFS integrated loudness for streaming platforms. If your mix sounds noticeably quieter than other DJ mixes, apply gentle normalization or a limiter to bring the level up without crushing dynamics.
Listen for frequency imbalances. If your mix sounds muddy, you might have too much low-end buildup from overlapping bass frequencies. A subtle EQ adjustment cutting a few dB around 200-300 Hz can clean things up. If it sounds thin, a gentle bass boost around 100 Hz adds warmth.
Some DJs add subtle crowd ambience or room reverb to studio recordings to create a live feel. This is entirely optional and depends on your style. Pure studio mixes should sound clean and direct.
Finally, fade out the last 5-10 seconds of your mix instead of cutting abruptly. This gives listeners a satisfying conclusion.
Where to Share Your DJ Mixes Online?
Once your mix is recorded and polished, you need a platform to share it with listeners. Each major platform has different strengths, audiences, and copyright policies.
Mixcloud is the platform built specifically for DJs. It handles copyright through blanket licensing agreements with major labels and publishers. You can upload mixes with commercial tracks without fear of takedowns. The audience is DJ-focused and discovery-oriented. Uploads are unlimited for free users, though there are listening time limits.
SoundCloud was once the home of DJ mixes but has cracked down on copyrighted material in recent years. Uploads are more likely to be flagged or removed, especially if they contain popular tracks. However, SoundCloud still has a massive user base and excellent social features. Many DJs use it for original productions while keeping mixes on Mixcloud.
YouTube works for DJ mixes if you approach it correctly. The platform Content ID system will claim your video and monetize it for rights holders, but the mix usually stays up. Video content performs better than audio-only on YouTube. Consider recording video of your performance alongside the audio for better engagement.
Other options include HearThis.at for underground electronic music, SoundCloud Go+ for DJ software integration, and private sharing via Dropbox or Google Drive for sending mixes directly to promoters or friends.
How to Share DJ Mixes Without Getting Takedowns?
Copyright is the biggest concern when sharing DJ mixes online. You are using copyrighted music owned by labels and artists, which creates legal complexity. Understanding how platforms handle this keeps your mixes accessible.
Mixcloud operates under licensing agreements that allow you to play copyrighted music in mixes. They pay royalties to rights holders based on plays. This is why Mixcloud is the safest platform for sharing commercial DJ mixes.
SoundCloud uses automated Content ID matching that scans uploads against a database of copyrighted recordings. When a match is found, the platform may mute the track, block the upload, or issue a takedown. Repeated violations can result in account termination. Some DJs get away with mixes on SoundCloud, but it is risky.
YouTube also uses Content ID but typically allows the content to remain while monetizing it for the copyright holder. Your mix stays up, but ads may appear and revenue goes to labels, not you. This is acceptable for portfolio building.
To minimize issues, create detailed tracklists with artist names and track titles. Some platforms use this information to properly route royalties. Avoid uploading full albums or mixes that are mostly one artist, as these trigger more aggressive enforcement.
Consider keeping some mixes private or unlisted for promotional use only. Sending a private SoundCloud link to a promoter is safer than a public upload.
Creating Tracklists and Adding Metadata (2026)
A proper tracklist transforms your mix from a mystery into a discoverable piece of content. Listeners want to know what they are hearing, and detailed metadata helps your mix get found.
Include timestamps for each track in your tracklist. Listeners appreciate knowing when transitions happen and what songs play when. Format it simply: 00:00 Artist – Track Title (Mix Label).
Add ID3 tags to your MP3 files before uploading. These include the title, artist (your DJ name), album (mix title), genre, and year. Properly tagged files display correctly in media players and streaming platforms.
Create artwork for your mix. A simple 1400×1400 pixel image with your DJ name and mix title looks professional. Many DJs use a consistent template for all their mixes to build visual recognition. Free tools like Canva make this easy even if you are not a designer.
Write a description that sets the scene. A few sentences about the vibe, the track selection, or the story behind the mix helps listeners connect. Include relevant genre tags to help discovery.
Frequently Asked Questions
How to record a DJ mix at home?
The easiest way is using your DJ software built-in recorder if available. For streaming service limitations, use a virtual audio cable like BlackHole (Mac) or VB-CABLE (Windows) with Audacity. For professional quality, connect your mixer to an audio interface and record in a DAW.
How to share DJ mixes with friends?
Upload to Mixcloud for copyright-safe sharing, or use SoundCloud for social features. For private sharing, use Dropbox, Google Drive, or SoundCloud private links. YouTube works well if you include video footage.
How to record DJ set without audio interface?
Use your DJ software built-in recorder for local files. For streaming services, install a virtual audio cable (free) and record with Audacity. Phone recording apps work for practice but sacrifice quality.
How to record DJ mix on laptop free?
Download Audacity (free), install BlackHole (Mac) or VB-CABLE (Windows), route your DJ software audio to the virtual cable, and record in Audacity. Set project rate to 44100 Hz and export as WAV for best quality.
How to record DJ set and avoid copyright?
Upload to Mixcloud, which has licensing agreements allowing copyrighted music in mixes. Avoid SoundCloud for commercial tracks. YouTube allows mixes but monetizes them for rights holders. Create detailed tracklists to help with proper licensing.
What is the best audio quality for DJ mixes?
Record at 24-bit depth and 44.1 kHz or 48 kHz sample rate in WAV format for archiving. Share online as 320 kbps MP3. Peak your recording levels at -6 dB to prevent clipping while maintaining strong signal.
Can I record my DJ set on my phone?
Yes, using recording apps like Voice Memos (iPhone) or Easy Voice Recorder (Android). For better quality, use an audio interface like iRig Stream connected between your mixer and phone. Phone microphones capture room sound, which reduces quality significantly.
Conclusion
Learning how to record a DJ mix at home and share it online is a skill every DJ needs. Whether you choose the free virtual audio cable method, invest in an audio interface, or grab a handheld recorder for gigs, the key is to start recording now.
Your first recordings will not be perfect. Audio levels might be off, transitions might feel rough when you listen back, and you might struggle with copyright questions. That is completely normal. Every professional DJ has been there.
Start with what you have. If that is just a laptop and free software, begin there. Record your practice sessions, listen critically, and improve. Over time, upgrade your setup and refine your workflow. The mixes you record today become the portfolio that books your future gigs.
Now hit record and share your sound with the world.