
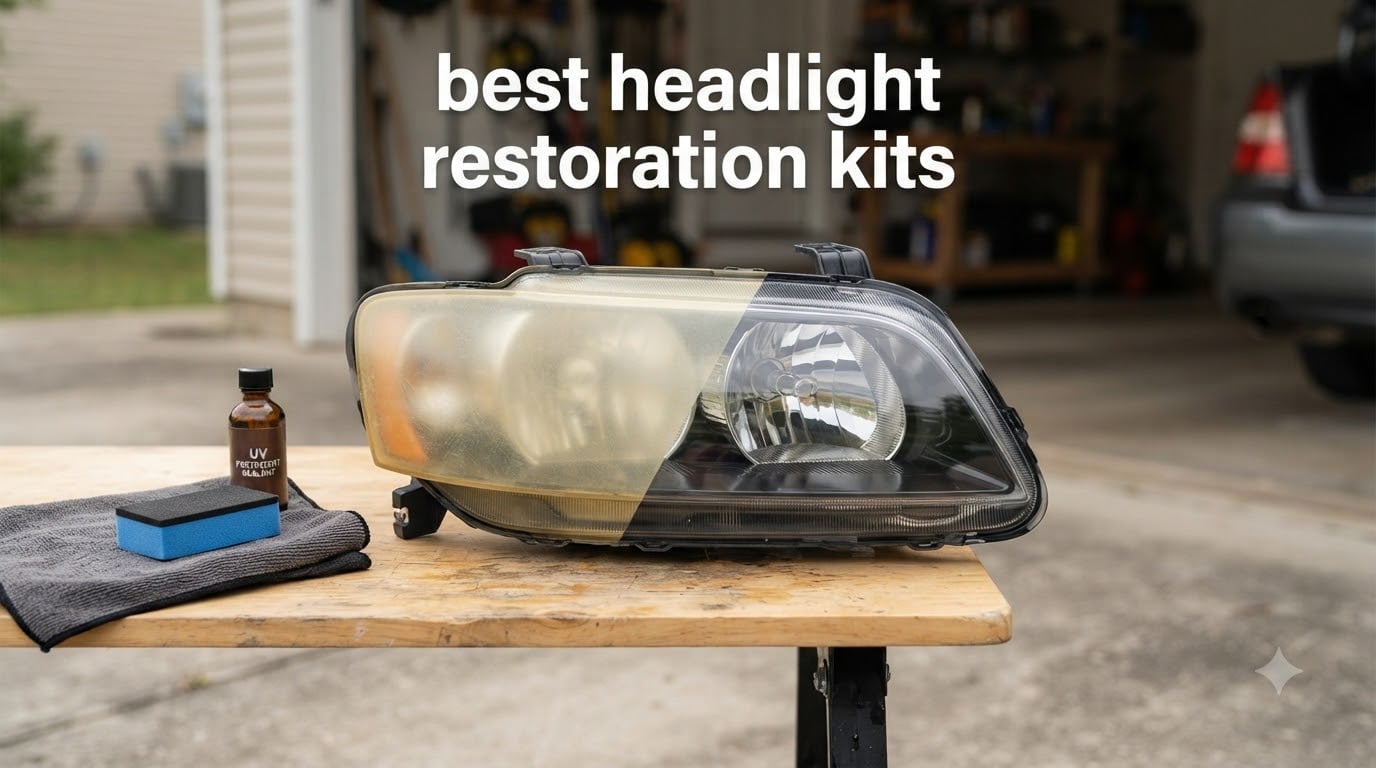
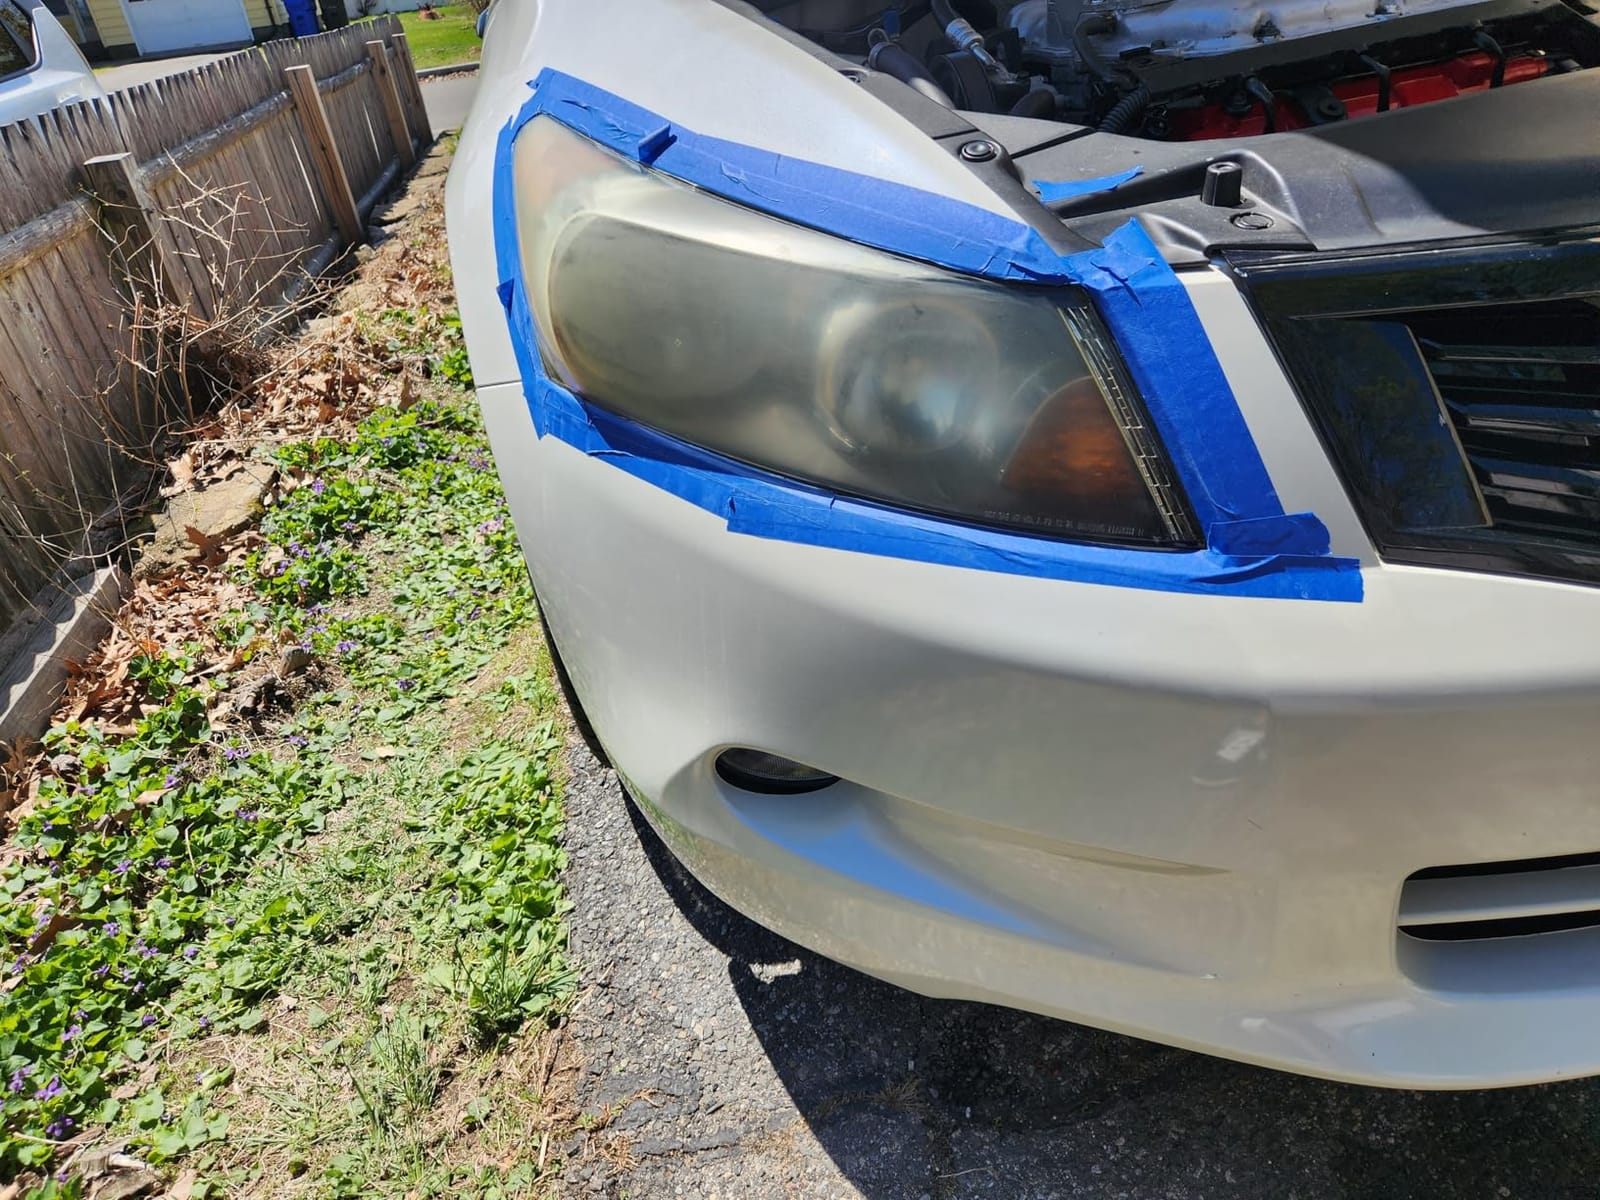
The best headlight restoration kits can remove the yellow, hazy layer that builds up on polycarbonate lenses, and my testing shows the right product can bring back much of the light output you thought was gone. I compared eight kits on cloudy, weathered housings and focused on the details that decide whether a result lasts: oxidation removal, surface refinement, paint masking, and real UV protection.
Yes, these kits really work when the damage is on the outside of the lens. Sanding discs, polishing compound, and activator wipes remove the oxidized plastic; the best headlight restoration kits then add a clear coat or ceramic layer to slow future yellowing. Deep cracks, moisture inside the housing, or a lens that has turned opaque from the inside are different problems, and no wipe or drill kit can repair those.
In this 2026 roundup, I rank eight options for light haze, heavy oxidation, hand application, and drill-powered correction. I also explain why UV sealing matters, how wet and dry sanding differ, and when replacing a whole assembly makes more sense than spending an afternoon restoring it.
Top 3 Picks at a Glance (September 2026)

CERAKOTE Ceramic Headlight Restoration Kit
- No power tools
- 30-minute process
- Ceramic UV coating

3M Ultra Headlight Restoration Kit
- 500 to 3000 grit discs
- Drill or hand use
- Two clear coat wipes

SYLVANIA Headlight Restoration Kit
- Manual application
- UV block clear coat
- Treats two lenses
Best Headlight Restoration Kits in 2026
| Product | Specifications | Action |
|---|---|---|
| CERAKOTE Ceramic Headlight Restoration Kit |
|
Check Latest Price |
| 3M Ultra Headlight Restoration Kit |
|
Check Latest Price |
| SYLVANIA Headlight Restoration Kit |
|
Check Latest Price |
 3M Auto Restore and Protect Kit 3M Auto Restore and Protect Kit |
|
Check Latest Price |
 3M Headlight Lens Restoration System 3M Headlight Lens Restoration System |
|
Check Latest Price |
 Meguiar’s Two Step Kit Meguiar’s Two Step Kit |
|
Check Latest Price |
 Turtle Wax Headlight Restoration Kit Turtle Wax Headlight Restoration Kit |
|
Check Latest Price |
 Rain-X 610153 Headlight Kit Rain-X 610153 Headlight Kit |
|
Check Latest Price |
1. CERAKOTE Ceramic Headlight Restoration Kit — Best Overall
CERAKOTE® Ceramic Headlight Restoration Kit, 10 Wipe Kit
No power tools
30-minute process
Ceramic UV coating
Pros
- No power tools
- Complete kit
- Strong UV protection
Cons
- Internal haze remains
- Careful tape-off
- Cure time
I reached for Cerakote first because I wanted a headlight cleaner that did not need a drill, extension cord, or a pile of loose sandpaper. The three-step system uses oxidation-removing wipes, a supplied sanding kit, and two ceramic coating wipes, and the whole process took about 30 minutes per pair once I had washed and masked the car.
The finish looked clear rather than merely glossy, which is what I look for in a headlight polish kit. The 4.6 rating from 72,601 reviews is backed by a very large pool of customer experience, and 80% of those ratings are five-star.
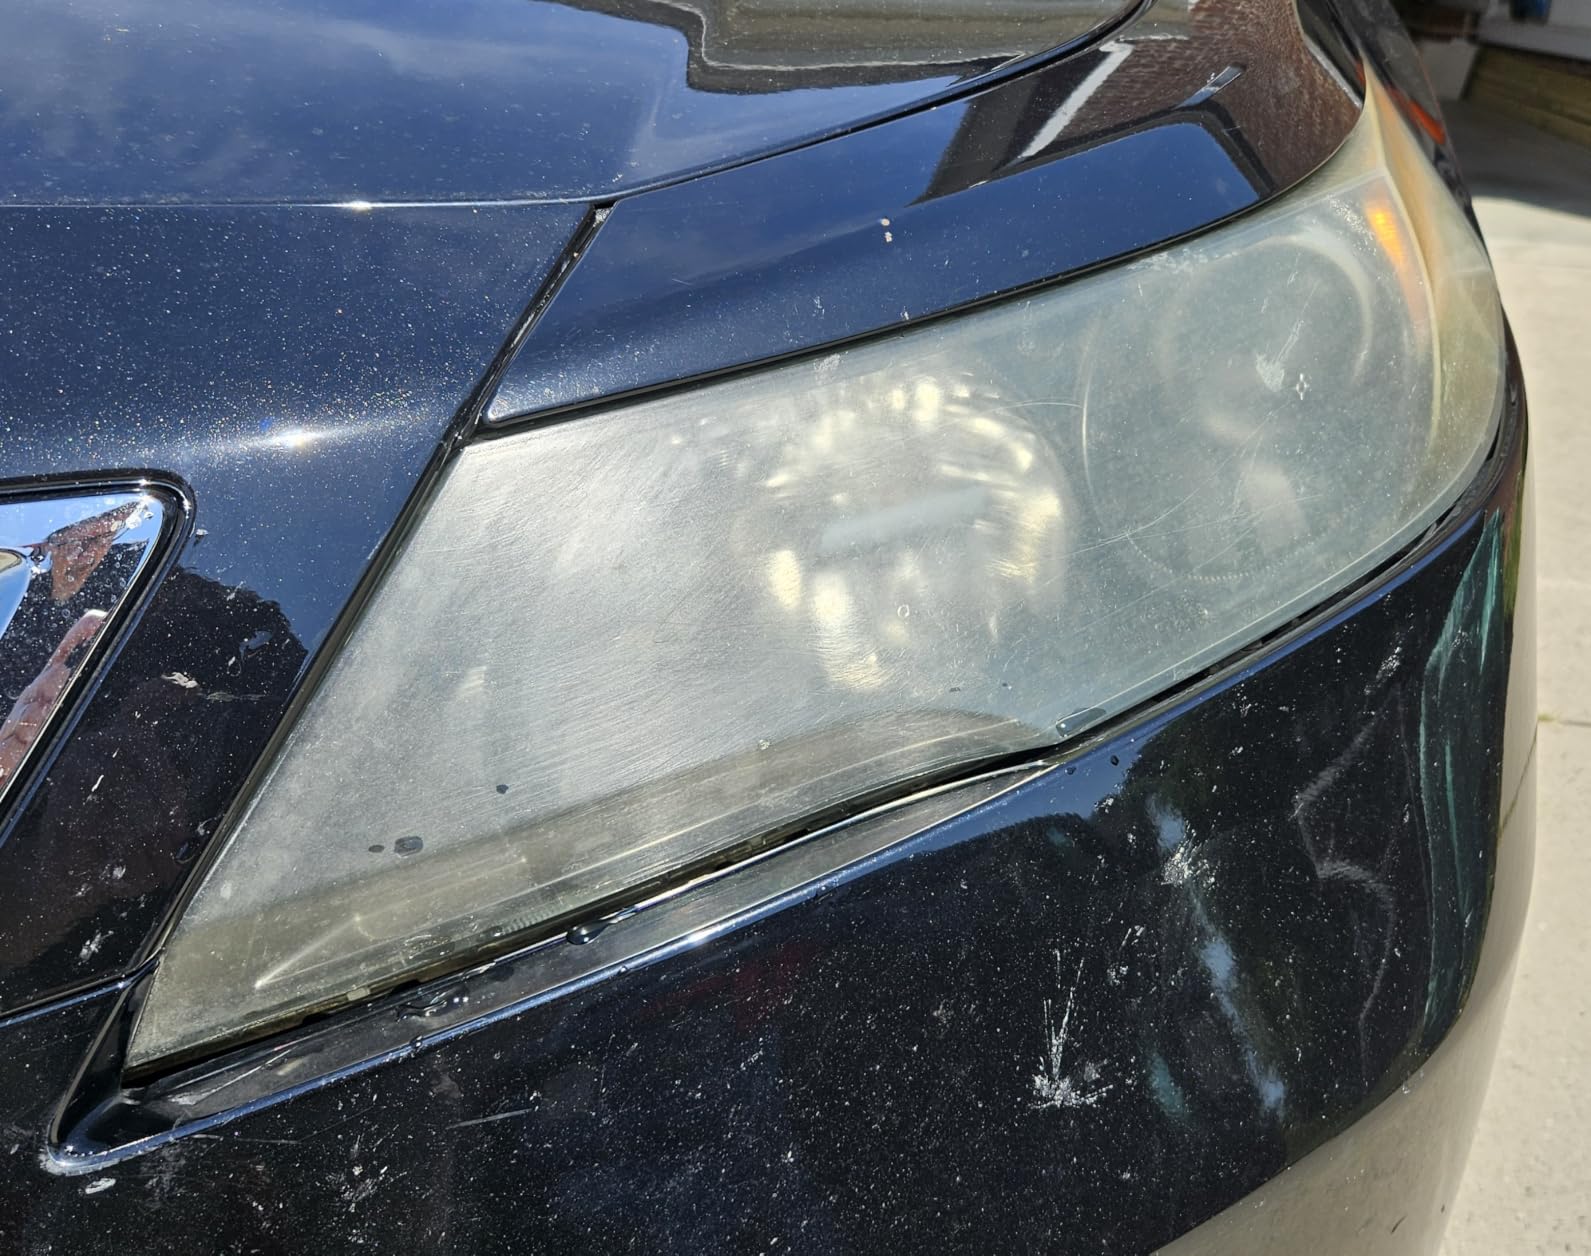
Cerakote does not make the deepest cut for pitting or scratches, and it cannot fix moisture trapped behind the lens. Its strongest case is everyday oxidation on an older car where the owner wants a controlled, no-tool job and a ceramic UV layer rather than frequent waxing.
Allow the coating to cure for about an hour, and mask more paint than you think you need. A careless wipe can mark adjacent trim, but the included materials make this one of the easiest kits for a first-time restorer.
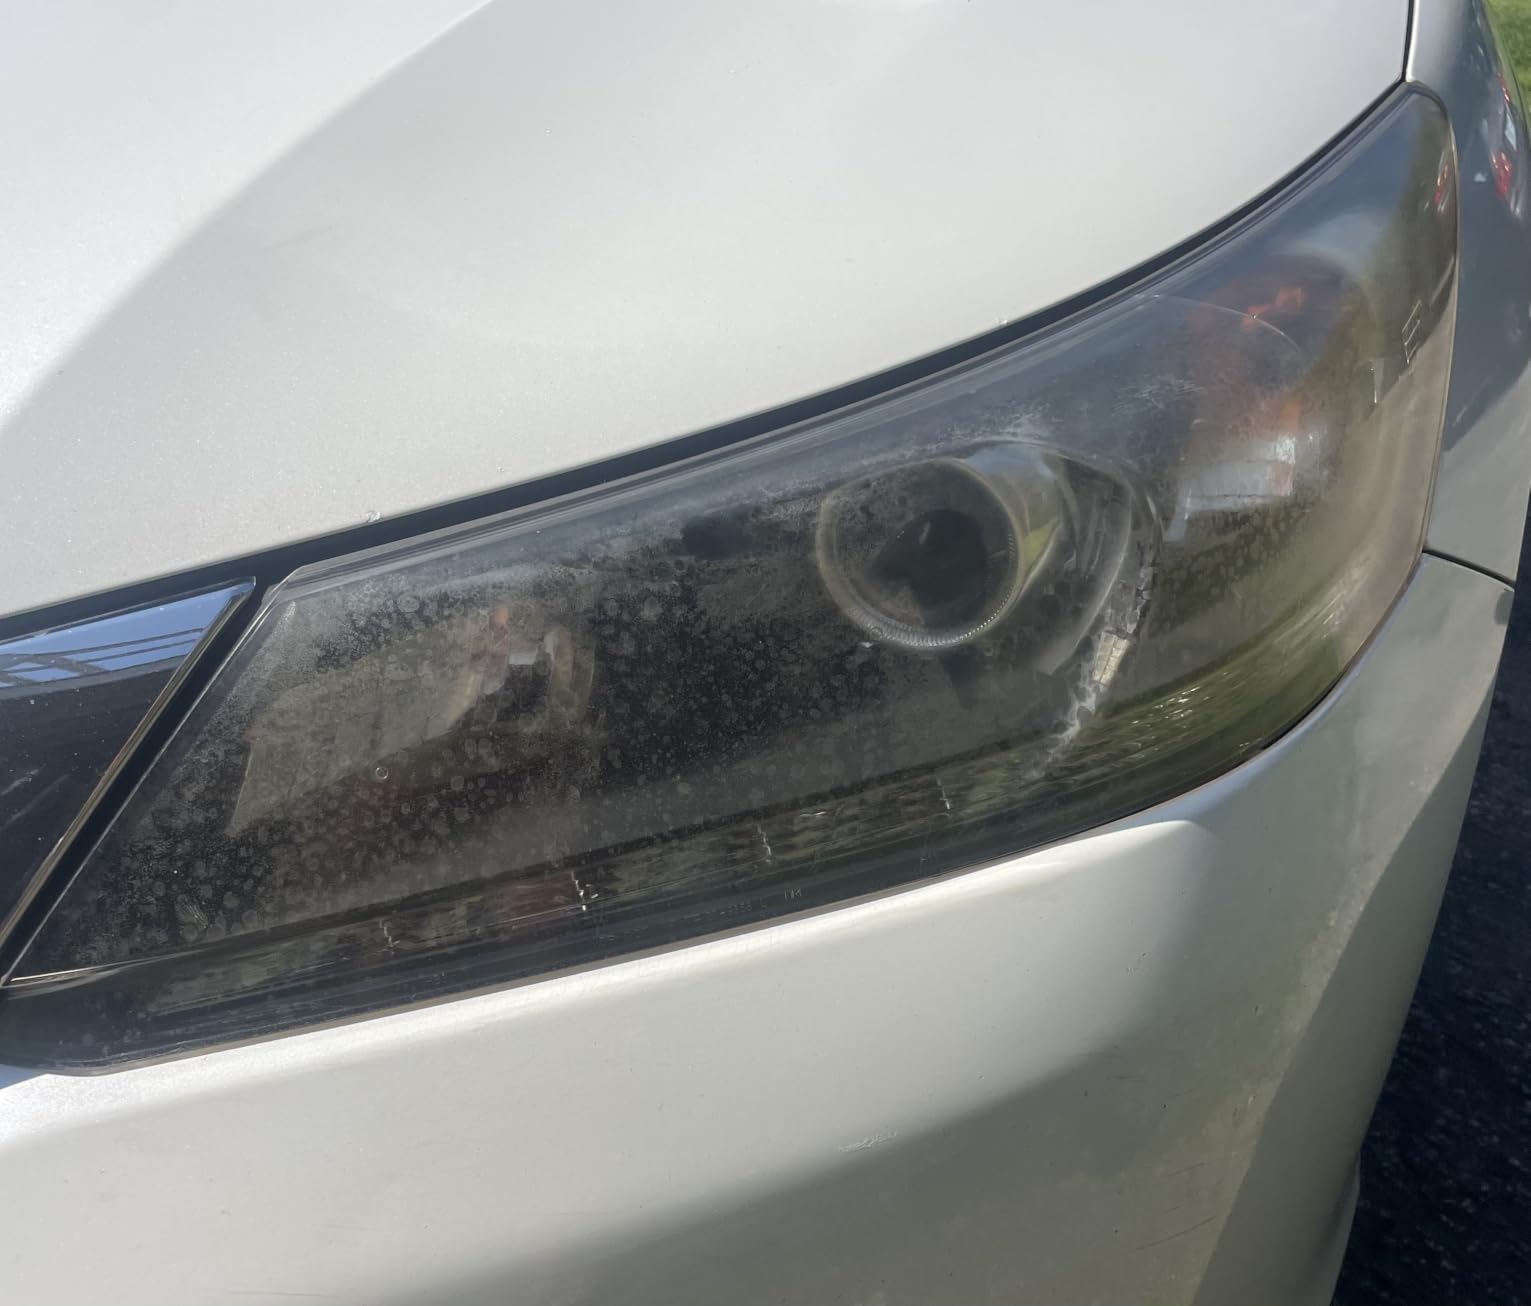
For whom it is good
This is my pick for owners who want the best hand-application headlight restoration kit, or for anyone without a drill. It suits moderate oxidation, and the ceramic finish gives the result a better chance of surviving weekly washing and summer sun.
For whom it is bad
Choose a heavier 3M system if the lens has deep scratches, severe pitting, or a very thick yellow layer. Cerakote is a restoration treatment, not a replacement for a lens that has failed internally.
2. 3M Ultra Headlight Restoration Kit — Best for Heavy Oxidation
3M Ultra Headlight Restoration Kit, Contains Masking Tape, Light Sanding Discs, Wax Protectant and More, Use on Plastic Lenses Headlights, Taillights and More, Easy Heavy-Duty Restoration (39195)
500 to 3000 grit discs
Drill or hand use
UV clear coat wipes
Pros
- Broad grit range
- Complete supplies
- Works on several plastic lights
Cons
- Drill gives best speed
- 30 to 45 minutes per light
- Thin tape
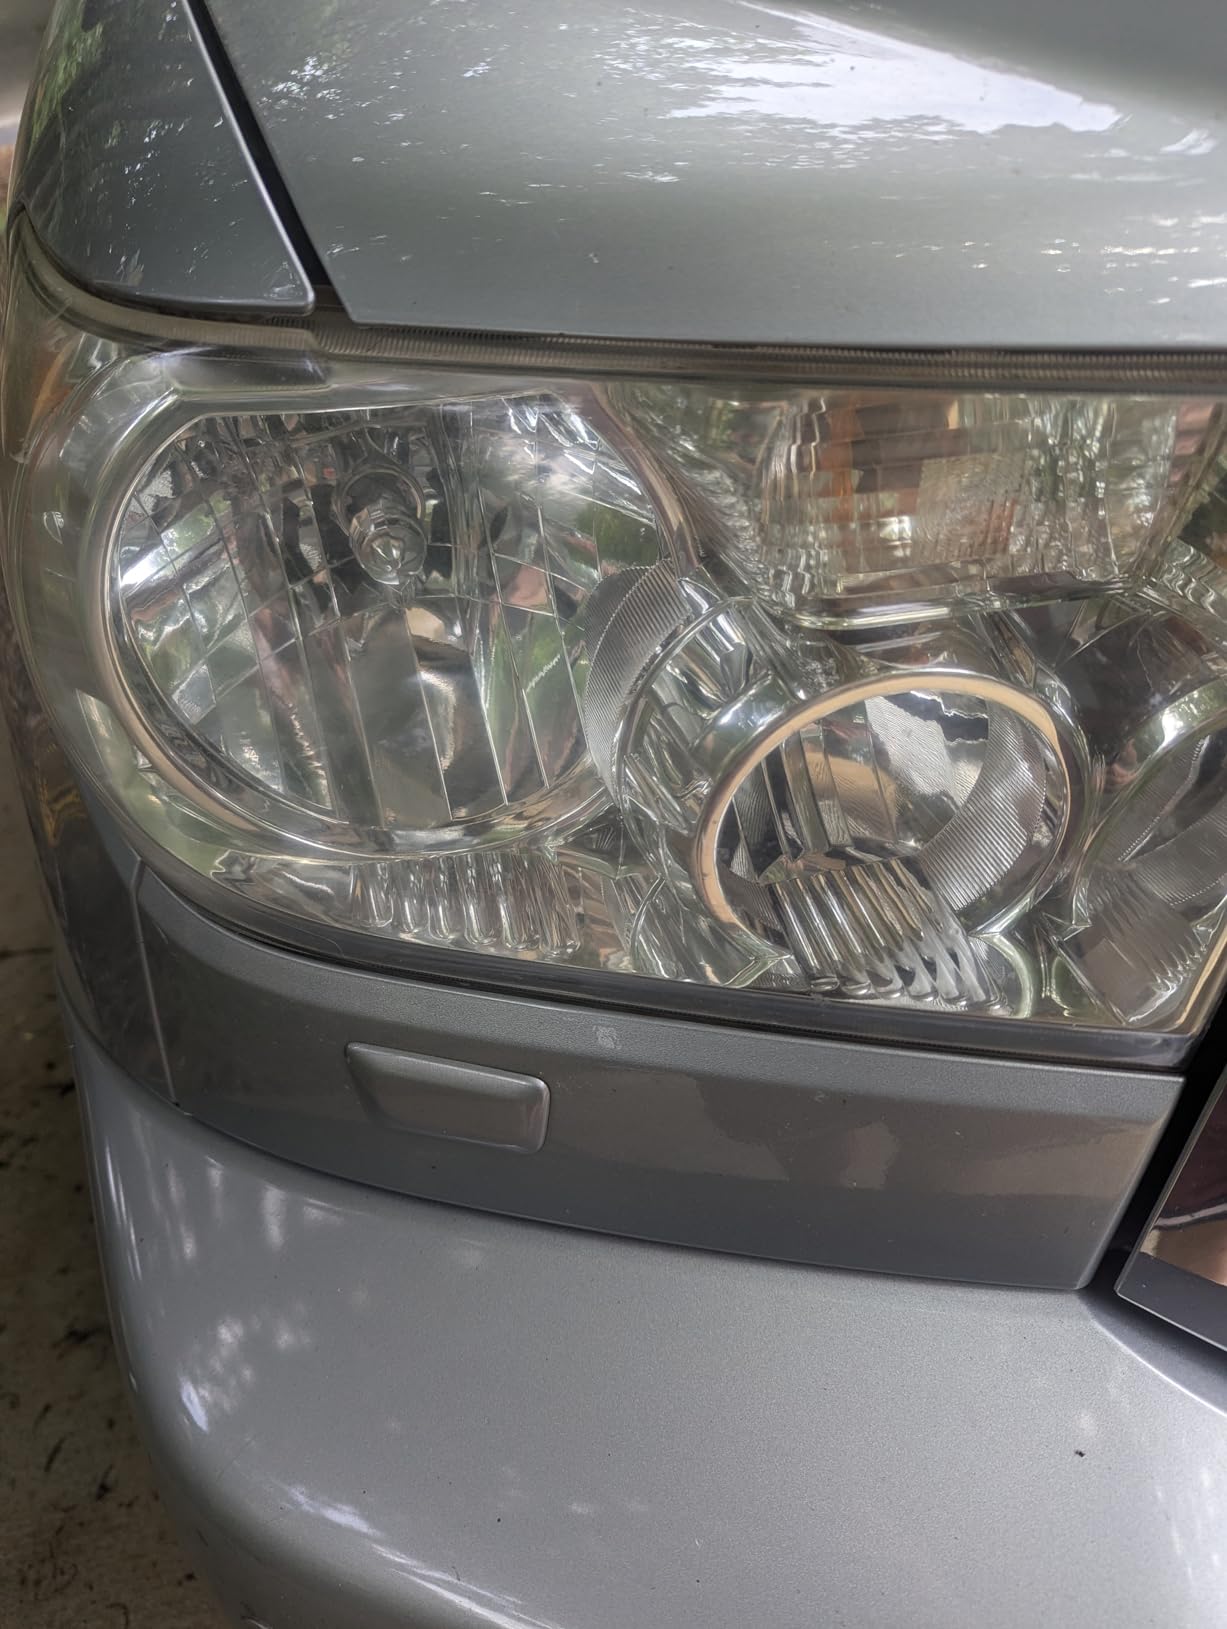
The 3M Ultra is the kit I would trust when a lens has more than a little haze. It includes six 500-grit discs, four 800-grit discs, a 3000-grit Trizact refining disc, masking tape, a pad holder, wax protectant, and two clear coat wipes, so the sequence takes you from serious cutting to a finer finish.
I like that the same headlight sanding kit can be used by hand or with a common household drill. A drill speeds the job and keeps the disc moving consistently, but it also throws more plastic dust around the fender, so I taped the paint generously before starting.
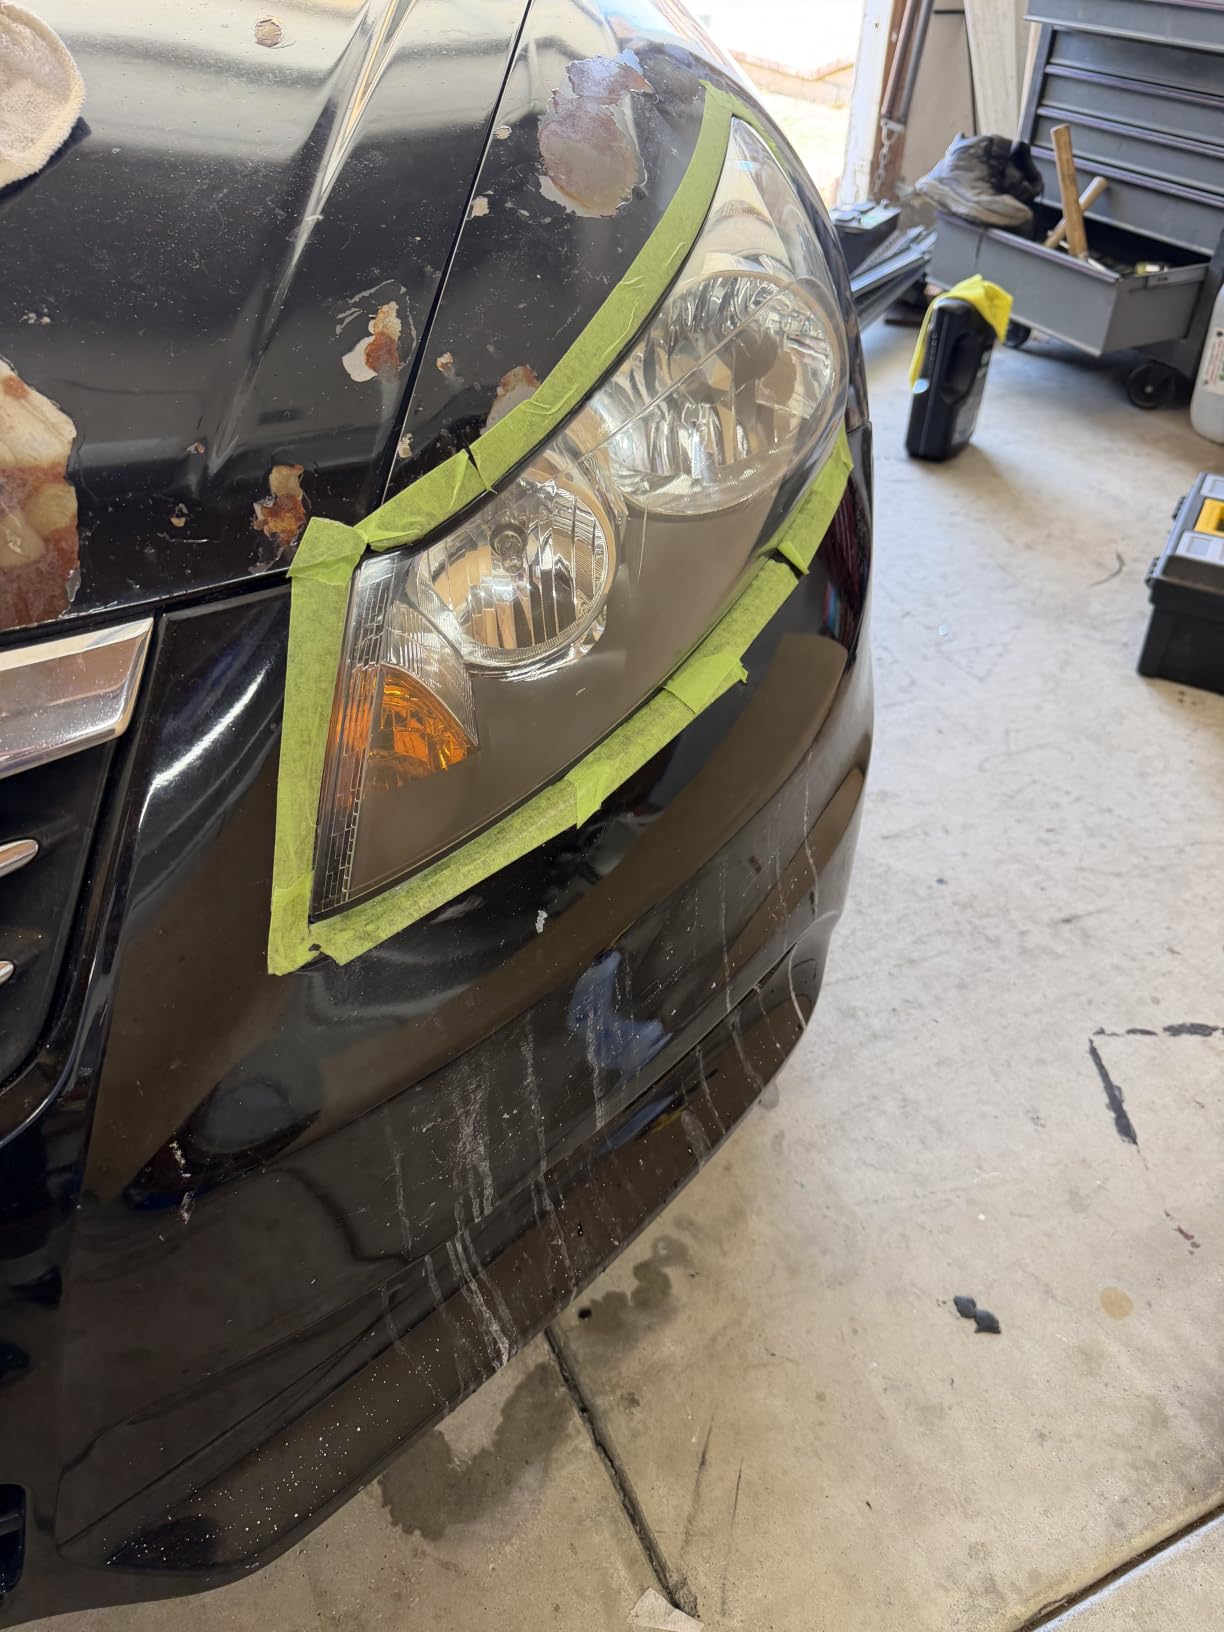
The 4.6 rating from 16,302 reviews is strong, and owners frequently report results that last up to two years. That longevity depends on the final clear coat, so I would not skip the two included wipes just because the lens already looks clear.
The included masking tape is useful but not the heaviest tape I have used. I add a wider automotive tape around the perimeter, especially near dark paint, and I check the pad after each grit change.
For whom it is good
This is the right choice for a car with heavy yellowing, road-film buildup, or scratches across a large plastic lens. It is also a good value if you want to restore headlights, taillights, fog lights, and directional lights with one system.
For whom it is bad
It is not the best choice for someone who wants a quiet, wipe-only Saturday job. The 500-grit stage demands patience, and a careless drill can leave uneven marks if the pad is held in one place.
3. SYLVANIA Headlight Restoration Kit — Best UV-Blocking Manual Kit
SYLVANIA Headlight Restoration Kit, Restores to Like-New Condition
No tools required
UV block clear coat
Treats two lenses
Pros
- Two-lens kit
- No tools
- Strong UV protection
Cons
- Up to four hours
- Technique matters
- No internal repair
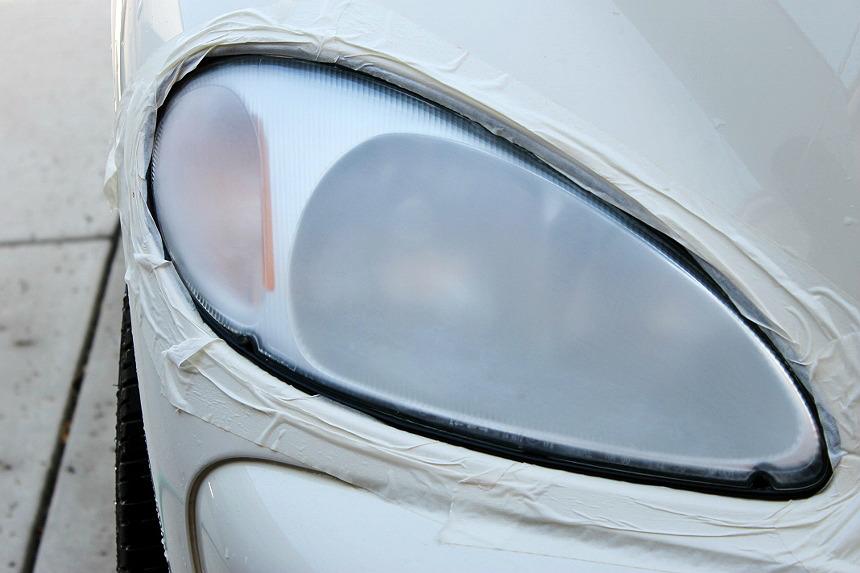
Sylvania takes a different route from the drill kits: it gives you a surface activator, sandpaper, clarifying compound, and an exclusive UV block clear coat for two lenses. I found the step-by-step system approachable, but it is more involved than a simple wipe-on headlight restoration kit and can take 1.5 to 4 hours.
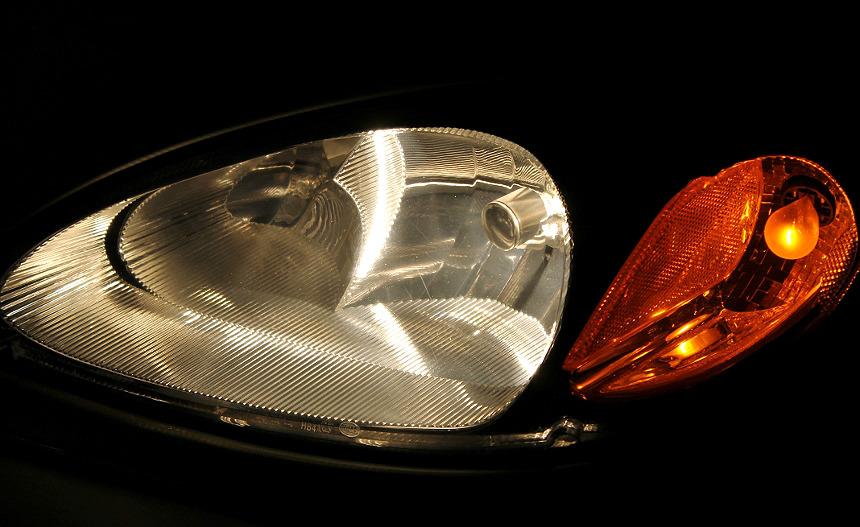
The payoff is the sealing step. In forum discussions, owners repeatedly point to UV protection as the difference between a lens that stays clear and one that turns yellow again after a few months, and Sylvania’s product is designed around that concern.
The 4.6 rating from 25,082 reviews gives Sylvania one of the most established customer records in this group. Users praise the dramatic improvement in night visibility, and the supplied two-lens capacity avoids the need to buy a second kit for the other side.
Do not rush the final coating. If the activator or compound is not spread evenly, haze can remain; following the instructions exactly is more important than trying to finish in one pass.
For whom it is good
Choose Sylvania when you have a free afternoon and want a complete manual process with an explicit UV block. It is especially sensible for older cars where both lenses need attention at the same time.
For whom it is bad
Choose a faster no-drill kit if four hours of careful hand work does not fit your schedule. Sylvania also cannot correct internal condensation, cracks, or damage beneath a coating that is already separating.
4. 3M Auto Restore and Protect Kit — Best Quick 3M Option
3M Auto Restore and Protect Headlight Restoration Kit, Use On Plastic Lenses, Headlights, Taillight, Fog Lights and More, Includes Sanding Discs, Headlight Clear Coat Wipes, Foam Pad and Glove (39194)
1000 and 3000 grit discs
Foam drill pad
Quick clear coat wipes
Pros
- Under 30 minutes
- Clear instructions
- Useful drill pad
Cons
- Not for heavy damage
- One glove
- UV wipes dry quickly
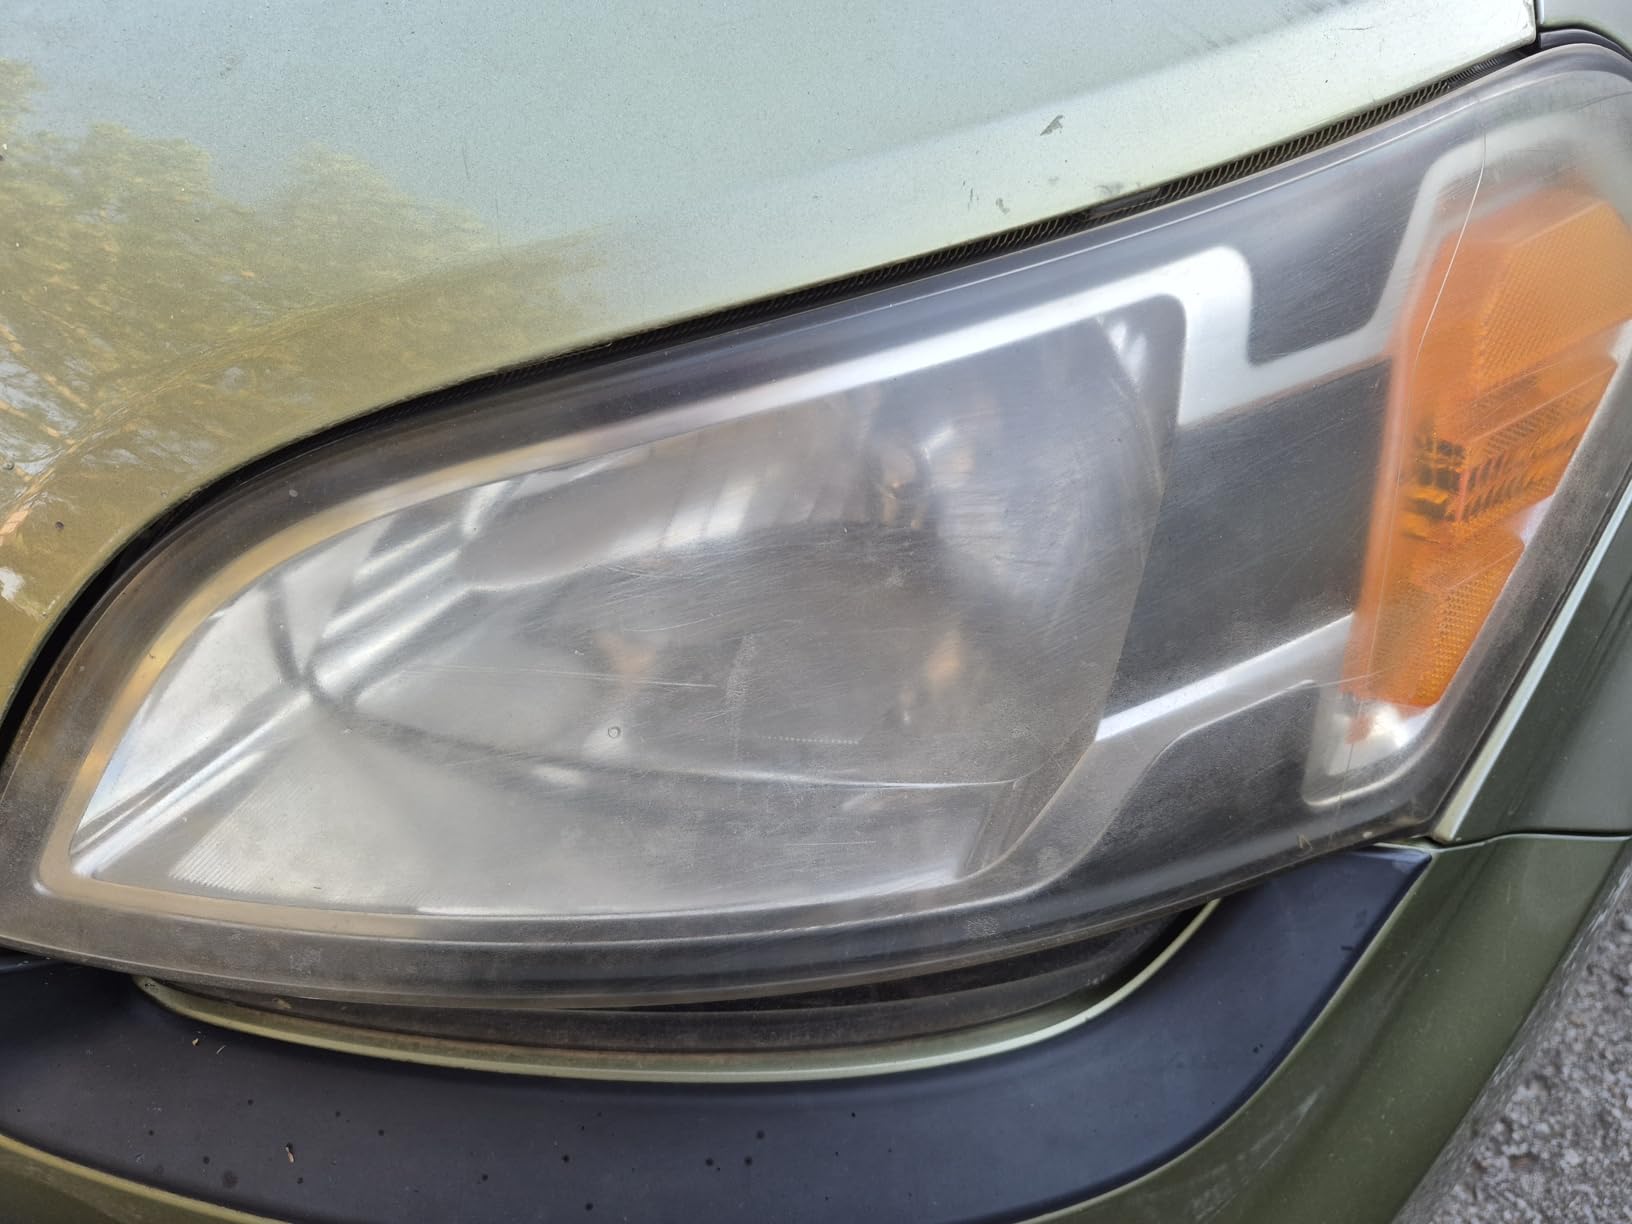
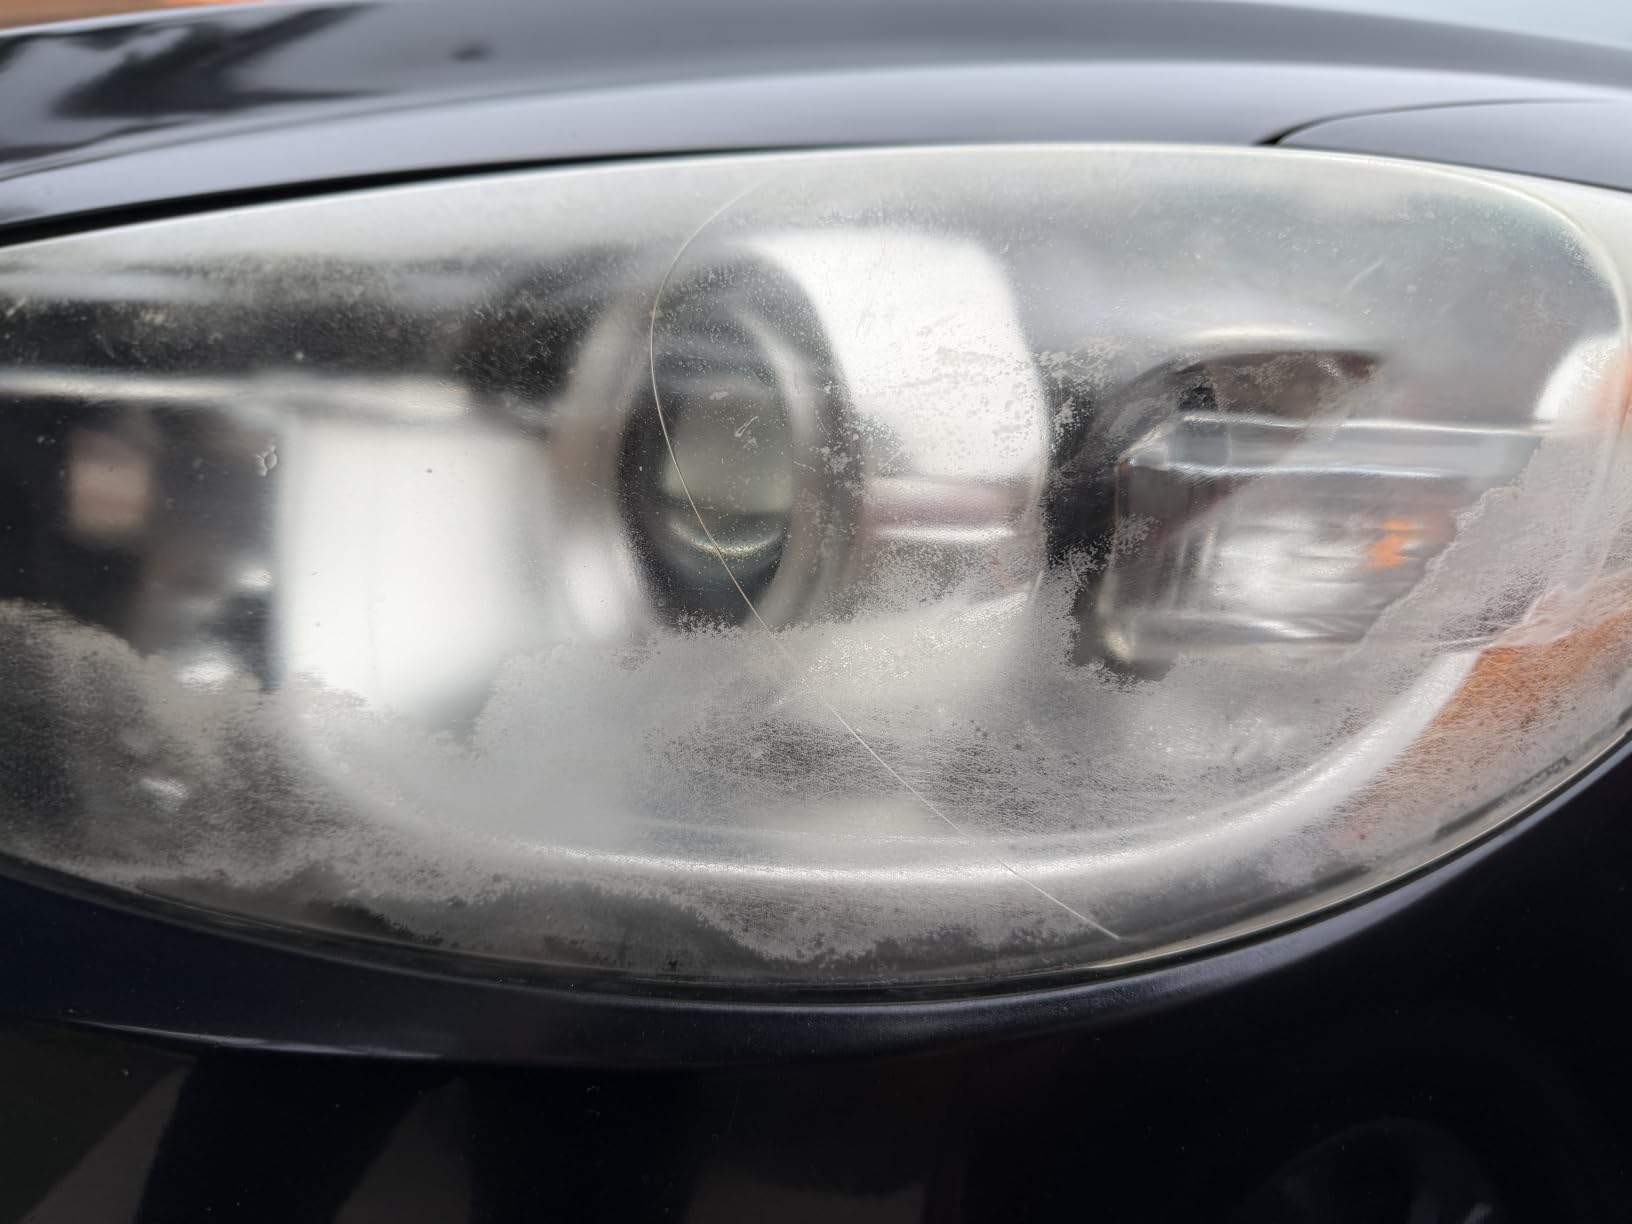
The 3M Auto Restore and Protect kit is the shorter route when a lens has moderate oxidation but not the deep damage that needs 500-grit cutting. It includes 1000- and 3000-grit Trizact discs, a Hookit foam pad, one disposable glove, and two Quick Headlight Clear Coat wipes.
On a clean, moderately cloudy lens, I could finish the work in under 30 minutes. That makes this a good headlight restoration kit for someone who wants 3M abrasives without committing to the Ultra kit’s full grit ladder.
Its 4.5 rating from 7,877 reviews is slightly below the top three, but the customer pattern is consistent: quick results and straightforward instructions. The tradeoff is that some owners need extra sanding when the oxidation is thick.
Open the clear coat wipes only when the surface is ready. They can begin to dry during application, which increases the chance of streaks if you stop halfway through.
For whom it is good
This kit fits light-to-moderate haze and a first-time user who already has a drill. It is also a practical option when you value speed and a compact kit more than maximum correction depth.
For whom it is bad
Move to the 3M Ultra or 39008 system for heavy yellowing, large scratches, or a lens that has not been restored in many years. One glove and fast-drying wipes are minor inconveniences, but they are still worth planning around.
5. 3M Headlight Lens Restoration System 39008 — Best for Maximum Correction
3M Headlight Lens Restoration System, 39008, 1 Kit
500 to 3000 grit sanding
Rubbing compound
One-year warranty
Pros
- Maximum clarity
- Comprehensive kit
- One-year warranty
Cons
- Needs a drill
- 30 to 40 minutes per light
- More clear coat may help
The 3M 39008 is the most aggressive restoration system in this roundup. It uses a drill pad holder, six 500-grit discs, four 800-grit discs, a Trizact refining disc, and rubbing compound to remove harsh yellowing and oxidation.
I would use it on a headlamp that has a genuinely thick, uneven surface rather than on a lens with only light haze. The finish can approach a like-new appearance, but the process is not a gentle polish: it is a controlled sanding job that should be kept moving and followed by the refining stage.
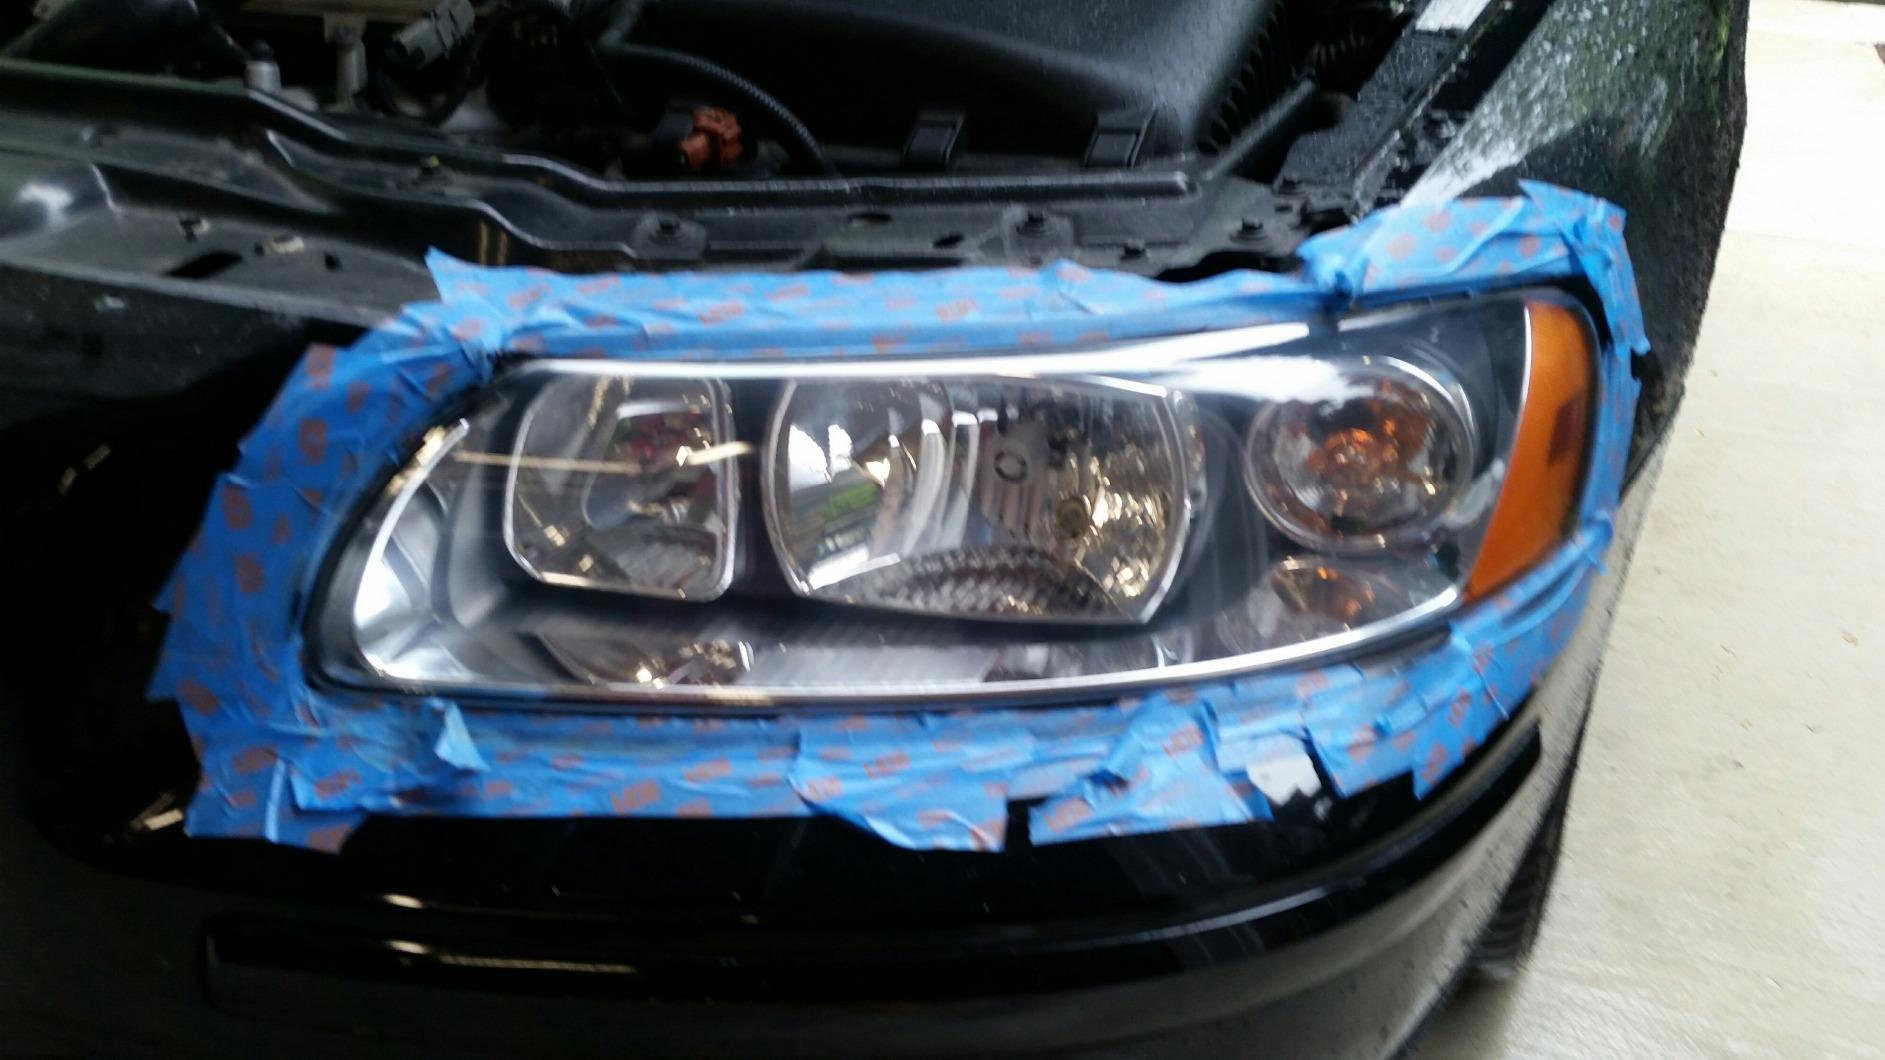
With 33,741 reviews and a 4.5 rating, this is one of the most established headlight lens restoration systems available. The included one-year manufacturer warranty also gives it an advantage over a bare-bones kit.
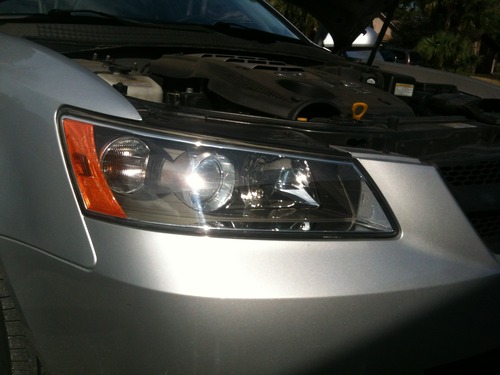
The kit does not include the same ready-to-use clear coat wipe package as the newer 3M options. Some owners add a separate UV clear coat for longer protection, and I would do the same when the car lives outdoors year-round.
For whom it is good
Choose the 39008 for harsh yellowing, heavy oxidation, and owners comfortable with a drill. It is a strong choice for an older vehicle where appearance and light transmission have both deteriorated.
For whom it is bad
Do not use a high-powered drill on a delicate or aftermarket lens without testing pressure first. This is also not the kit I would buy for a quick maintenance refresh when there is no heavy oxidation.
6. Meguiar’s Two Step Kit — Easiest No-Sanding Option
Meguiar’s Two Step Car Headlight Restoration Kit
No sanding
No drill
Up to 12 months protection
Pros
- Fast two-step process
- No power tools
- Improved night clarity
Cons
- Annual reapplication
- Overspray risk
- Factory UV layer concern
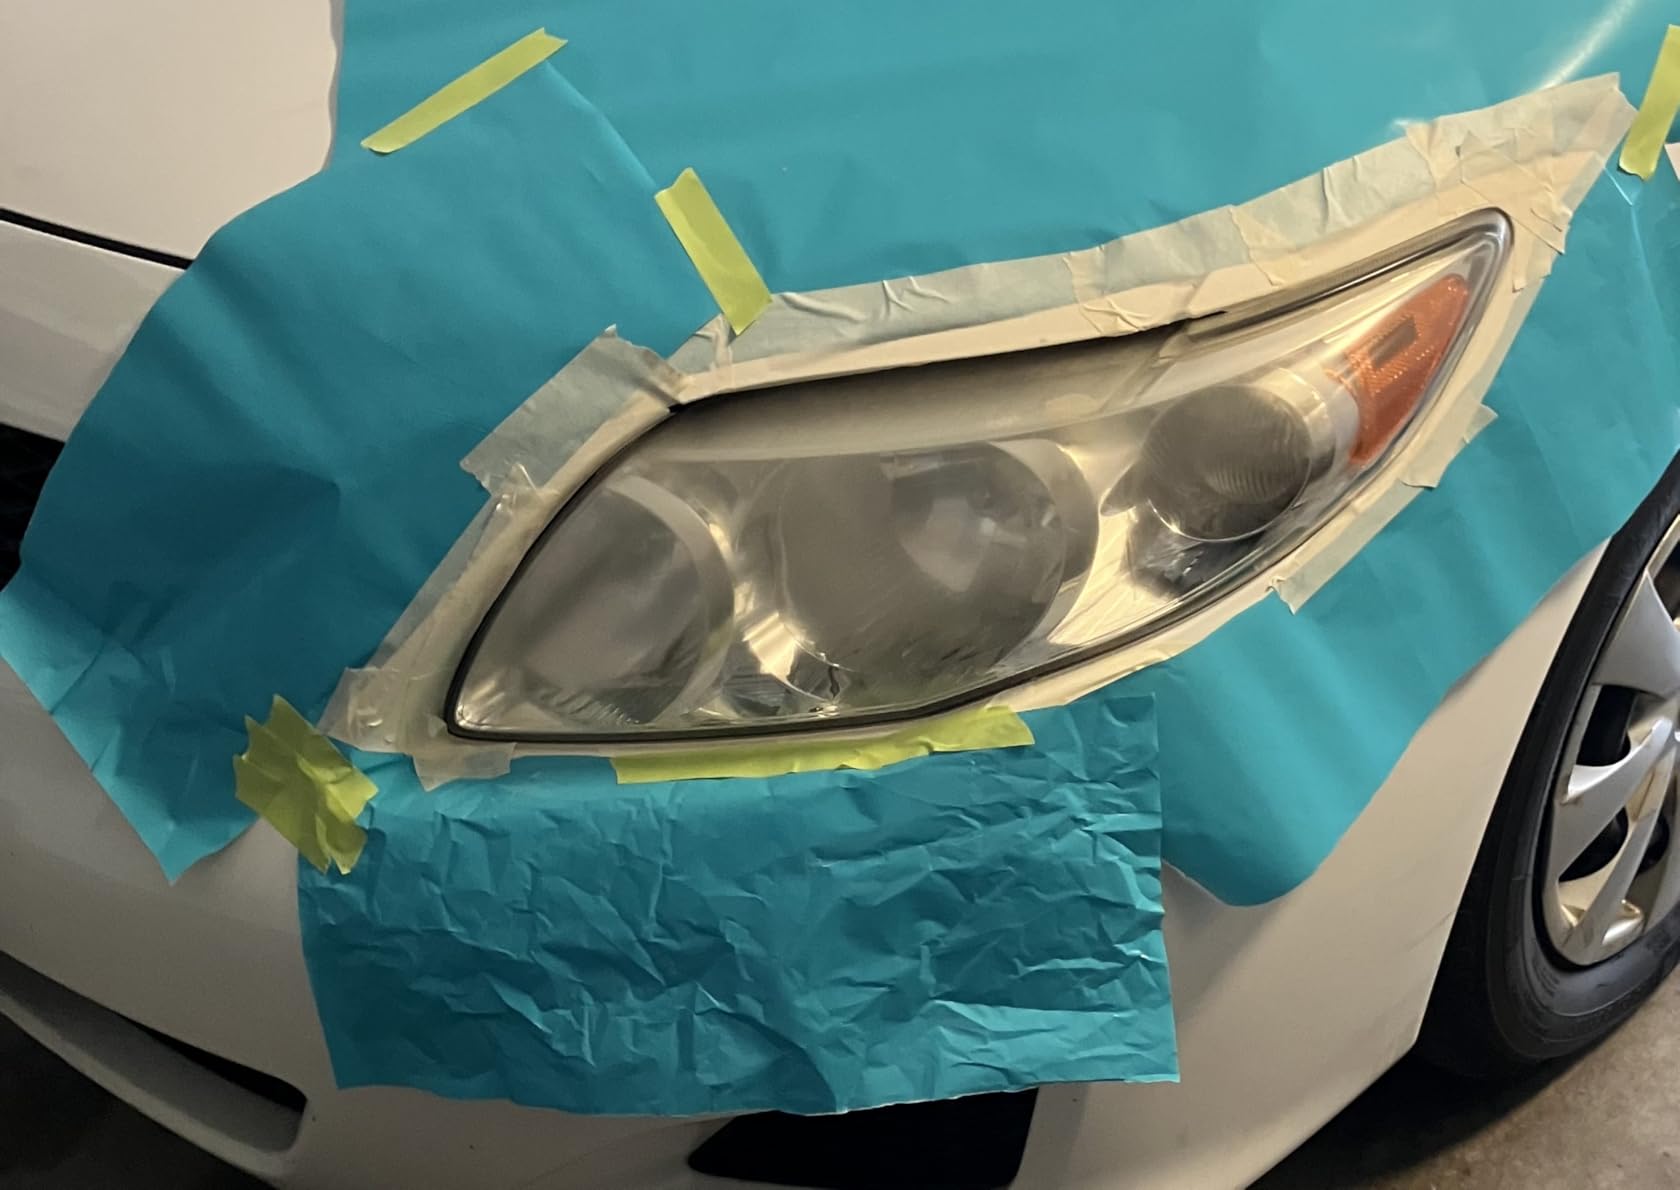
Meguiar’s G2970 is the easiest headlight restoration kit in this list for someone who does not want to sand. The two-step system applies cleaner and then a protective coating, with no drill and no sanding discs to manage.
I would keep the working area small, apply the cleaner with the supplied pad, and mask paint before spraying. The product data says protection can last up to 12 months, which makes it a sensible seasonal maintenance choice rather than a permanent repair.
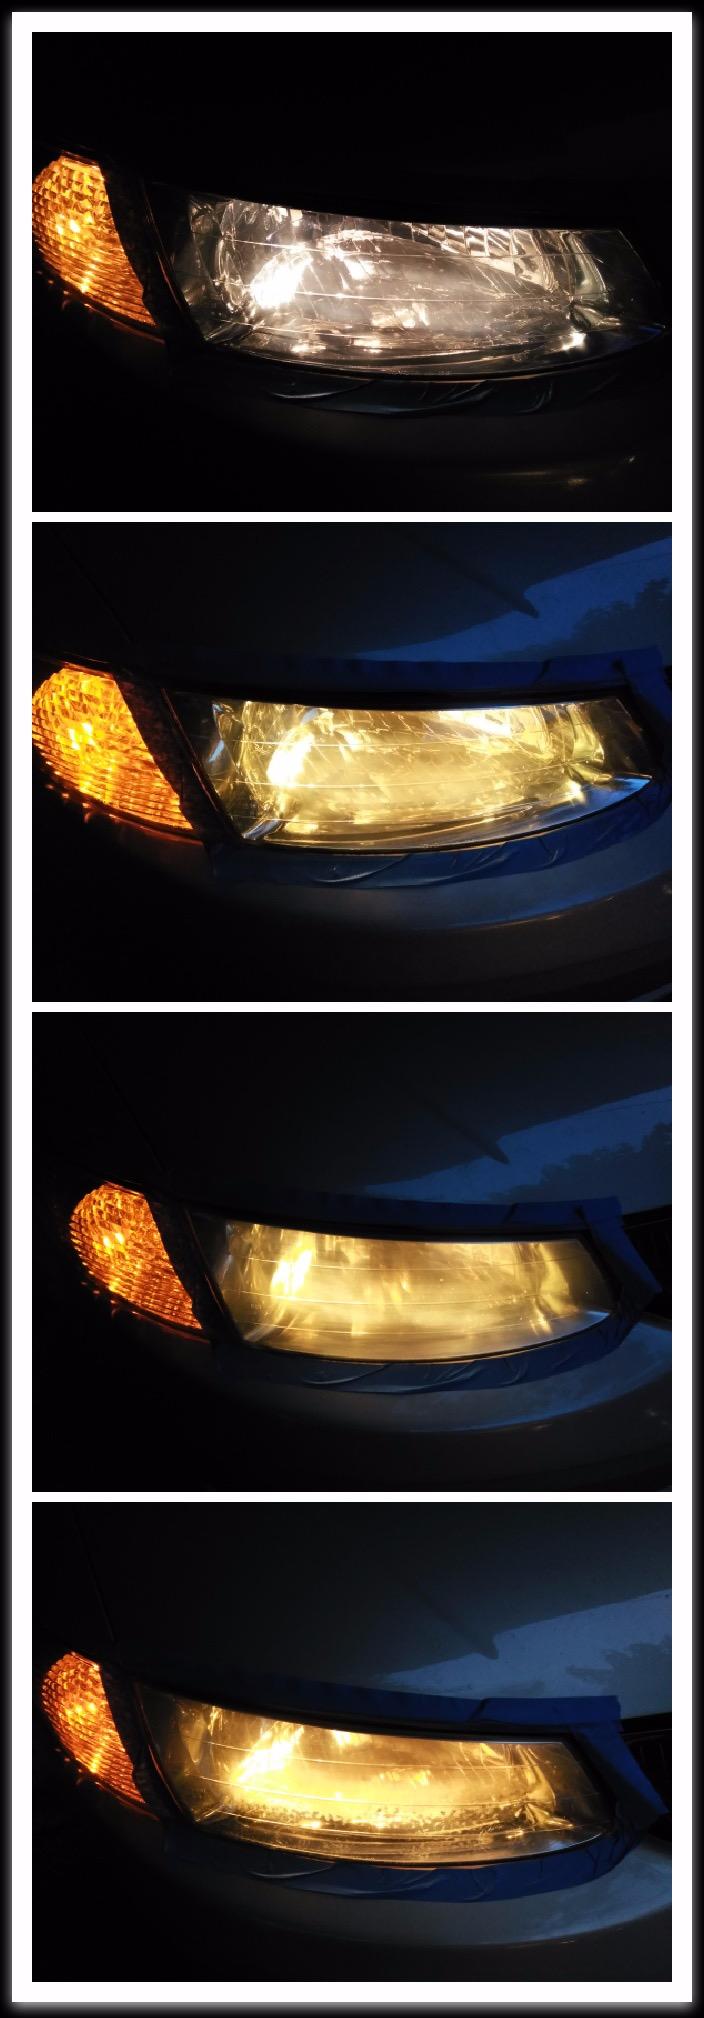
The 4.4 rating from 11,520 reviews reflects strong popularity for its hand-friendly format. Customers often see a big improvement in clarity in 20 to 40 minutes, but the spray needs an even coat to avoid cloudiness.
One caution from customer experience is important: this system can remove the factory UV protection during cleaning. That is why I would not treat the coating as optional, and I would reapply it according to the instructions if the lens starts to haze again.
For whom it is good
This is the right pick for light haze, a quick weekend job, and anyone who avoids power tools. It is also a good option for someone who is willing to maintain the finish annually.
For whom it is bad
Do not expect it to level deep scratches or restore a badly pitted lens. If the factory coating has already failed, a sanding and clear-coat system is the more honest route.
7. Turtle Wax Headlight Restoration Kit — Best Budget Manual Kit
Turtle Wax Headlight Restoration Kit for Cars, Trucks & SUVs
Manual sanding pads
Lubricant
UV sealant wipes
Pros
- Low cost
- Complete supplies
- Works on weathered lenses
Cons
- Elbow grease required
- Difficult sealant wipe
- Multiple applications possible
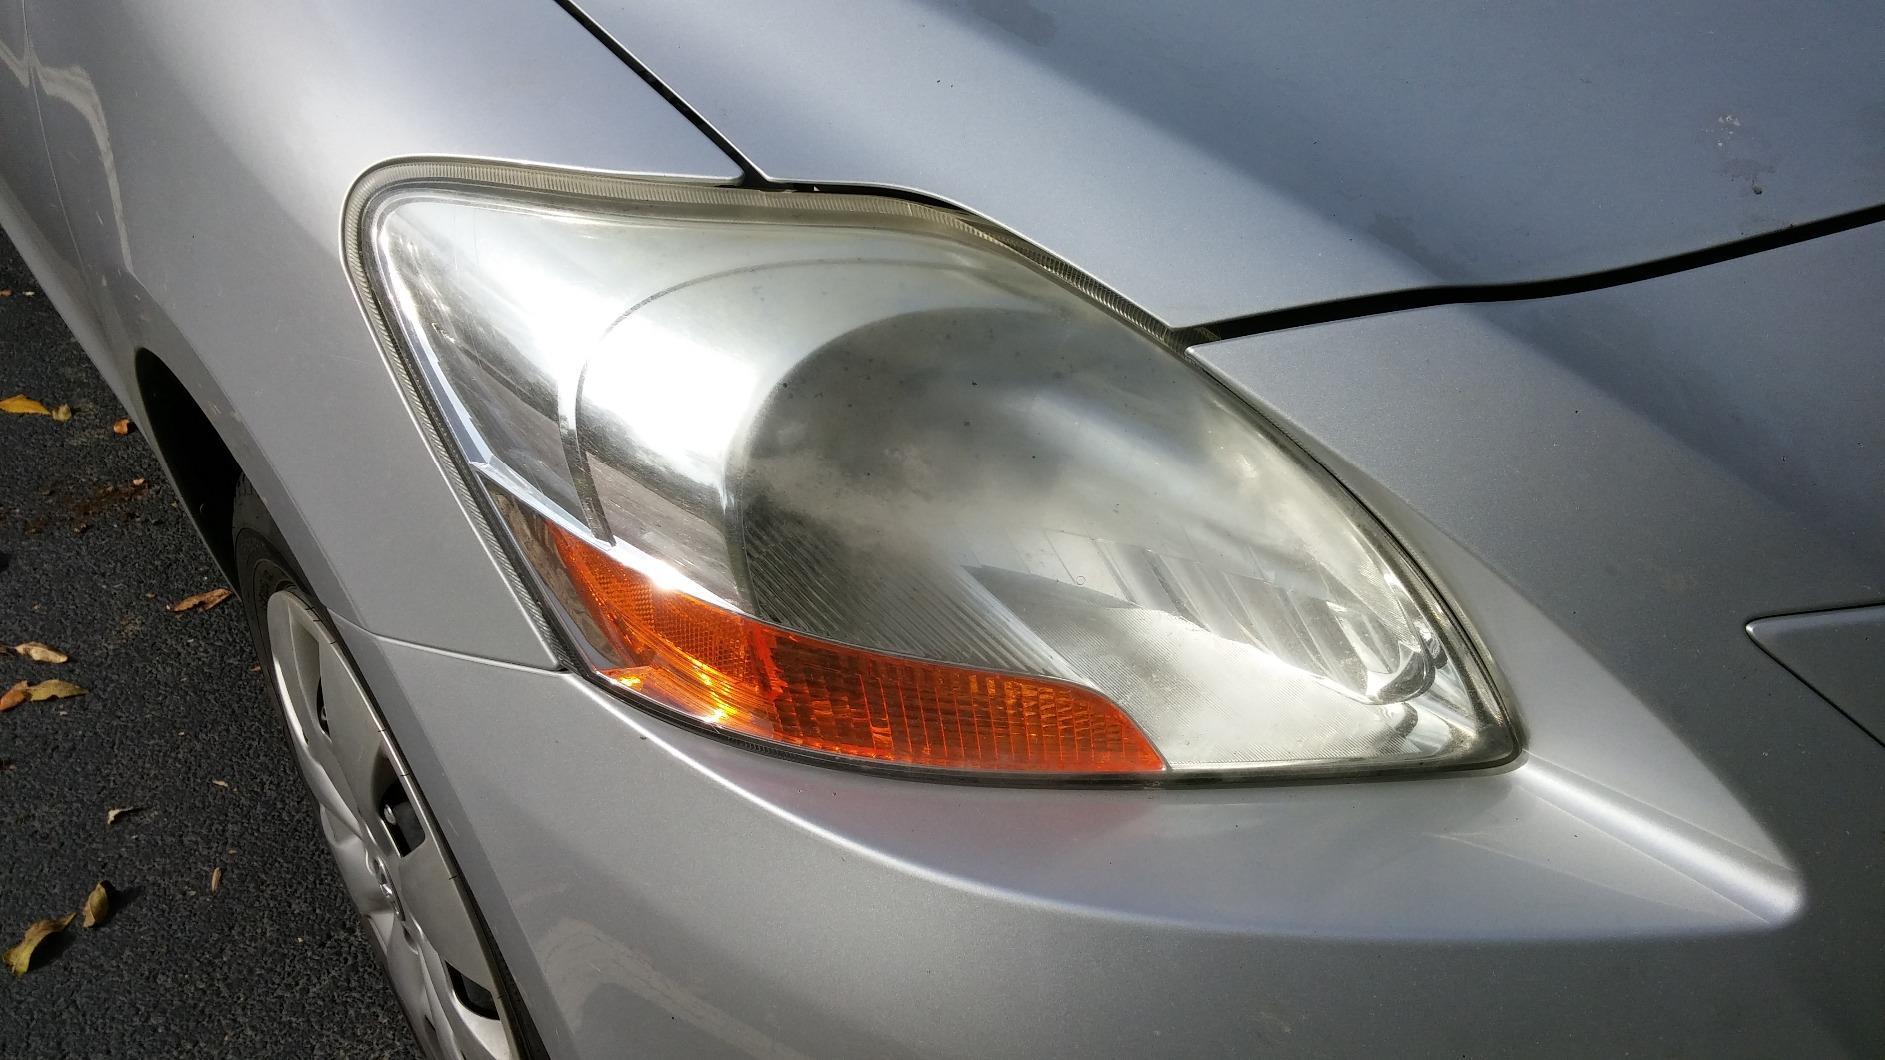
Turtle Wax is the budget pick, not because it is flimsy, but because it includes the core process at a lower cost. The kit combines sanding pads, lubricant, clarifying compound, and sealant wipes, and it can treat heavily weathered lenses when you put in the work.
The results can be substantial, with many owners reporting 90% to 95% of their original clarity. That figure is a useful reminder that a low-cost kit can still make a dramatic difference, though the process takes 30 to 60 minutes per headlight and the sanding is not effortless.
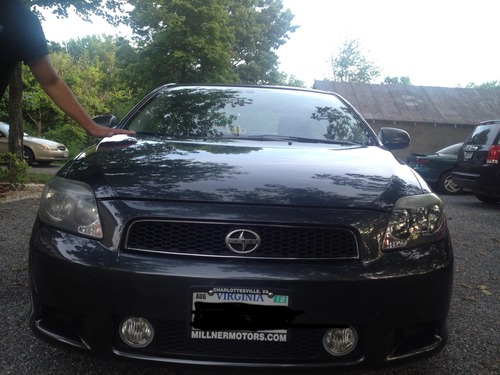
The 4.1 rating from 7,413 reviews is the lowest in this group, and the weaker point is application effort. The sealant wipe is the part I would practice first, because an uneven pass can compromise the final appearance.
For a heavily oxidized lens, I would check the result after the first complete cycle before deciding whether a second application is necessary. More sanding is not automatically better; it is another opportunity to create an uneven surface.
For whom it is good
Choose Turtle Wax if you want a low-cost, complete manual kit and do not mind using elbow grease. It is a practical choice for a vehicle that needs one solid restoration rather than a premium ceramic system.
For whom it is bad
Pick a drill-based 3M kit if manual sanding is difficult for you, or Cerakote if you want a gentler, faster hand process. Turtle Wax is less convenient even though its restoration potential is respectable.
8. Rain-X 610153 Headlight Kit — Best Drill Attachments for a Smooth Finish
Rain-X 610153 Headlight Restoration Kit – Car Light Lens Cleaner/Restorer with Sanding & Polishing Drill Attachments & Sealant Wipe, Removes Scratches & Oxidation- All in 1 Long Lasting Formula
Sanding and polishing attachments
Sealant wipe
Drill required
Pros
- Consistent drill control
- Good for scratches
- Long-lasting sealant
Cons
- Drill not included
- Paint-protection risk
- 8-hour cure
Rain-X 610153 is a drill-required kit for people who want consistent sanding and polishing motion. The attachments are designed to smooth oxidation and scratches, while the sealant wipe adds a protective layer after the surface is refined.
I would reserve it for a lens that needs more than a chemical wipe. The drill makes the correction more even, but the sanding residue can damage paint if the surrounding bodywork is not masked carefully.
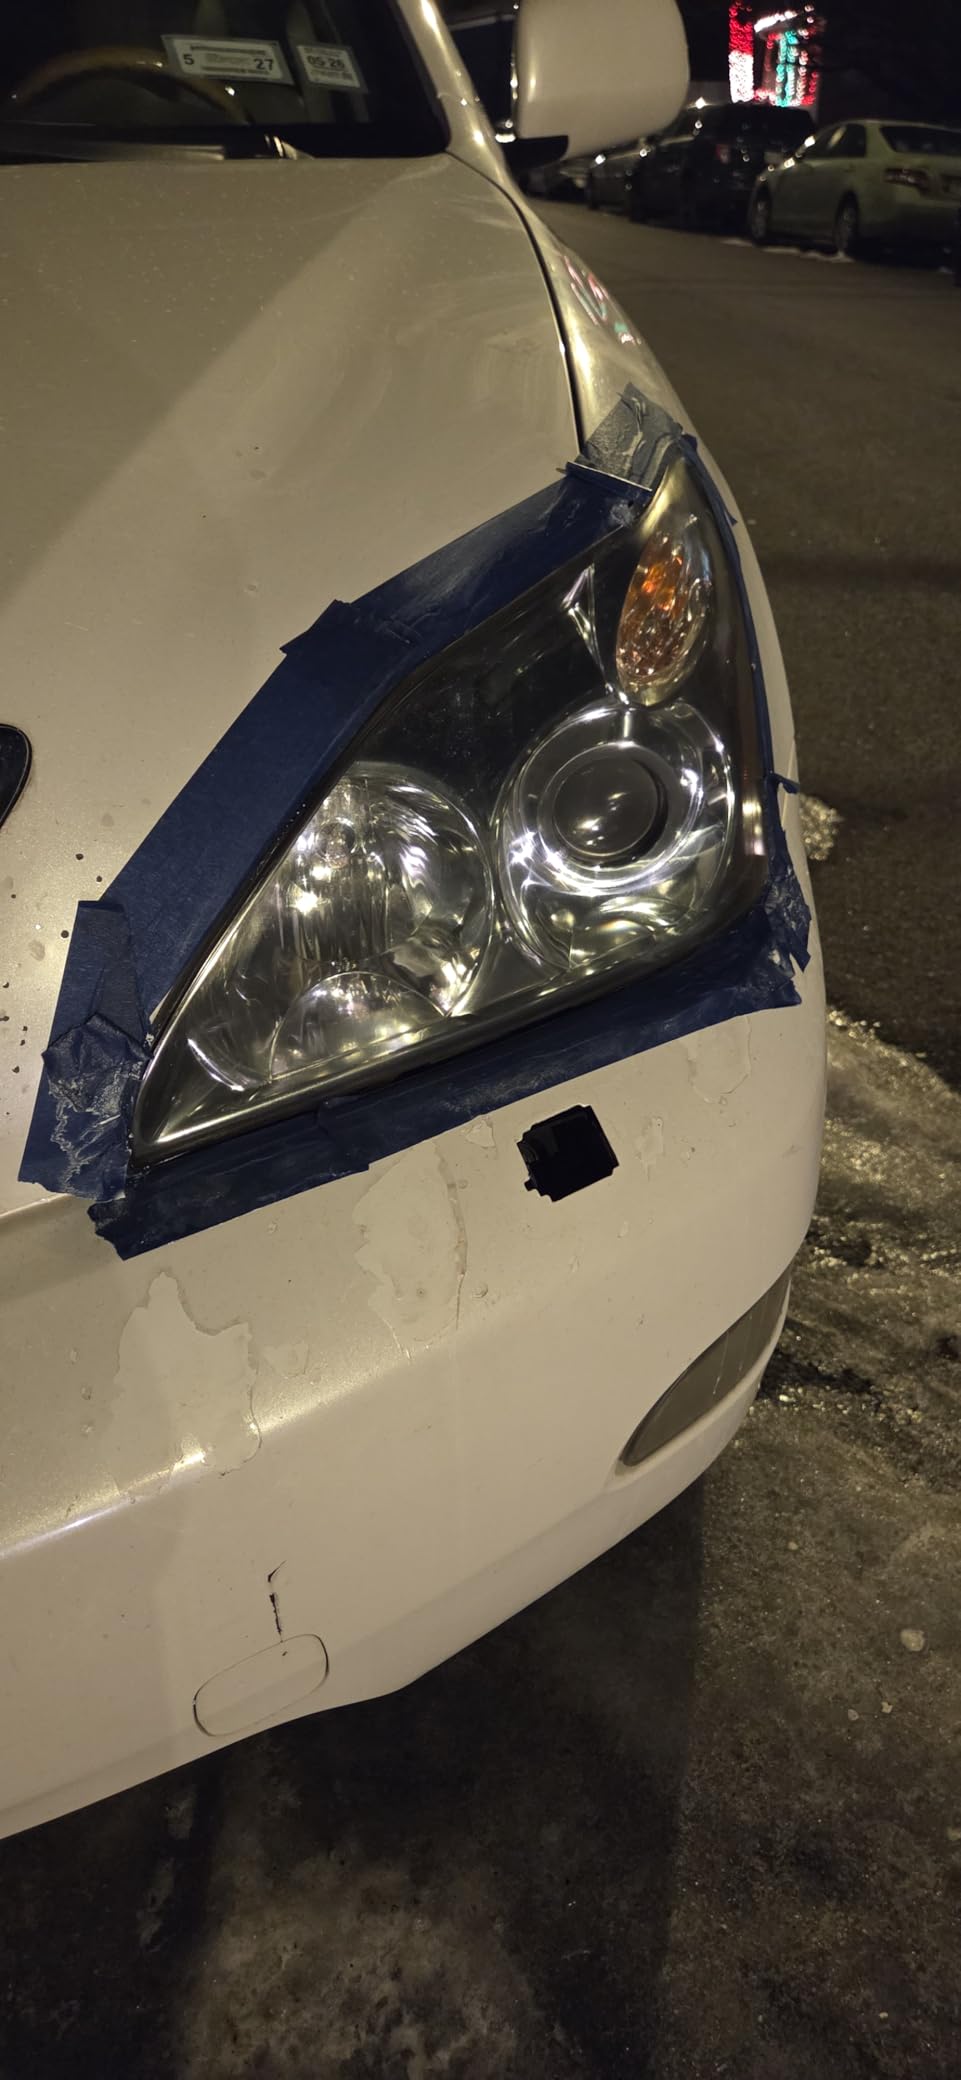
The 4.3 rating from 1,031 reviews is solid, and owners value the professional-looking finish. The main practical drawback is not the correction itself; it is the eight-hour cure time for the sealant, so the car needs a protected place to stay afterward.
Use a low-speed drill and keep the attachment flat against the lens. That reduces the risk of waves, and it gives the polishing stage a better chance of producing an even, transparent surface.
For whom it is good
Choose Rain-X when you already own a drill and want attachments that guide both sanding and polishing. It suits scratches, oxidation, and owners who can leave the car undisturbed during the sealant cure.
For whom it is bad
It is a poor fit for a no-tool project or a vehicle you need to drive immediately. A wipe-only product is simpler, while Cerakote is easier when you want a hand application with a shorter cure.
How to Choose the Best Headlight Restoration Kit
Choose UV protection, not just a shiny finish
Oxidation returns when sunlight breaks down exposed polycarbonate plastic. A polish can improve clarity, but a UV clear coat, ceramic coating, or sealant gives the repaired surface a better chance of staying clear; forum users consistently call the sealing step the key to long-lasting results.
Check whether the product includes a final wipe or coating and whether it can cover both headlights. I also look for a kit that treats a lens without removing more plastic than the damage requires.
Match the method to the damage
Light haze and early yellowing can respond to a no-sanding cleaner or a simple wipe system. Moderate oxidation usually benefits from 1000- or 3000-grit refining discs, while heavy yellowing may require a 500-grit cut followed by 800- and 3000-grit refinement.
Wet sanding is useful for keeping abrasive dust down and helping the disc move across the surface, but it must be followed by thorough drying and the right finishing steps. Dry sanding is convenient, yet it creates plastic dust that needs careful cleanup and paint protection.
Decide whether you need a drill
You can restore headlights without a drill, but the process will usually require more hand pressure and time. Cerakote and Meguiar’s make that tradeoff easy; 3M Ultra, 3M 39008, and Rain-X are better suited to owners who already have a drill.
A drill is not automatically better for every lens. It gives faster, more consistent abrasion on a large headlamp, but the pad must stay flat and moving to avoid grooves.
Plan for longevity and maintenance
A properly sealed restoration can last for years, while a light chemical treatment may need annual attention. The 3M Ultra product reports results lasting up to two years, while Meguiar’s states protection for up to 12 months; actual life depends on sun exposure, washing habits, and the original damage.
I would photograph the lens before work, note the date of restoration, and inspect it every few months. Reapplying a compatible UV sealant before the surface turns hazy is easier than waiting until the full sanding process is needed again.
Avoid common mistakes
Do not restore a lens with moisture, cracks, or internal haze without checking the housing first.
Do not skip paint masking; abrasive dust and overspray can leave marks that are harder to remove than the original haze.
Do not jump straight to a coarse disc on lightly oxidized plastic, and do not treat all scratches as surface oxidation.
Do not use a household product such as toothpaste as a substitute for a real UV protection system; it can clean a small area but does not provide the same durable seal.
Frequently Asked Questions
Do any headlight restoration kits really work?
Yes. The best headlight restoration kits remove surface oxidation and refine the plastic, and forum feedback commonly reports a major improvement in clarity and nighttime visibility. Deep cracks, internal condensation, or moisture inside the housing require repair or replacement instead.
Which is better, Cerakote or 3M?
Cerakote is the easier choice for hand application and includes a ceramic UV coating. 3M Ultra is better for heavy oxidation because its 500, 800, and 3000 grit sequence removes more damaged plastic; it works with a drill for the fastest, most even correction.
How long does headlight restoration last?
A sealed restoration can last about two years, while lighter treatments may need annual reapplication. Results last longer when the final UV clear coat or ceramic coating is applied and the car is not left unprotected in constant sun.
Can I restore headlights without sanding?
Yes. Cerakote and Meguiar’s offer no-power-tool and no-sanding approaches for light to moderate haze. Sanding is usually the better answer for deep yellowing, pitting, or scratches because it levels the damaged surface more evenly.
Do I need a drill for headlight restoration?
No. You can use Cerakote, Meguiar’s, Sylvania, or Turtle Wax without a drill, but you may spend longer applying pressure by hand. A drill makes 3M Ultra, 3M 39008, and Rain-X faster and more consistent, though it requires masking and careful control.
Why do headlights get cloudy in the first place?
Most modern lenses use polycarbonate plastic, which oxidizes under ultraviolet exposure, heat, road debris, and weather. The outer layer becomes yellow and hazy, reducing light transmission; a restoration kit removes that layer and replaces it with a protective coating.
Final Verdict
For most drivers, the best headlight restoration kits are the ones that pair correct surface work with a real UV seal. Cerakote wins my overall recommendation because it removes the drill from the job, takes about 30 minutes, and finishes with a chemically bonded ceramic coating; its 4.6 rating from 72,601 reviews also makes it a particularly well-supported choice.
Choose 3M Ultra when the lens has heavy oxidation and you want the most complete grit sequence, or Sylvania when a long-standing UV block clear coat and a no-tools process matter more. For a quick, simple maintenance job, Meguiar’s is the easiest route.
Before you buy, inspect the housing for internal moisture, deep cracks, and peeling factory coating. If the plastic is sound, mask carefully, follow the grit sequence, apply the final UV protection, and give the lens a full day of undisturbed curing when the product requires it; that is the difference between a temporary shine and a restoration that earns its place in your 2026 maintenance plan.